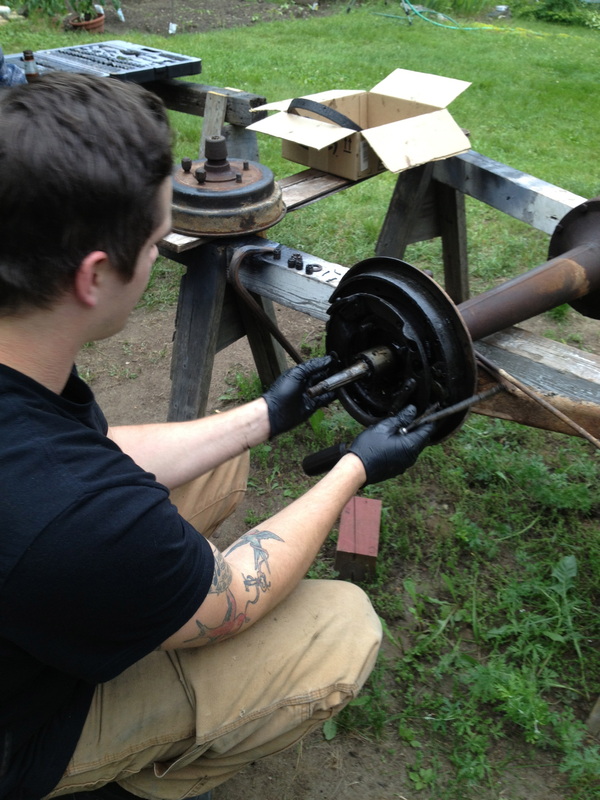
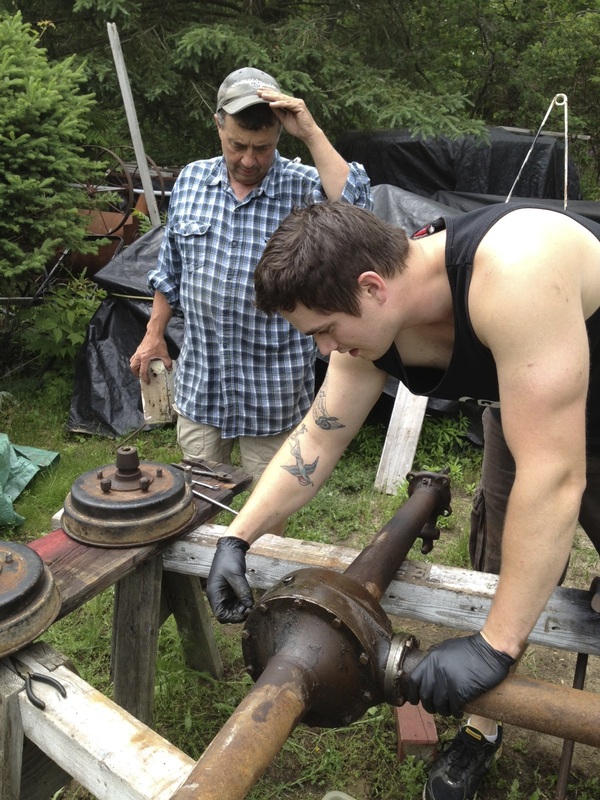
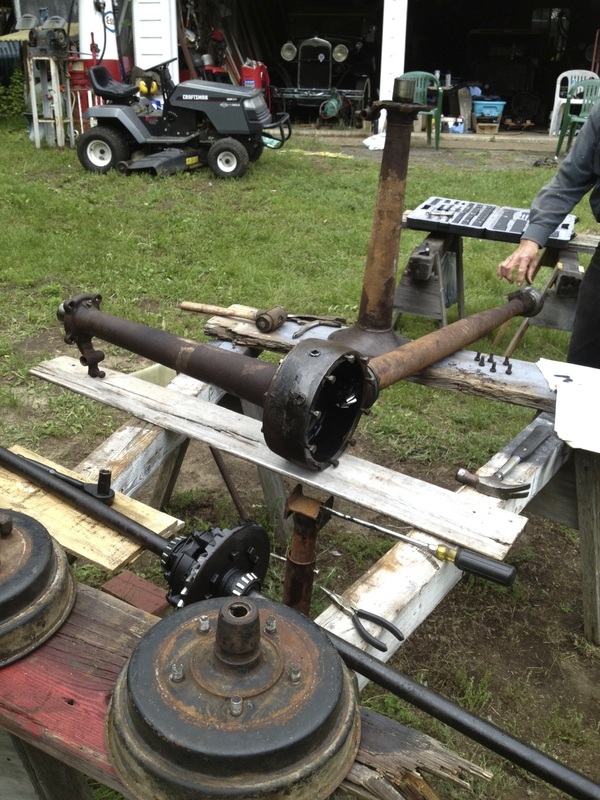
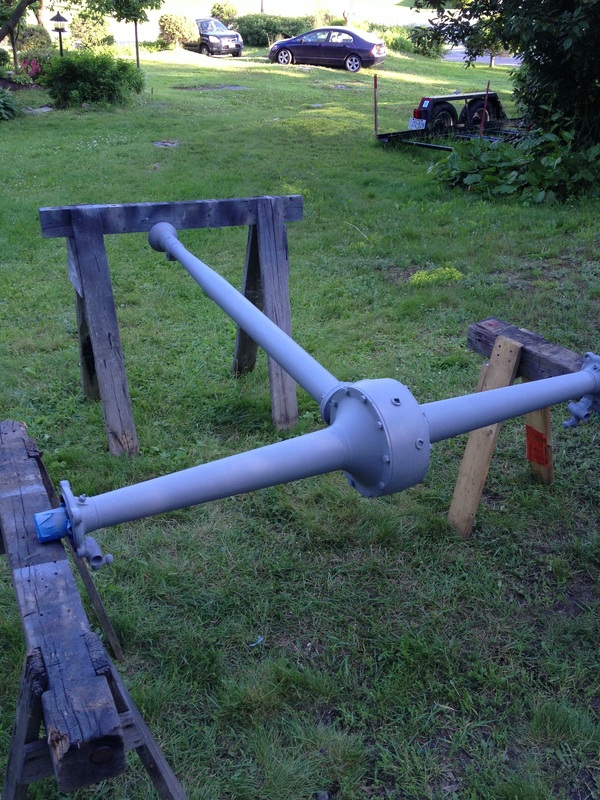
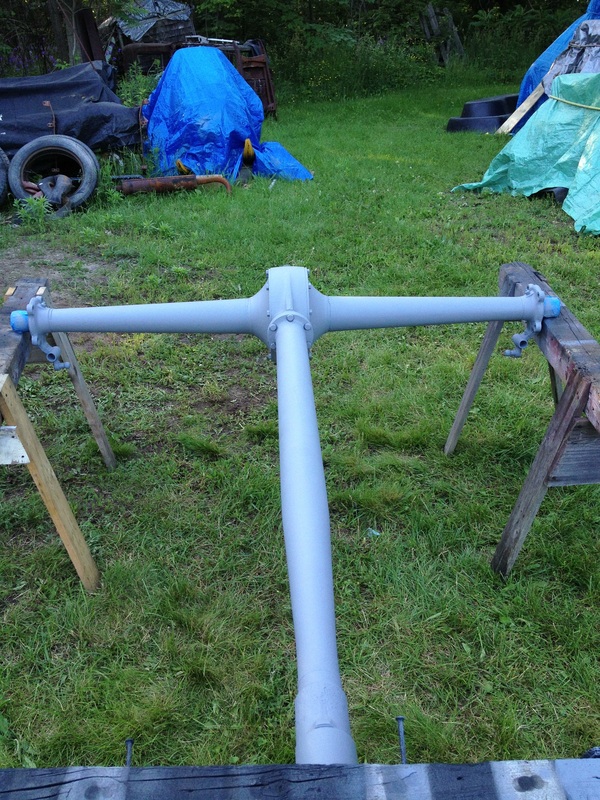
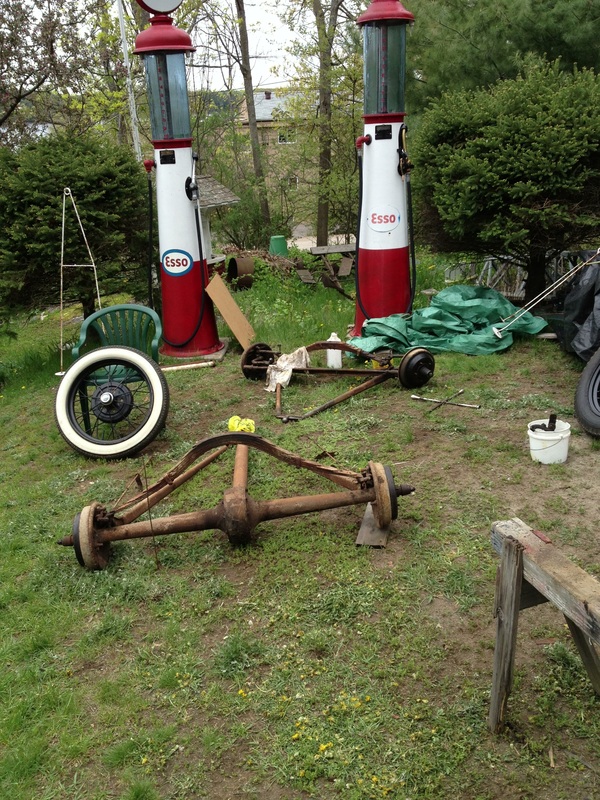
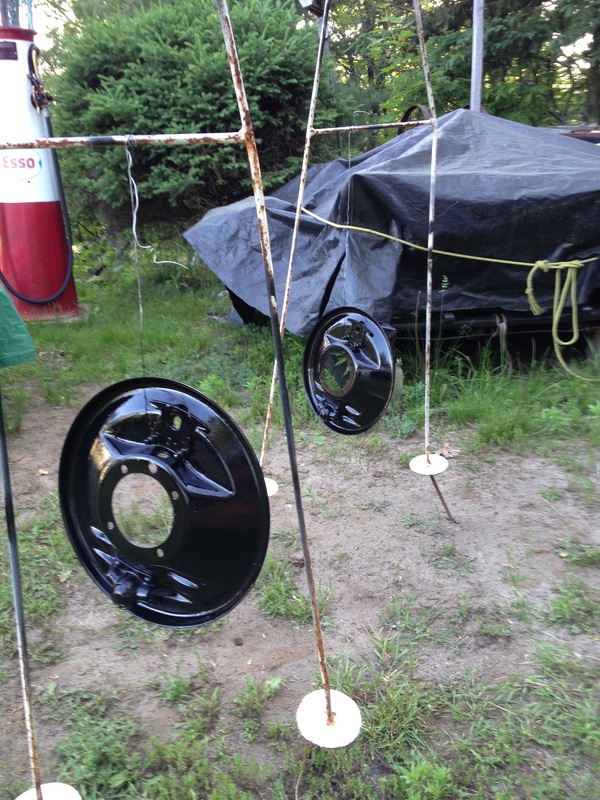
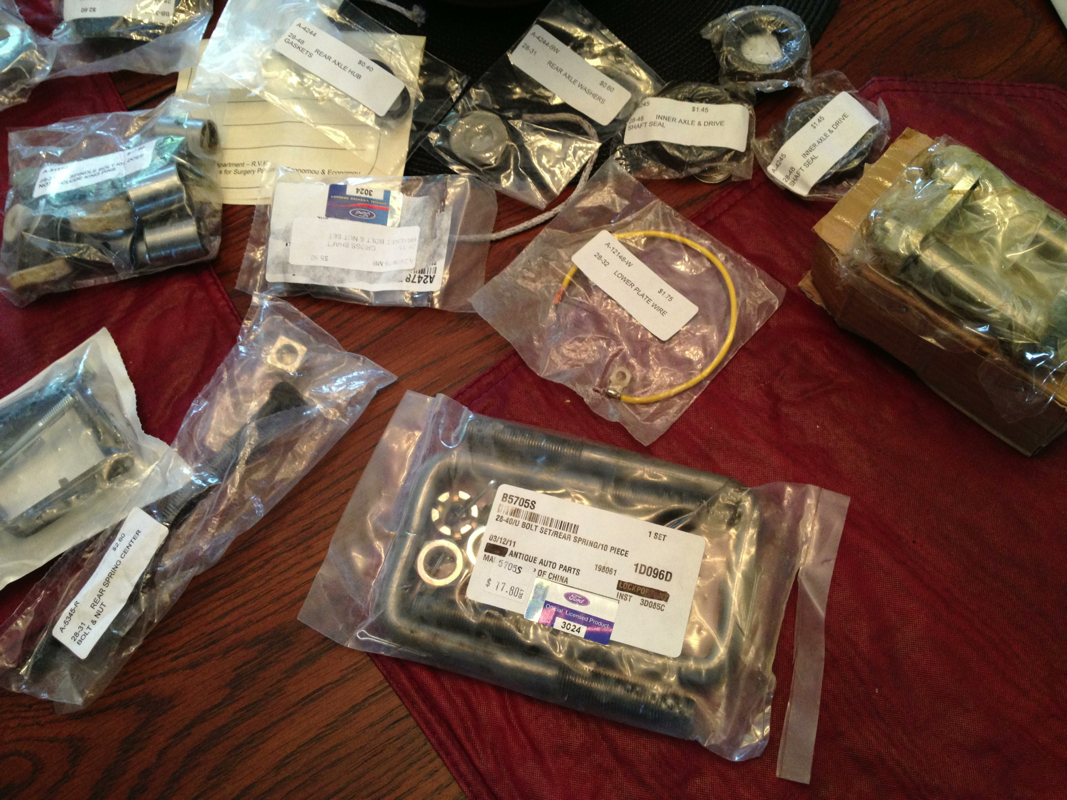
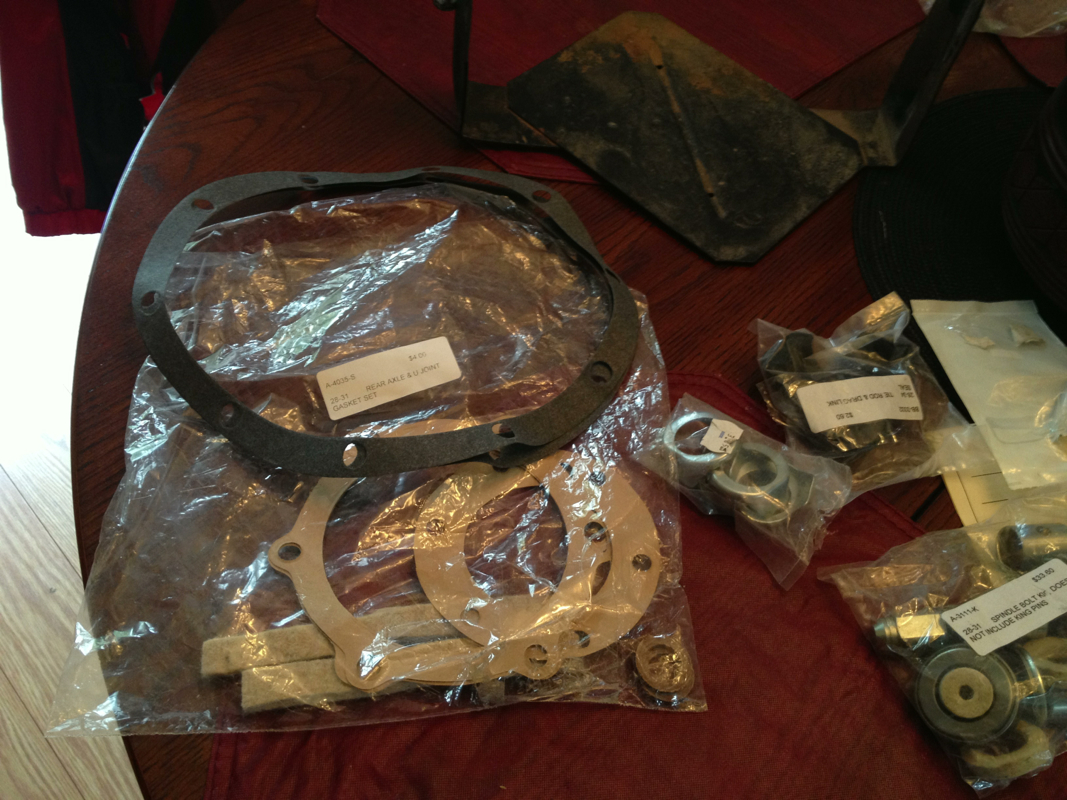
I got a start on the rear end while I was waiting for parts for the front end. First I had to take the brakes apart then move onto removing the differential and axle housings. I drained the differential then got the bolts off around the differential housing (kept the bolts as I am going to re use them), and slid the torque tube and axle housings off to reveal the insides. I was happy to find that everything was in very good shape.
Getting the inner axle seals out was not an issue, but the torque tube seal was a pain. In order to get the seal out of the torque tube, you have to remove the shim in front of the seal. The best way to do that is to use a 1 1/16" socket (we used a 1" socket), and put it on your axle (we had an old extra one to use), then slide it in the torque tube with the front of the tube facing up, and you start to bounce it off a board (or ground). After a few bounces the seal and shim will come ut
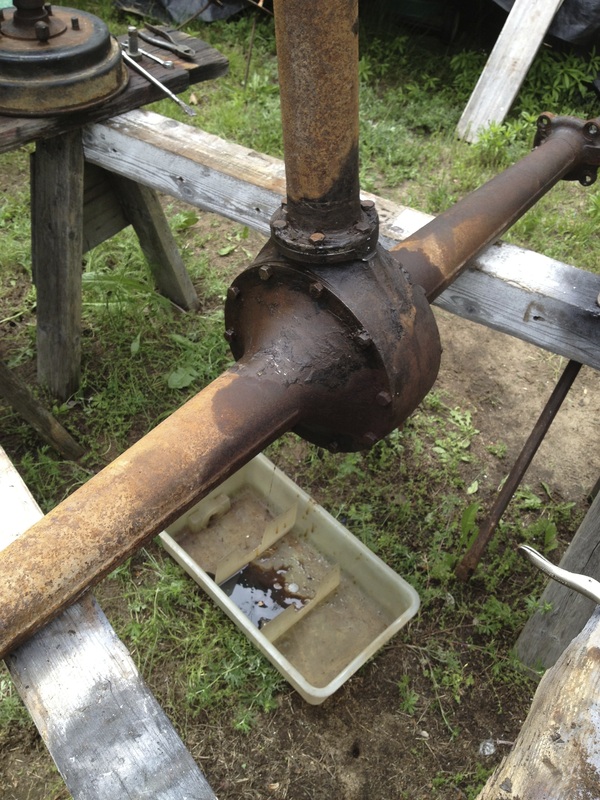
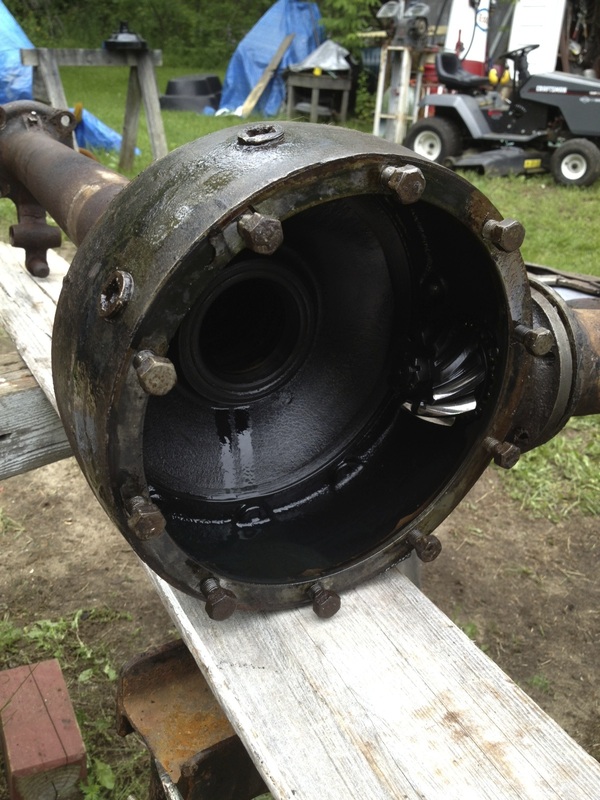
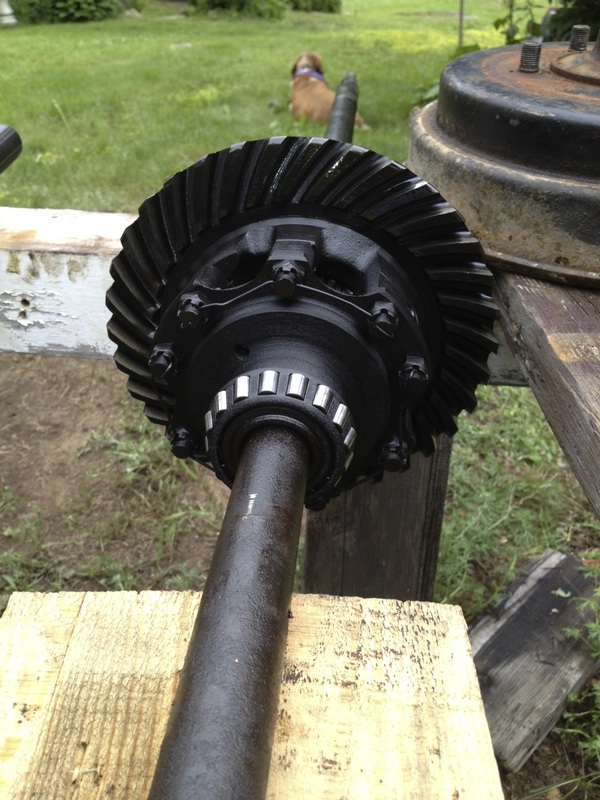
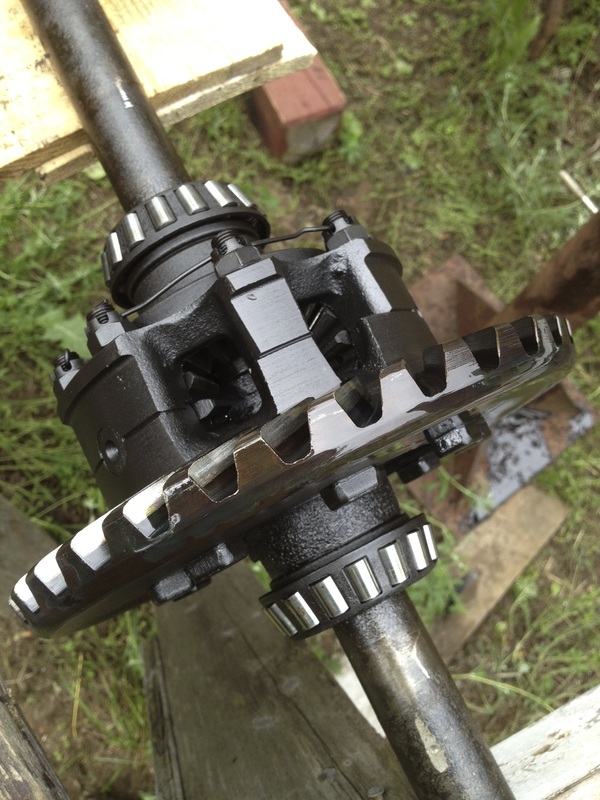
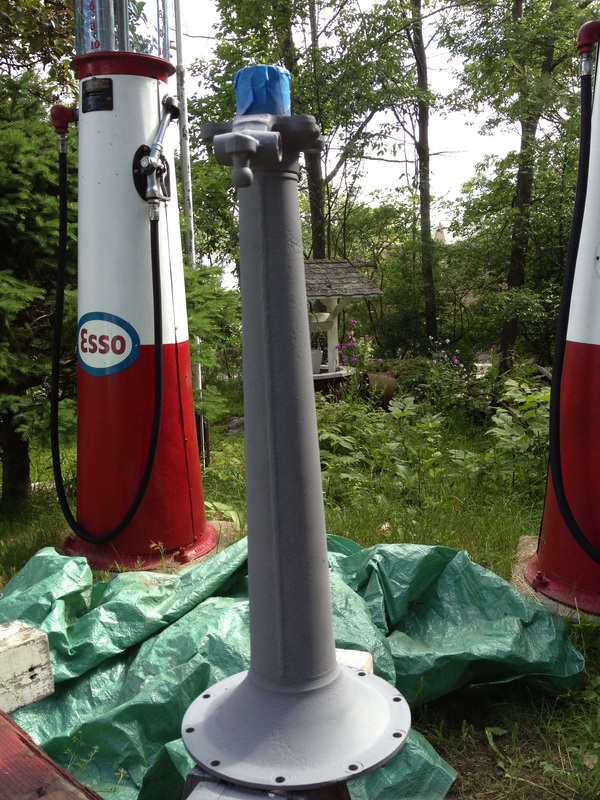
I sandblasted and primed the torque tube and axle housings and decided to temporarily attach them to the differential housing (banjo) so that I could wire brush the banjo without worrying about getting anything inside. Next step is to take it all apart again, put in new gaskets and the new seals, then put it back together and paint and clear coat.
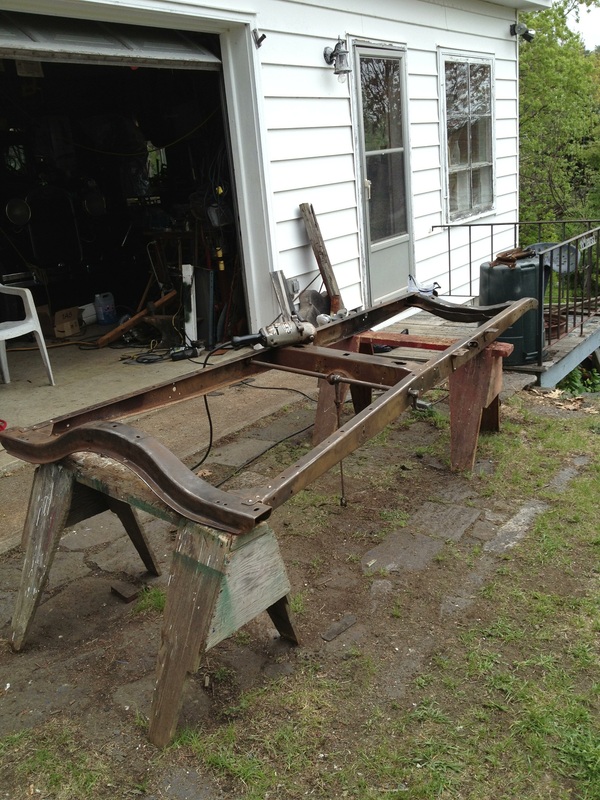
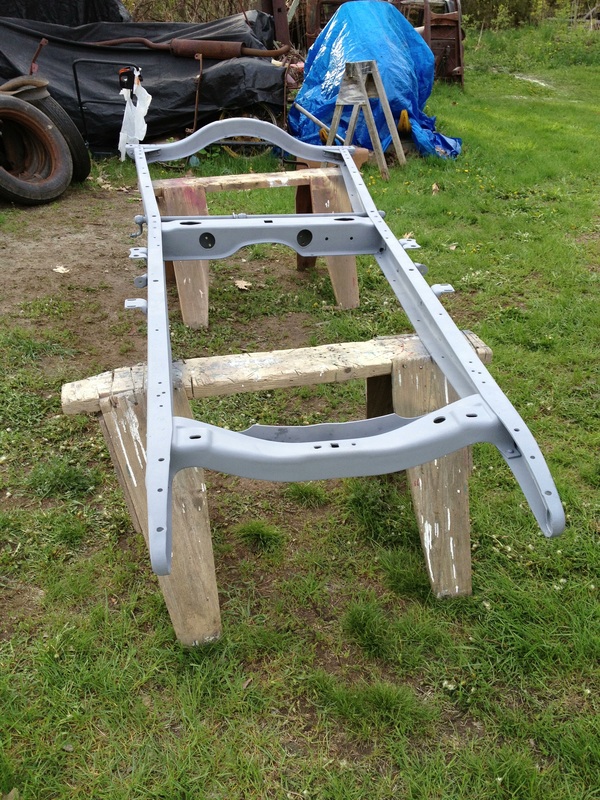
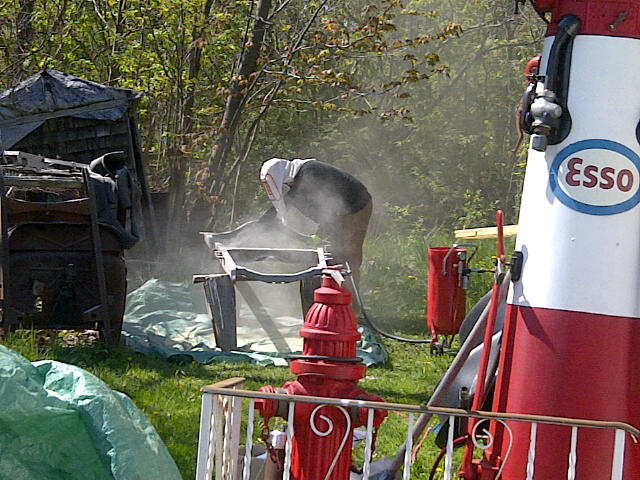
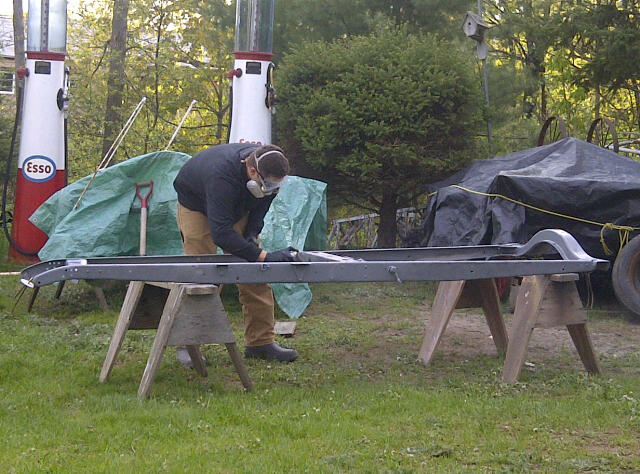
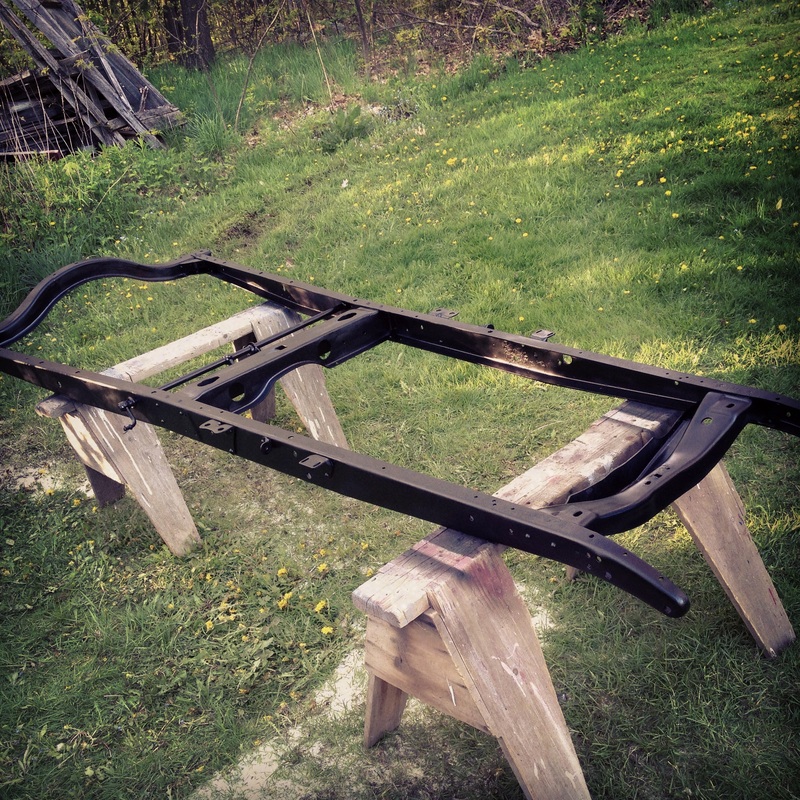
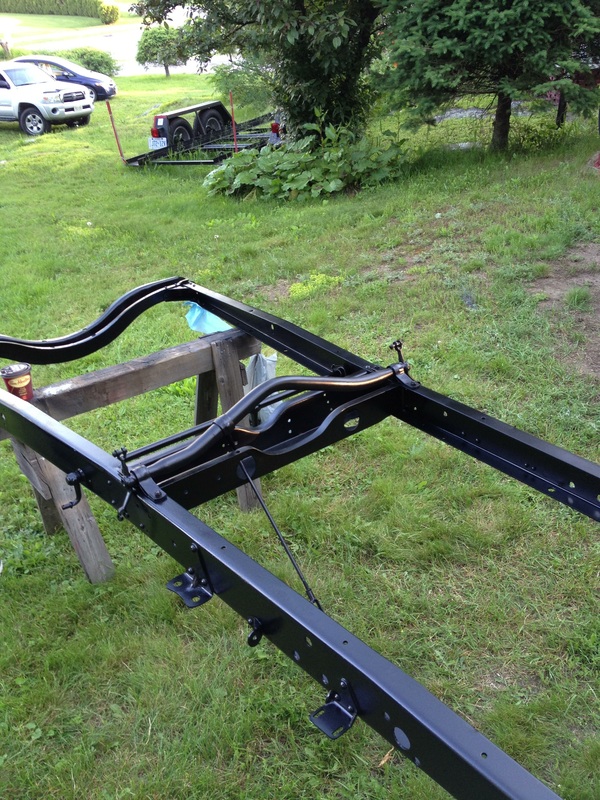
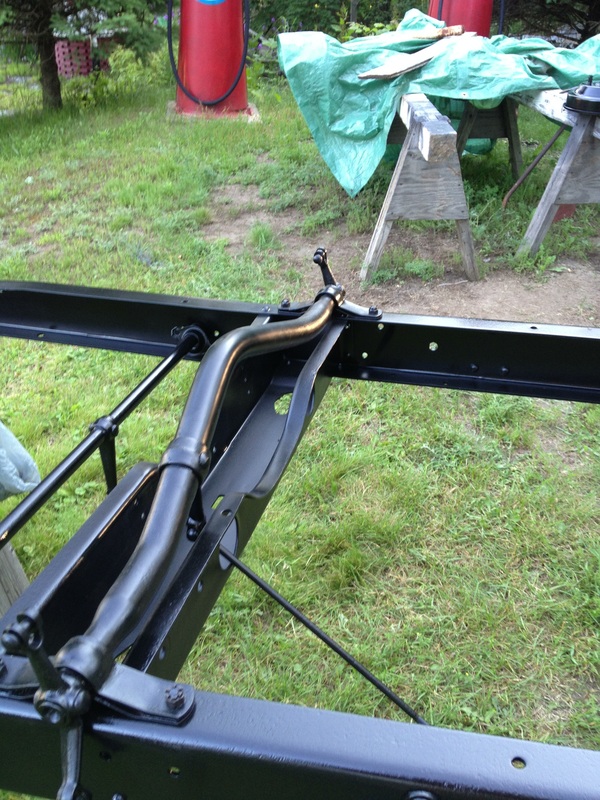
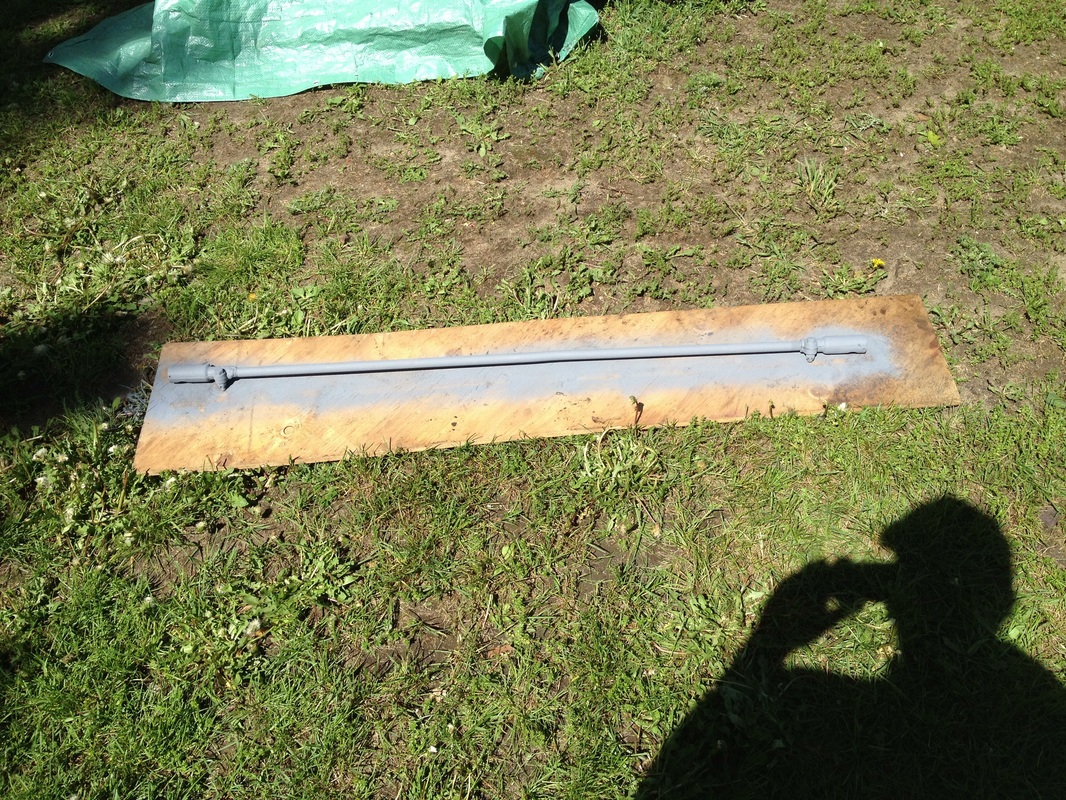
These pictures are from when I took the front and rear end off the frame, and sandblasted. I sprayed one coat of Self Etching Grey Primer, and 2 coats of Valspar Anti Rust semi gloss paint. Turned out great.
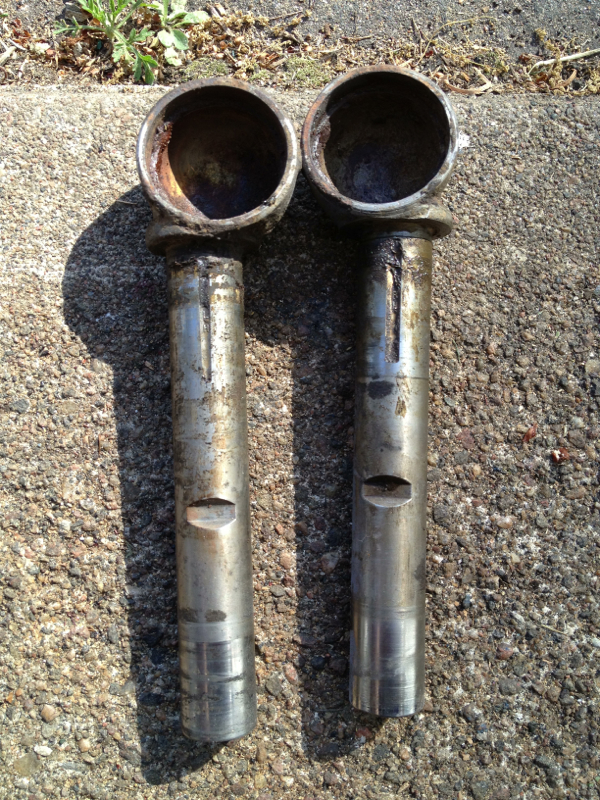
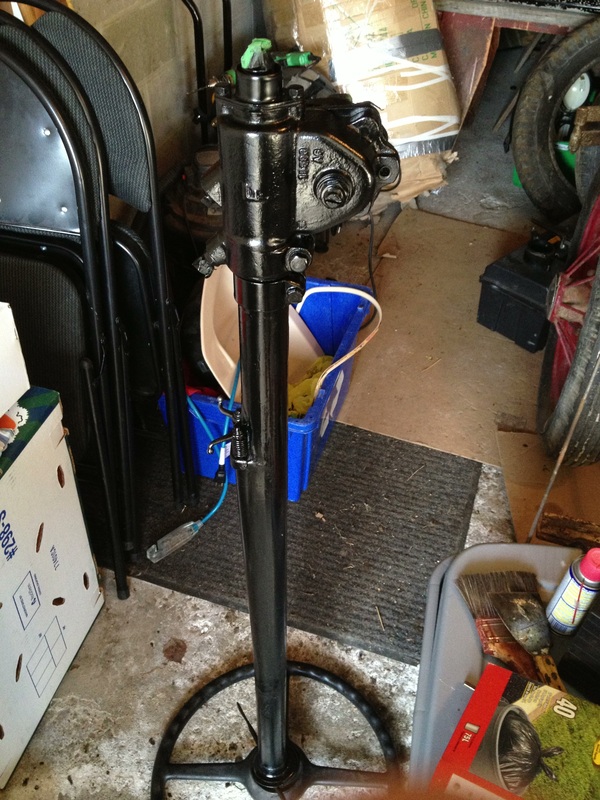
King pins are very important and vital to your Model A's steering, the littlest bit of play can go a long way. I was able to borrow a reamer to ream the new king pin bushings and I was a little hesitant at first, but it turned out great. I had a rather short reamer (adjustable) to run through the bushings which proved to be a pain for lining up the two bushings so that the king pin would go through, but luckily I had a second reamer that went through both bushings.
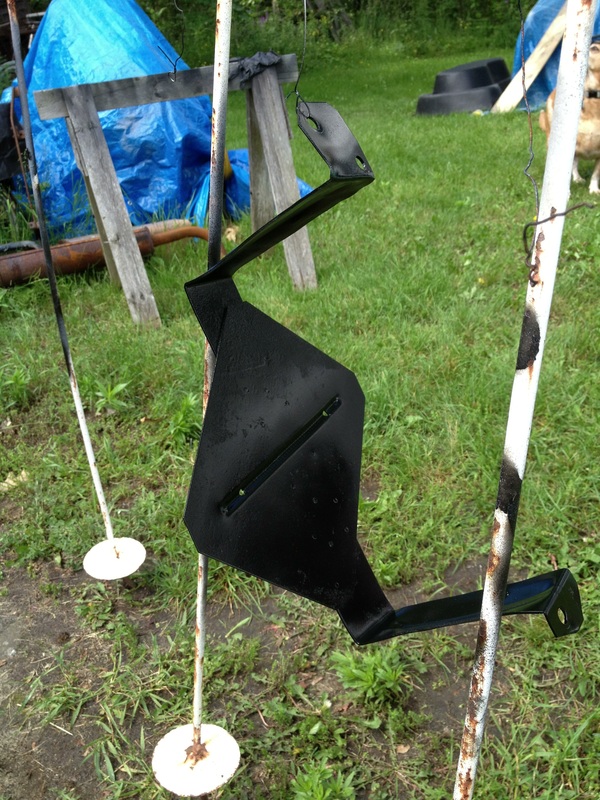
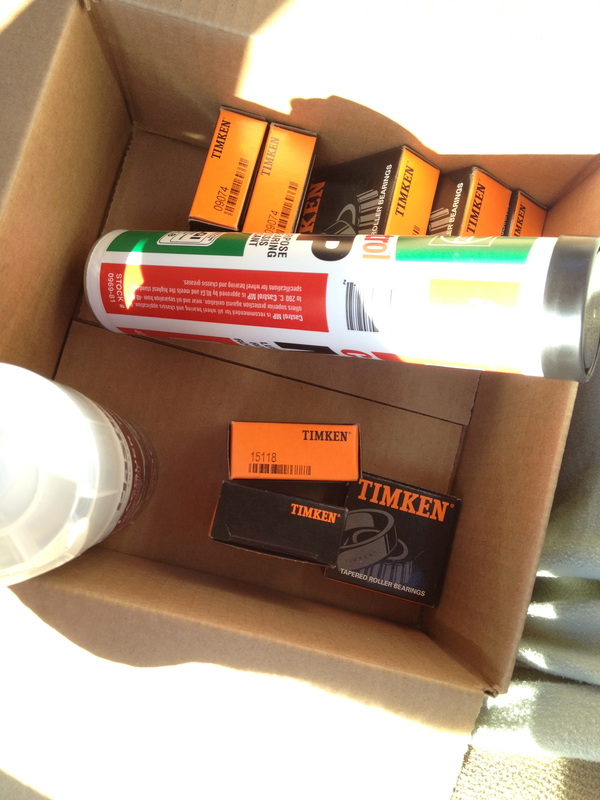
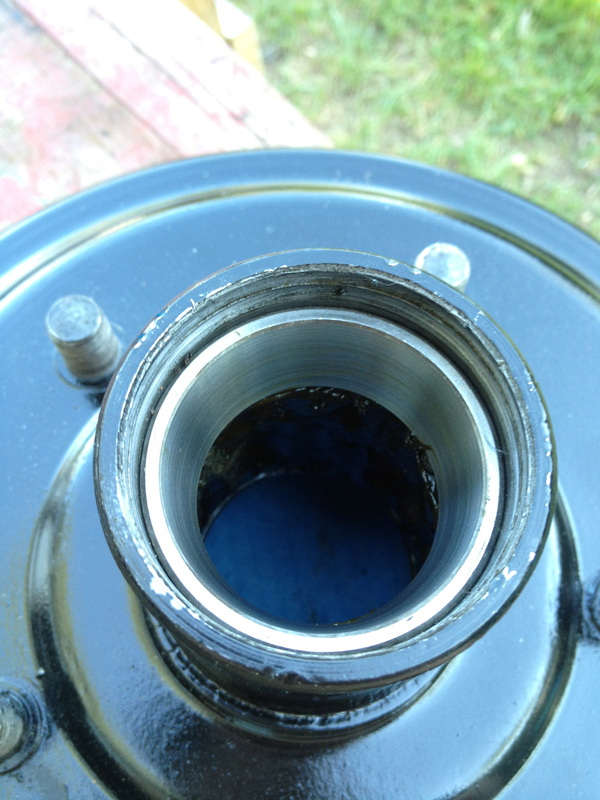
Today I got inner and outer bearings/races for the front hubs. I only had one hub done so I knocked out the races and fit the new ones in (see above picture). While taking on this I had paint drying on the other hub and attached the brake cross shaft to the frame.
Tomorrow I will get the other races put into the second hub along with applying a clear coat on.
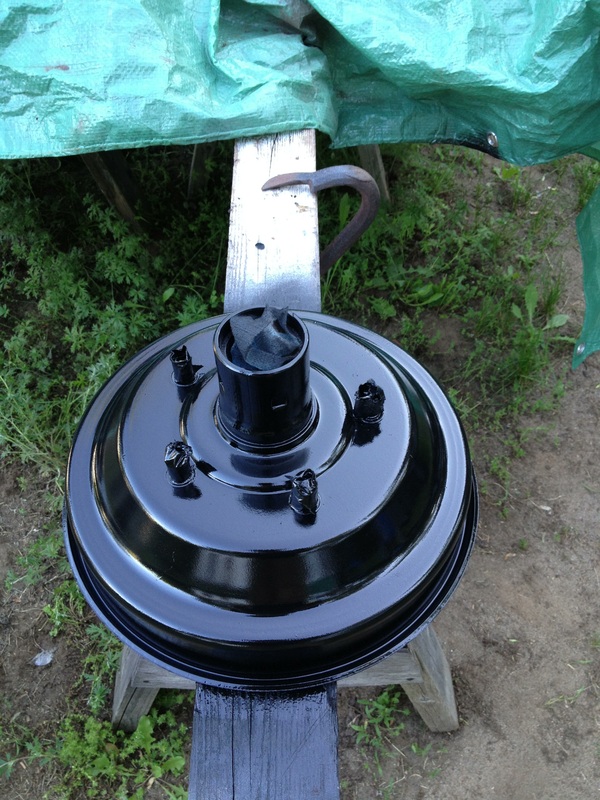
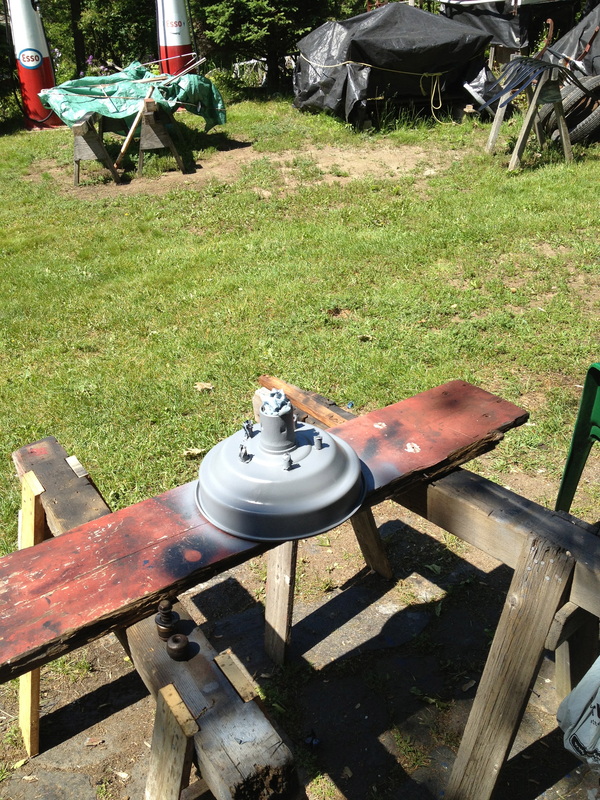
Still haven't been able to get work done on the A, but I managed to do a bit of painting for an hour. I sprayed one coat of self etching primer on the hub, 2 coats of Val Spar Anti-Rust gloss black paint, and 2 coats of Plastikote Clear Coat Lacquer and it turned out great!
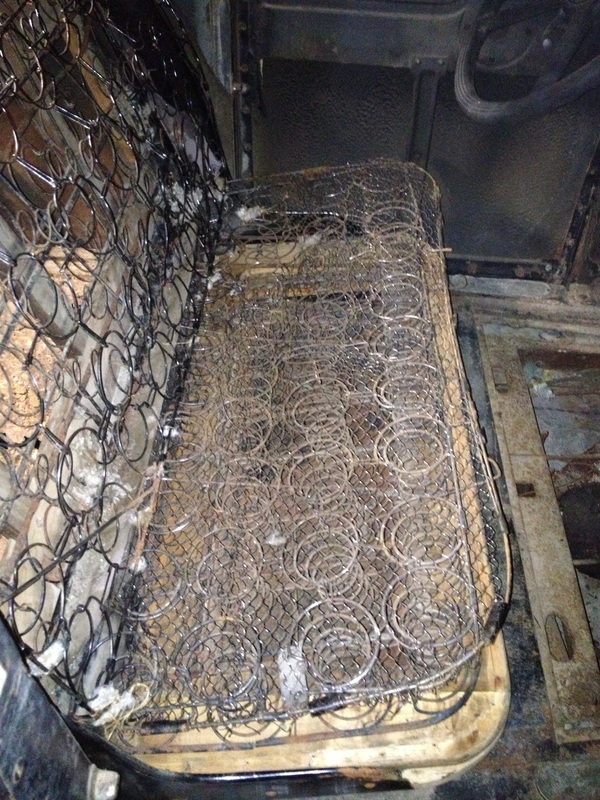
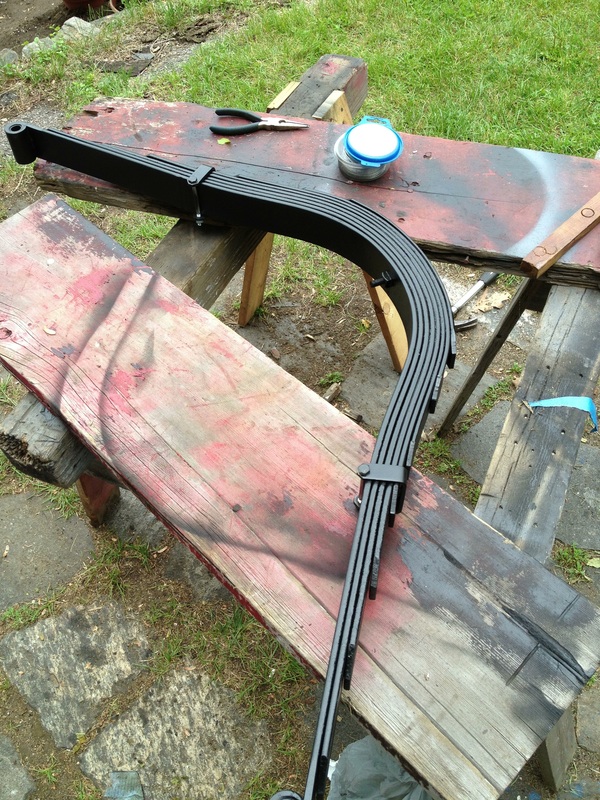
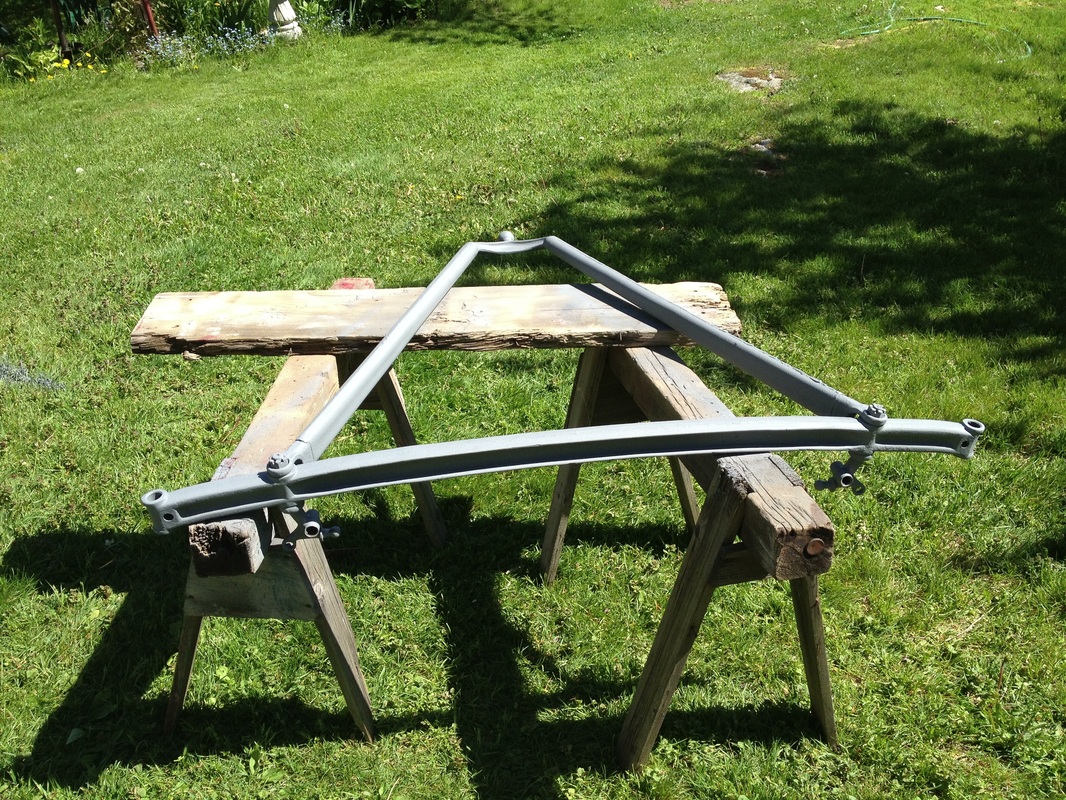
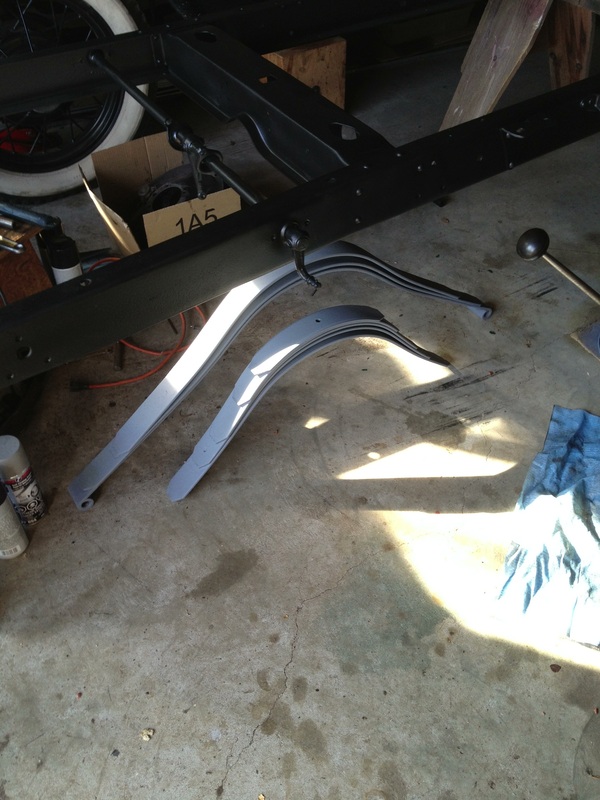
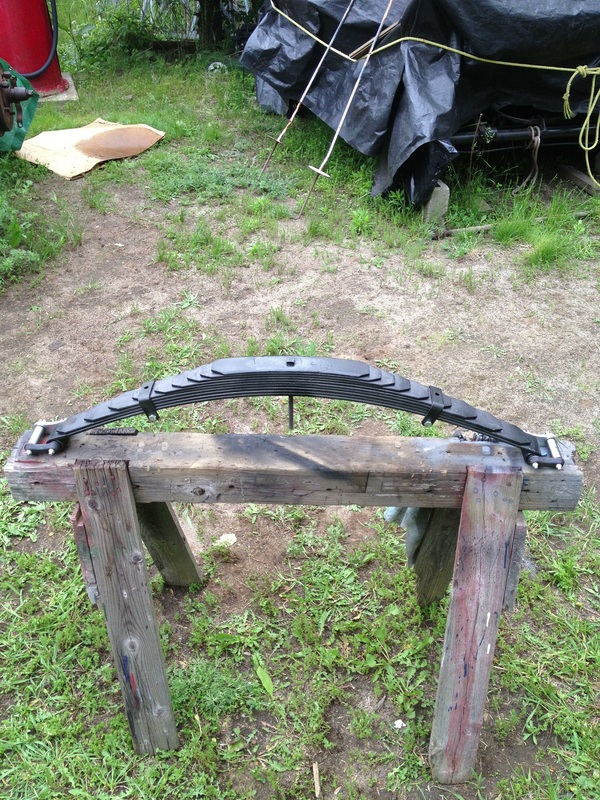
I also forgot to post a picture of my completed rear springs.
Hoping that I am feeling good enough to tackle the rear end and maybe get some sandblasting done. I would like to finish the other 3 hubs.
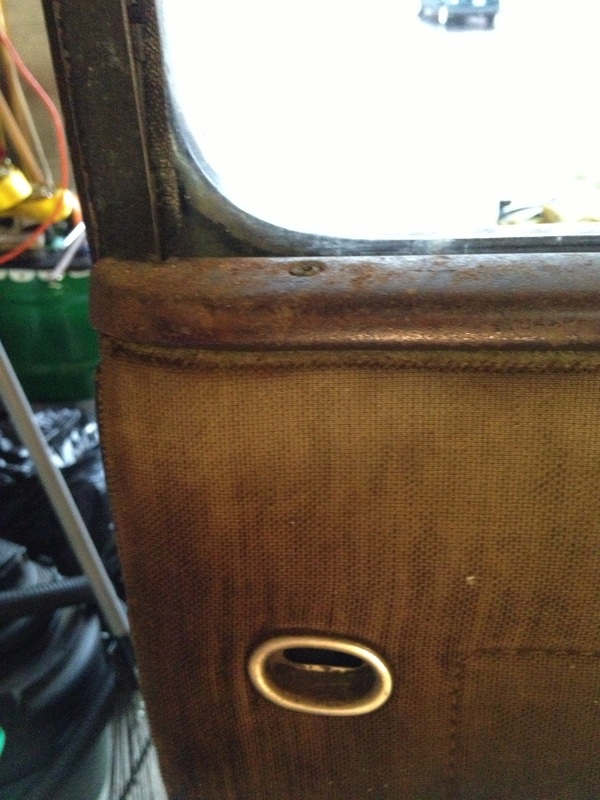
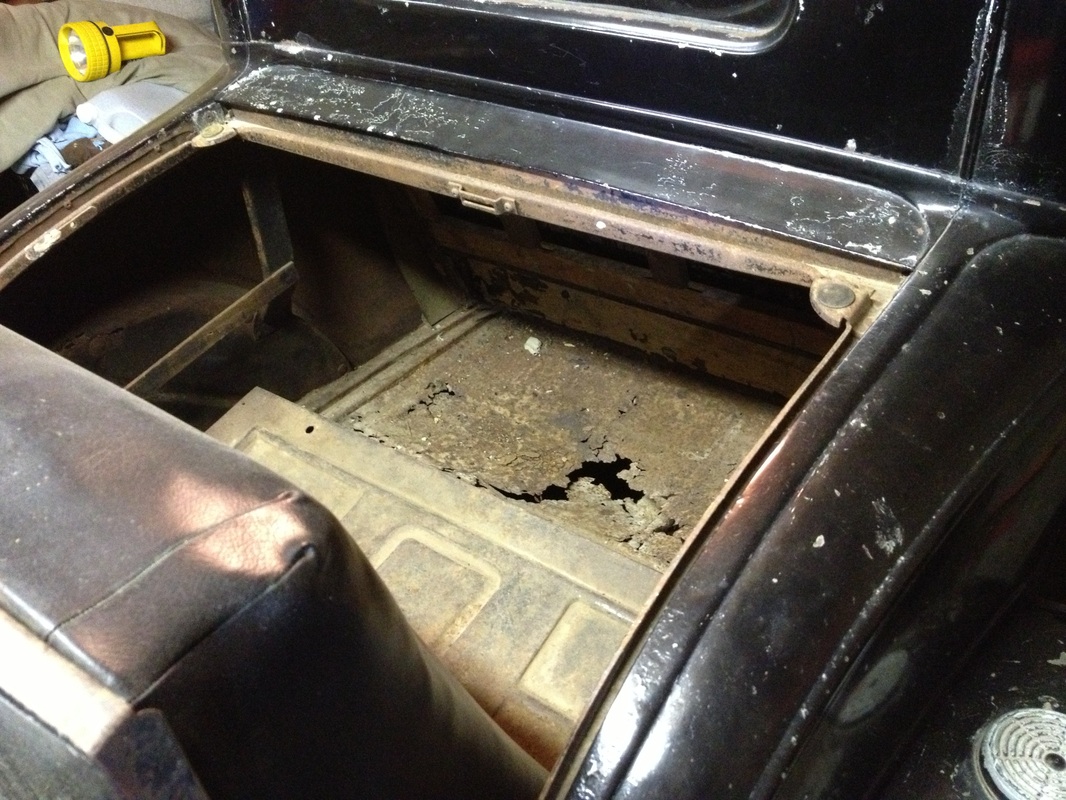
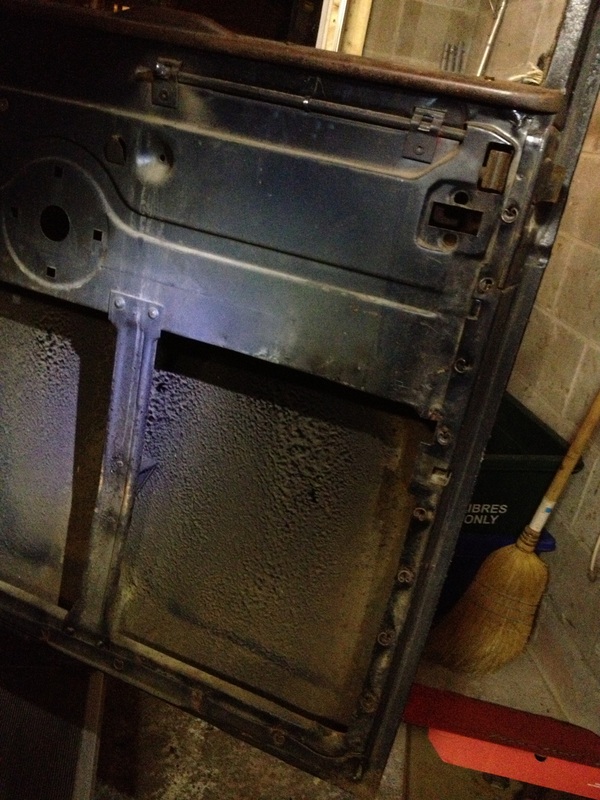
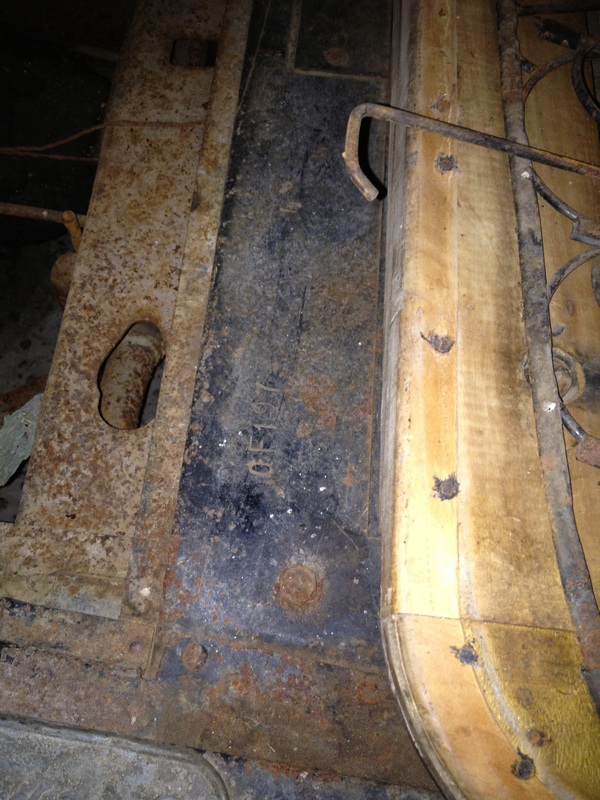
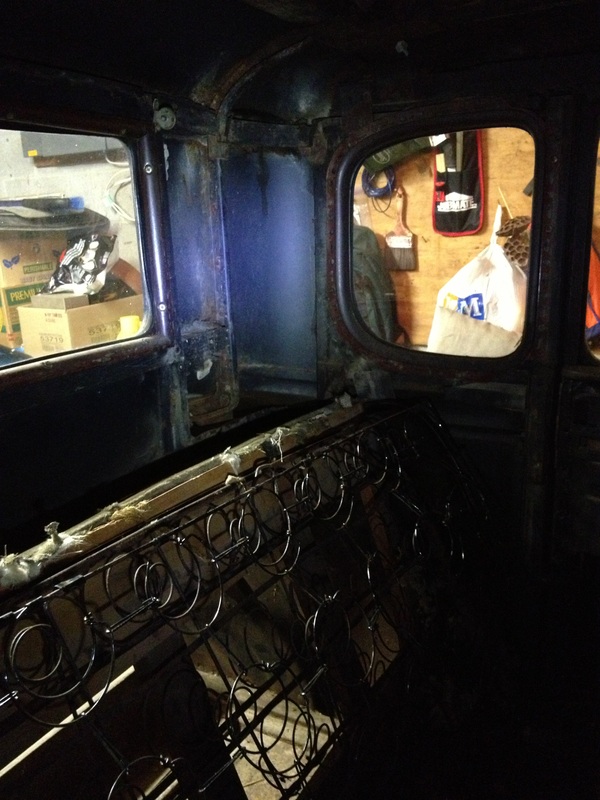
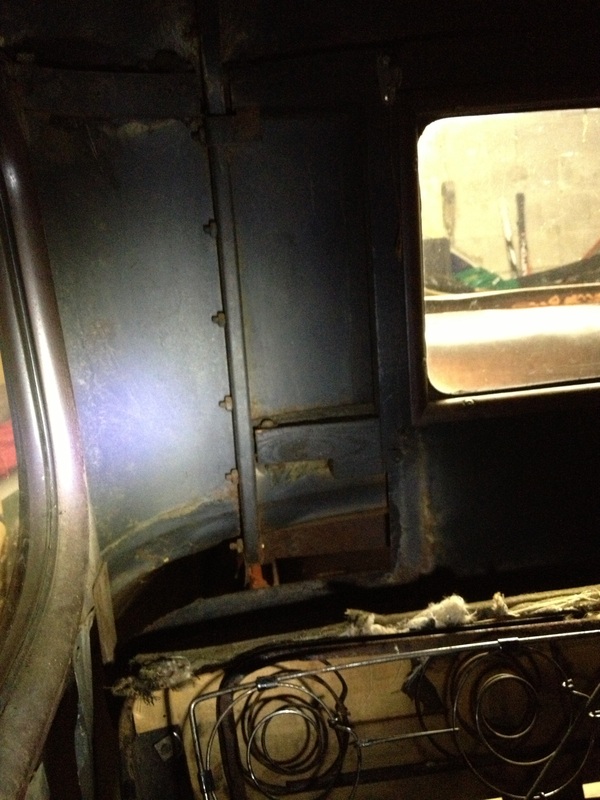
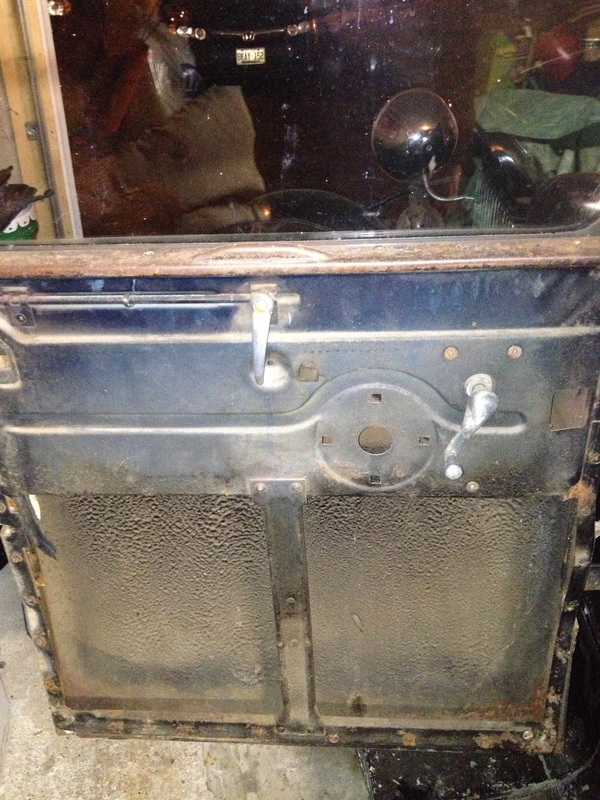
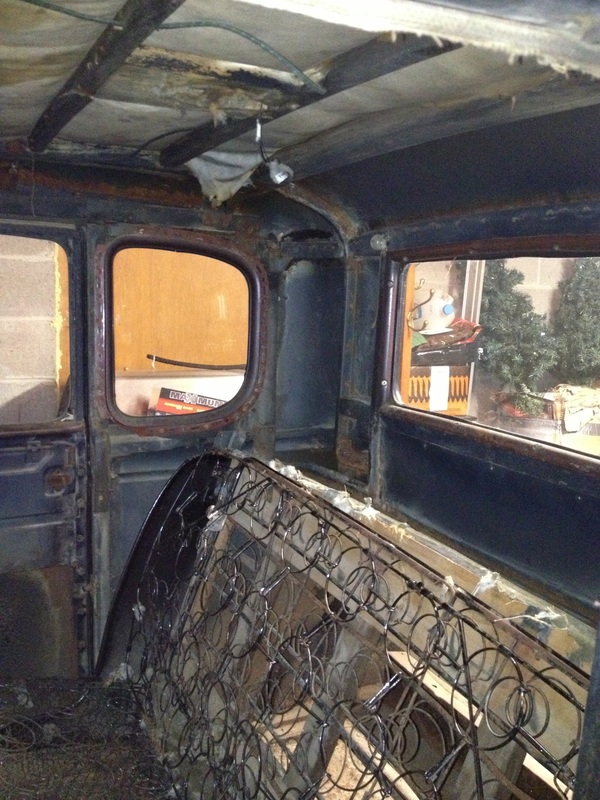
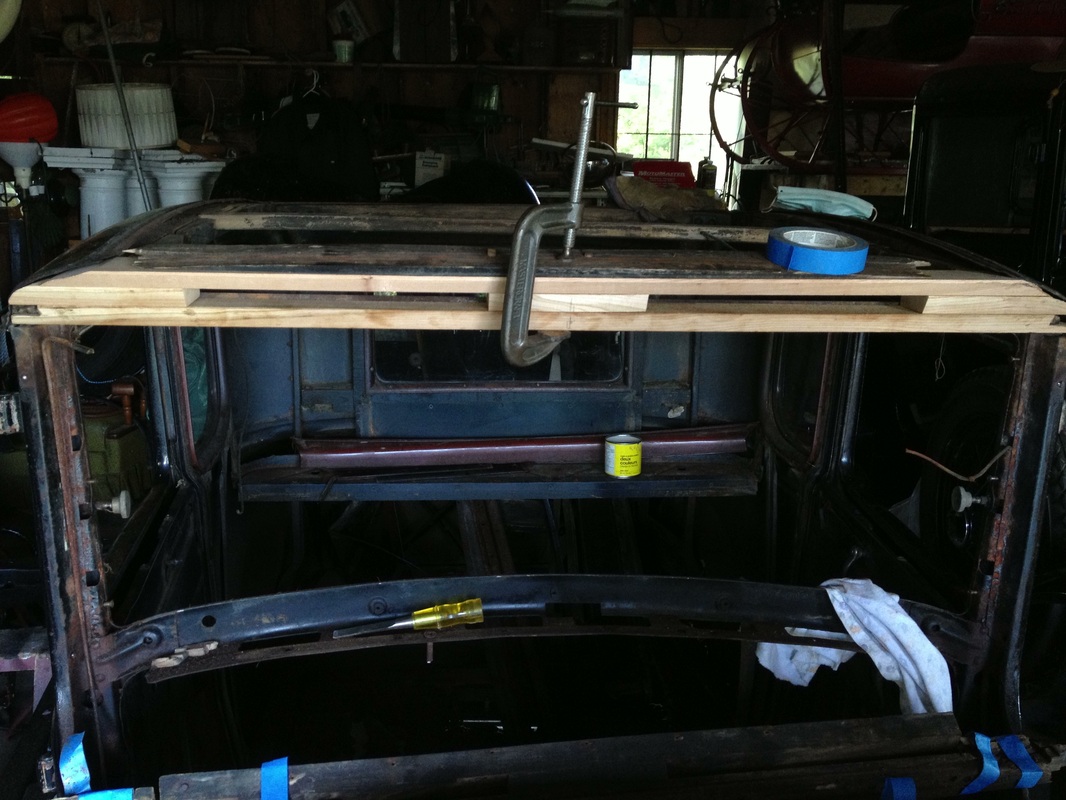
This is just a gallery dedicated to random photos. My girlfriend's grandfather is a retired wood worker, and has already began working on the wood in the car.
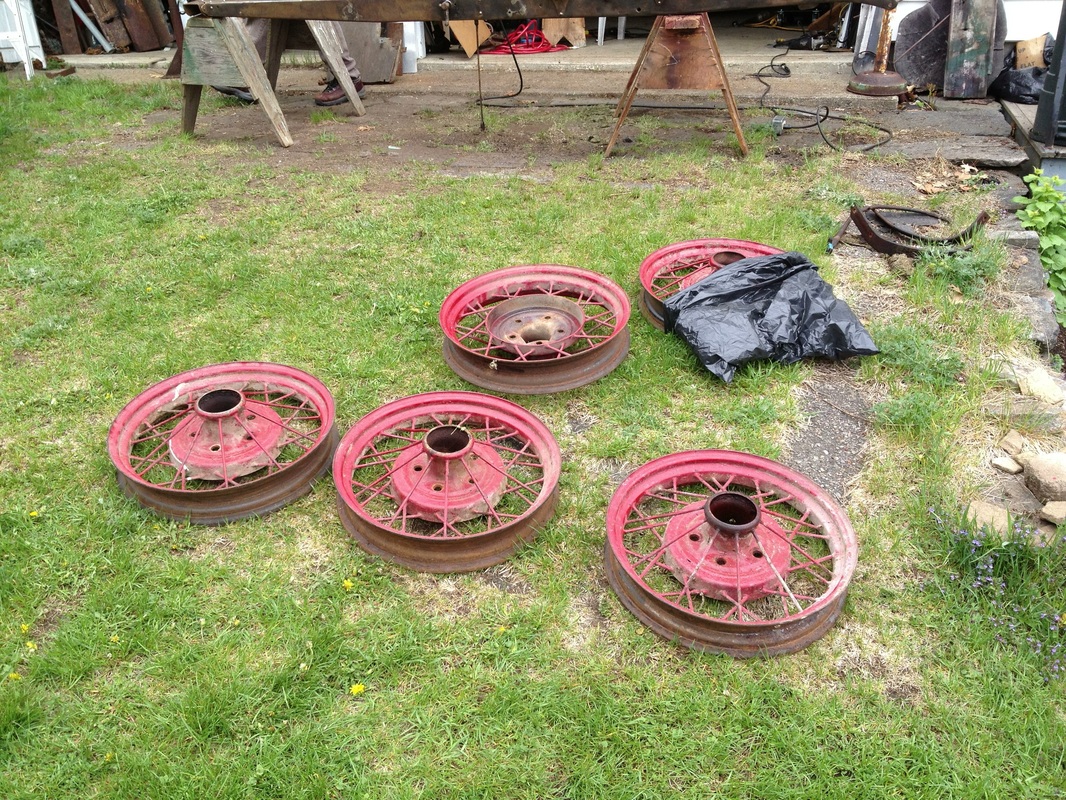
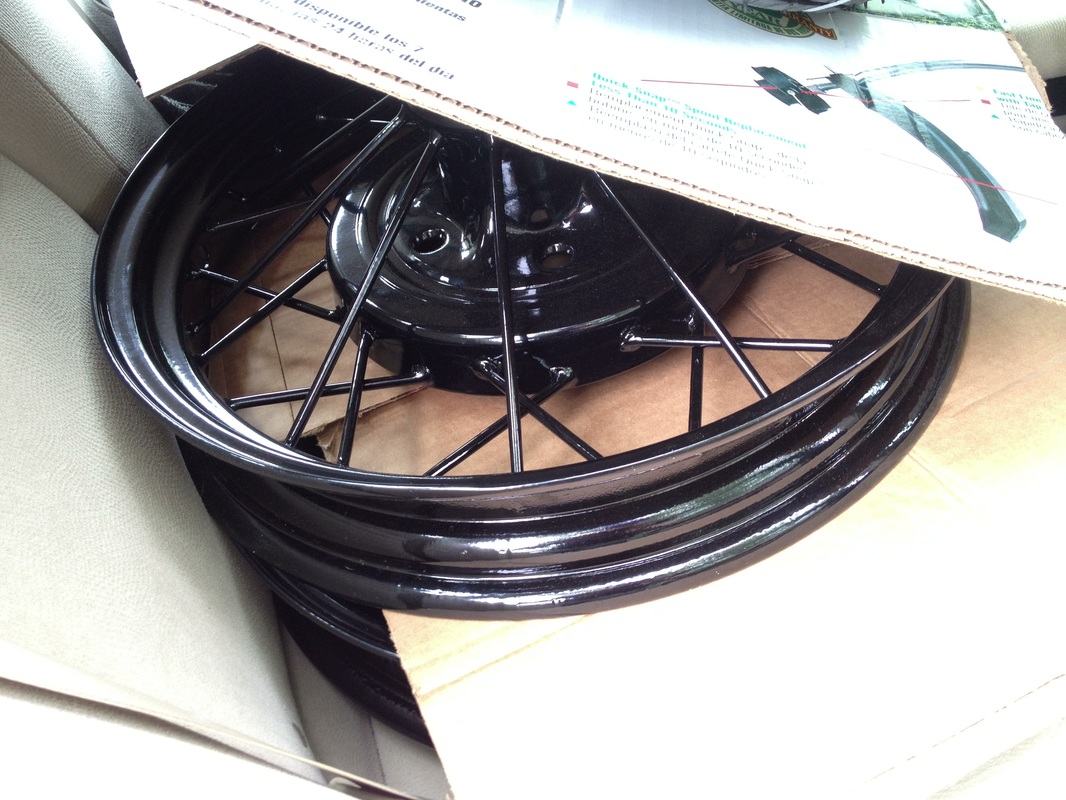
Just this past weekend was my birthday weekend, and I used some of my birthday money towards new Lester black wall tires. I had sent my wheels out about a month ago to get powder coated and I picked them up at the same time. They turned out a lot better then I had imagined, and the pictures do not do them justice. Worth pointing out that I am planning to do the car all black.
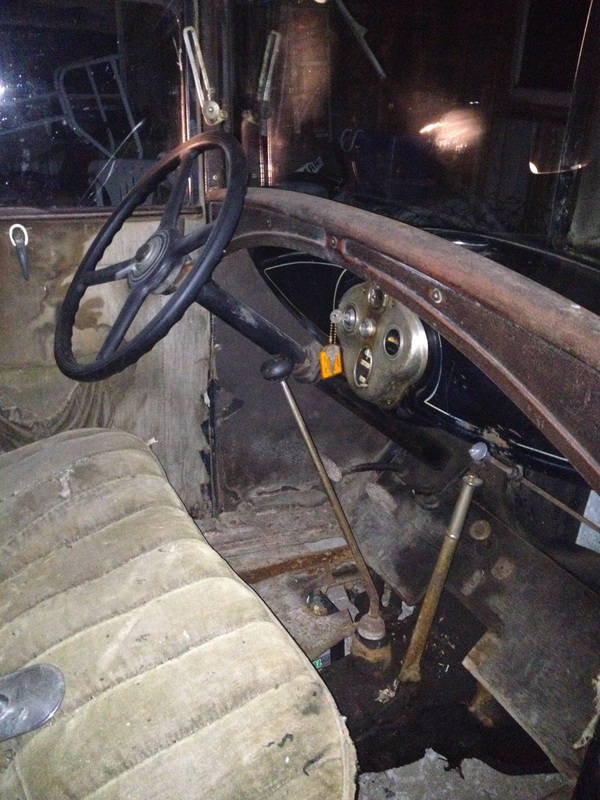
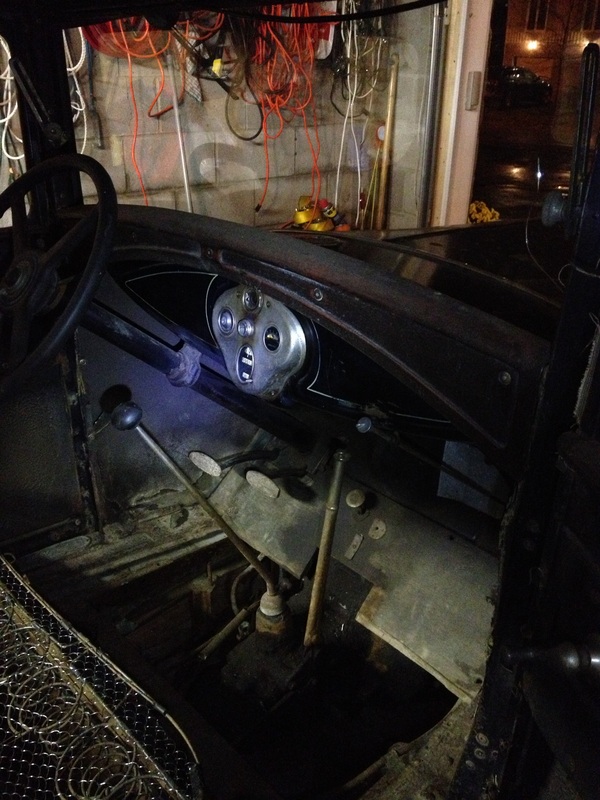
I am now caught up to where I am at right now with the car. I have skipped a lot so if there are any questions or picture requests, please let me know and I will get them up.
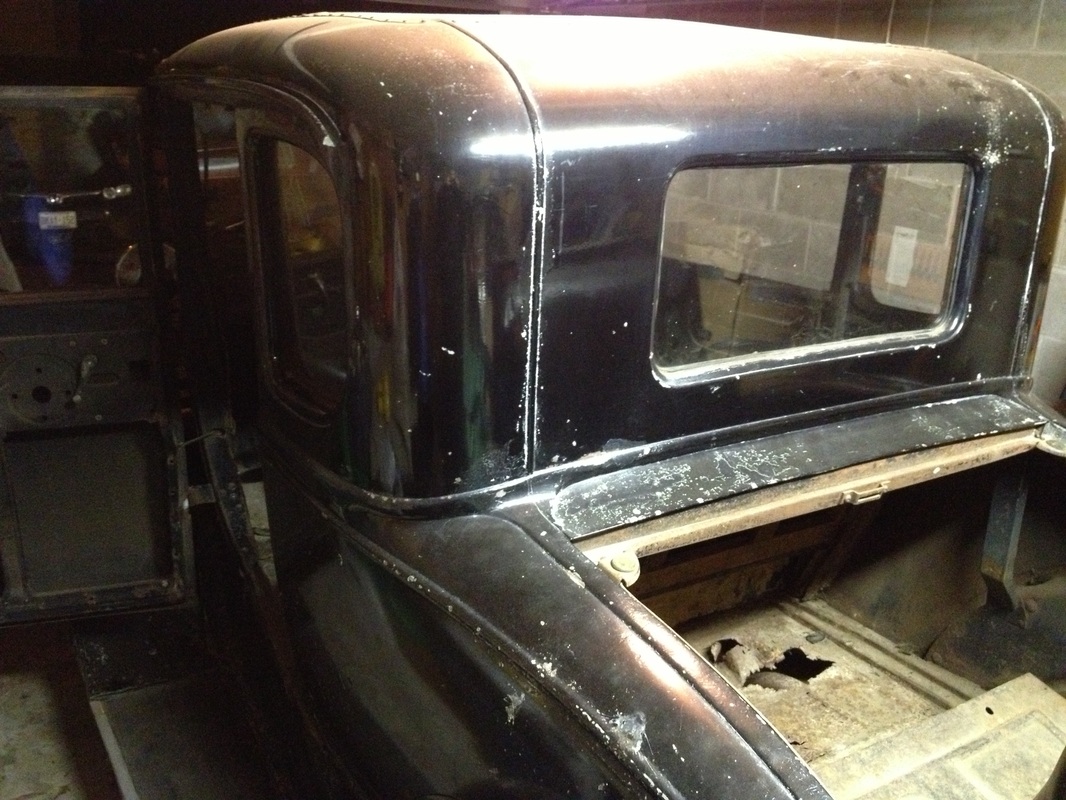
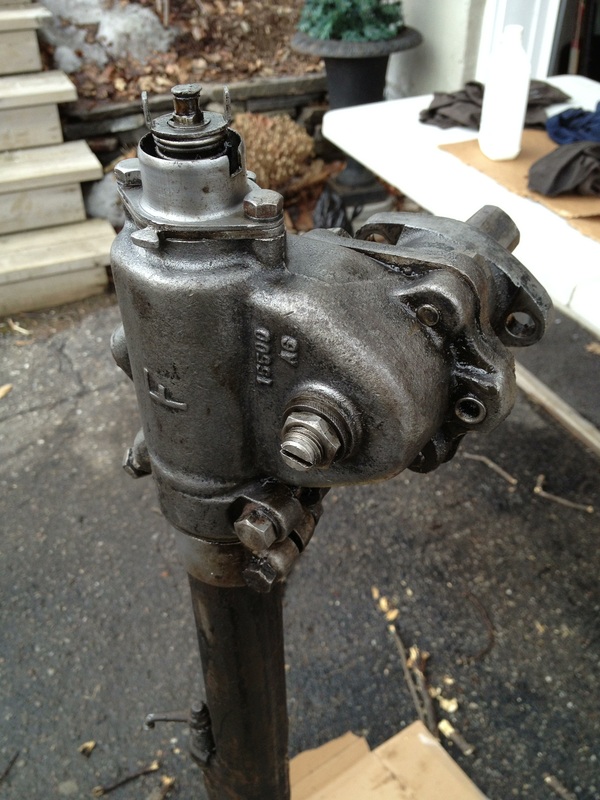
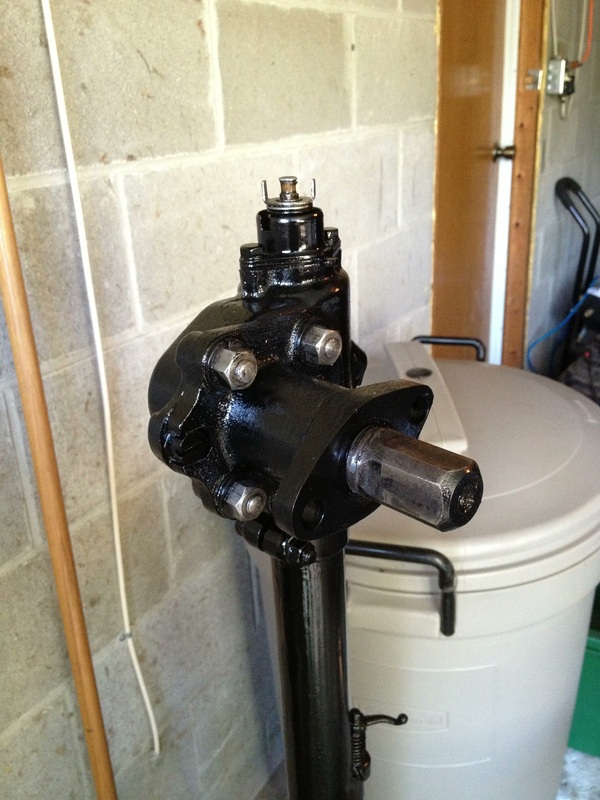
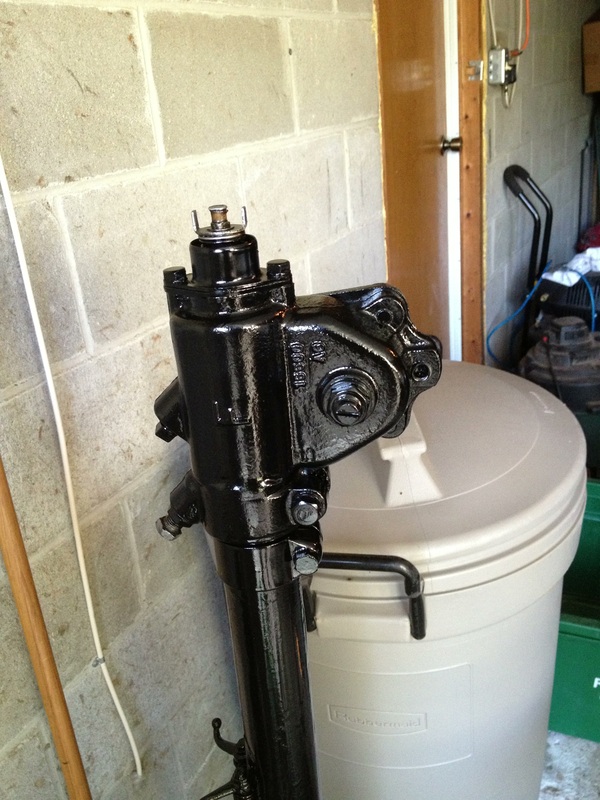
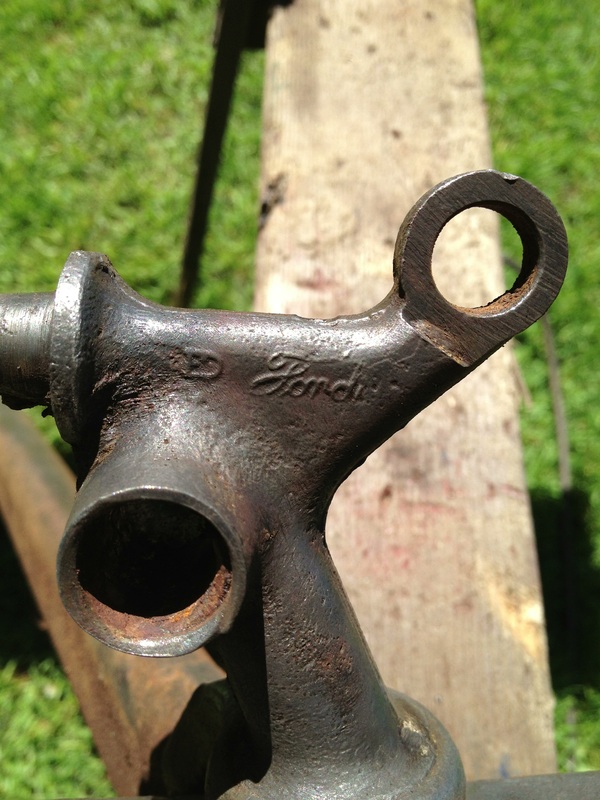
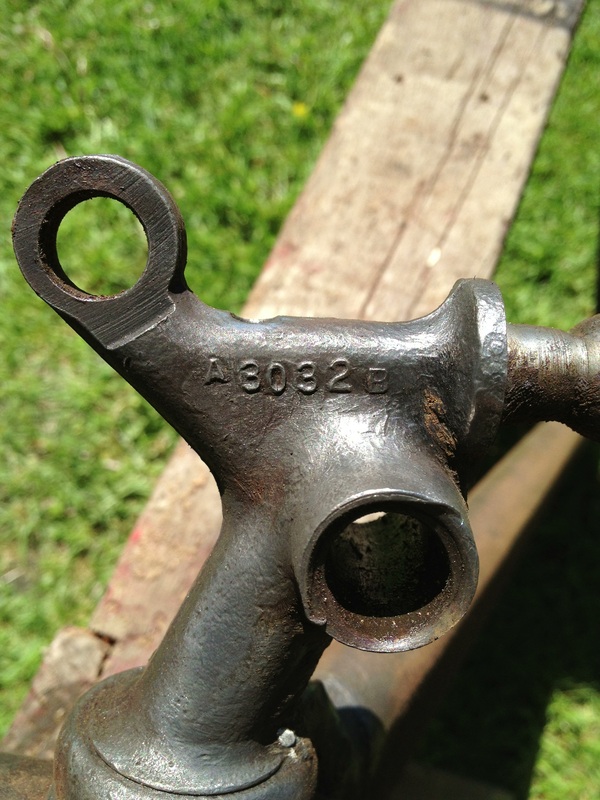
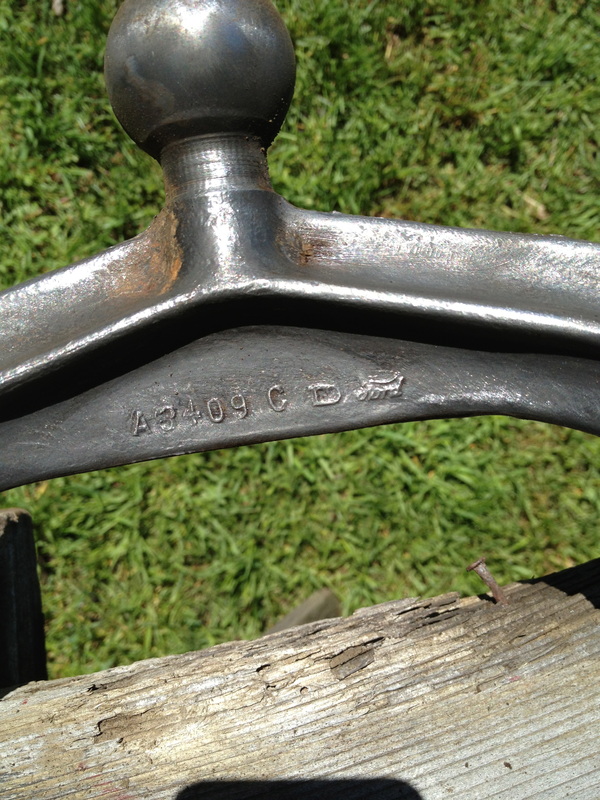
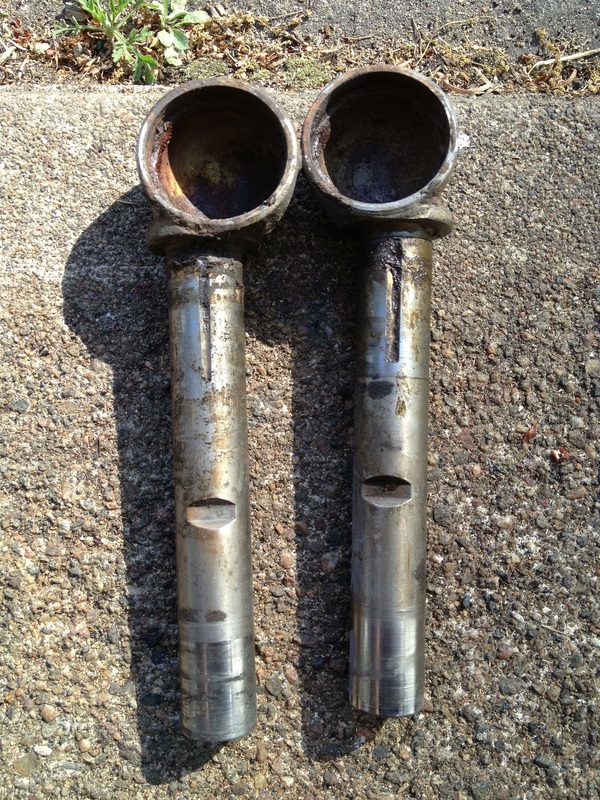
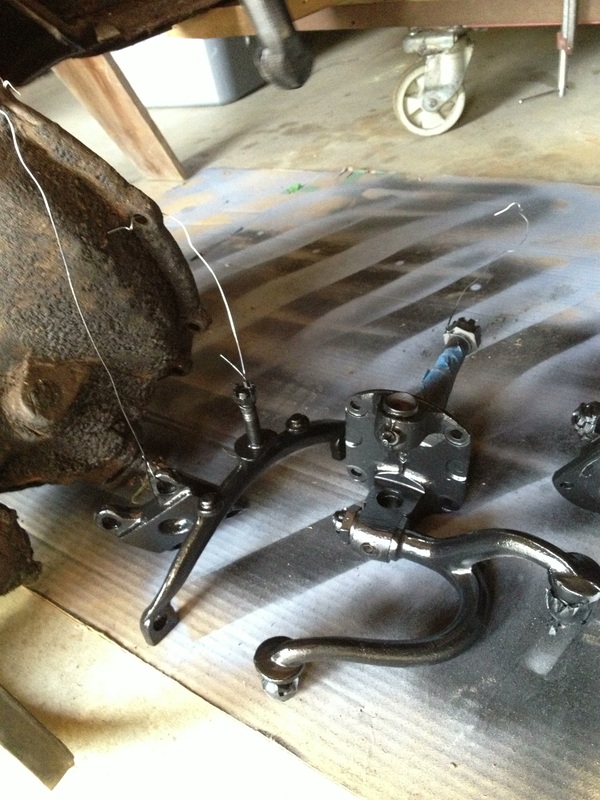
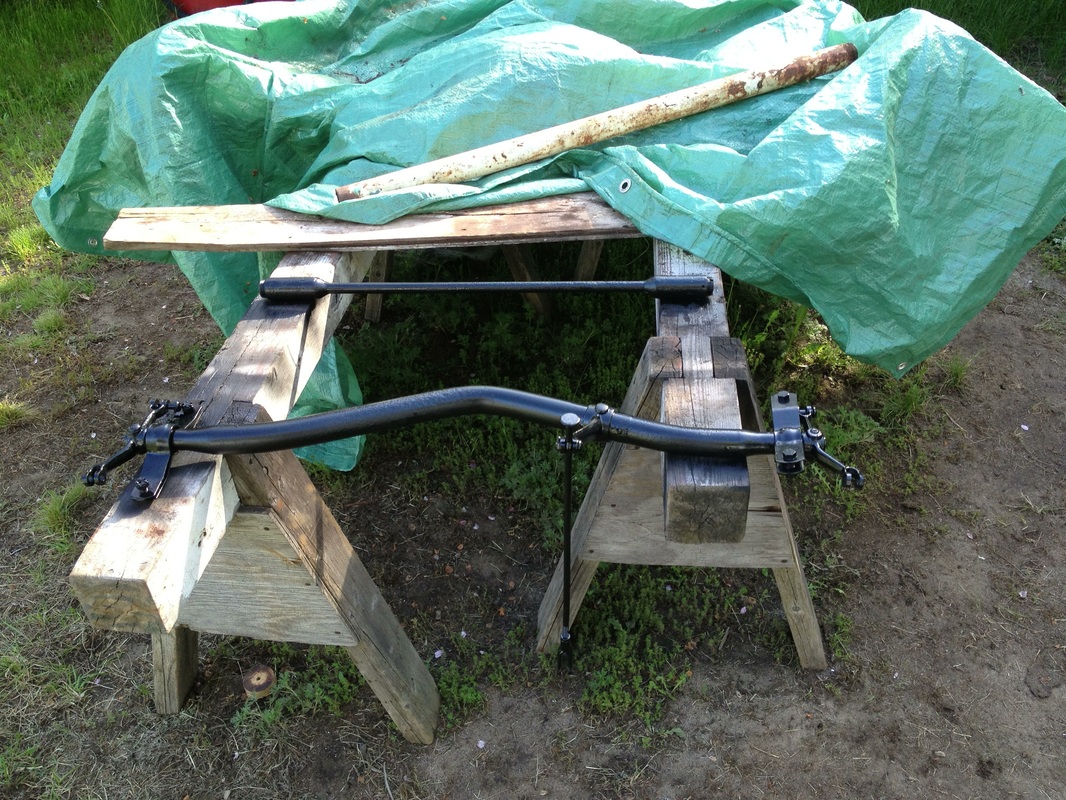
This gallery is of the front end and other parts from the front. Everything is now primed and painted, just don't have any pictures of the front end itself yet.