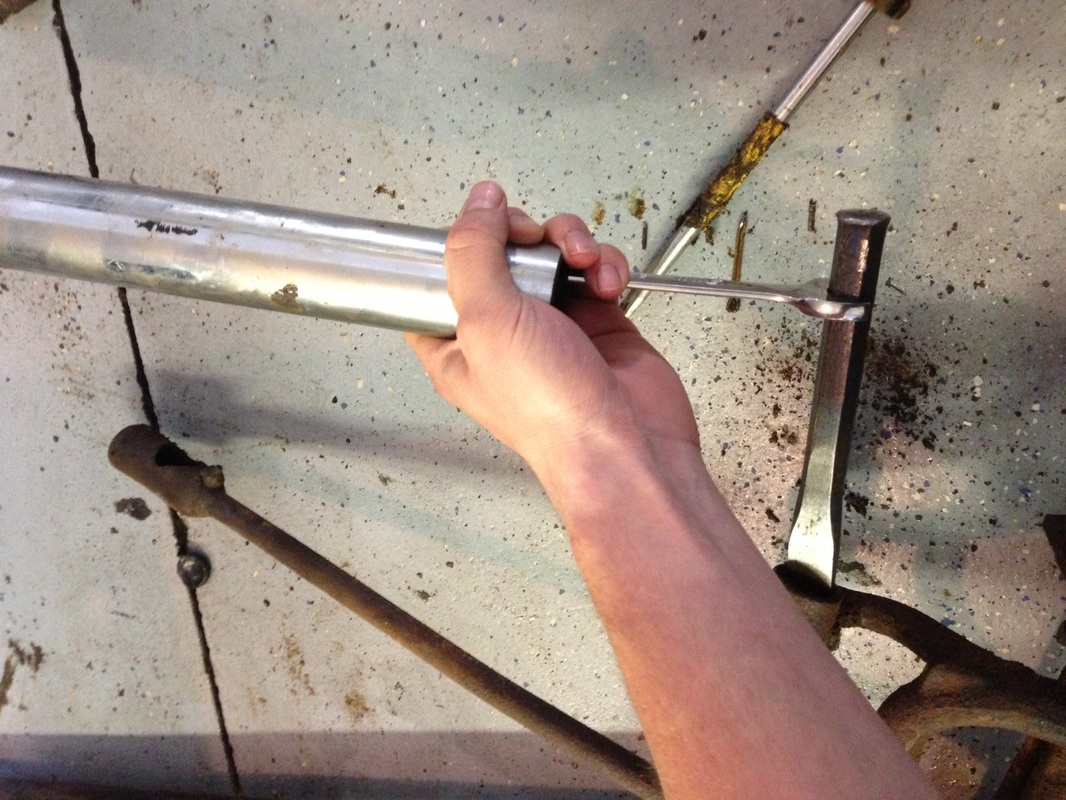
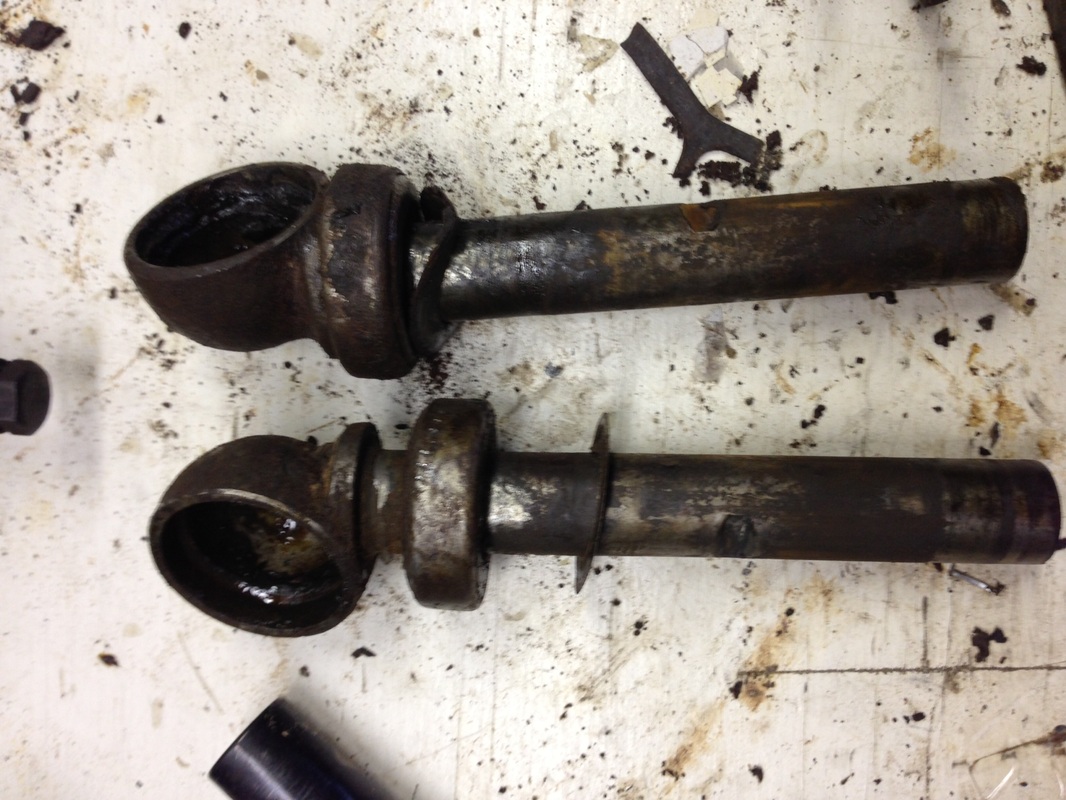
Work has started on the front end and I knew this was going to be hard to disassemble because of all the rust generated by the years of sitting outside. The tie rod end was were I started and trying to remove the end caps with the slotted screw driver was difficult and would not budge. After almost destroying a screw driver I got creative with a cold chisel, 16mm wrench and a pipe for leverage! Doing this worked like a charm and both the end caps started to turn. Each turn I sprayed some PB blaster to help it come along. Note: I kept an eye on how many times the end cap made a complete turn so when I assemble it back together I would know how many turns to set the toe in.
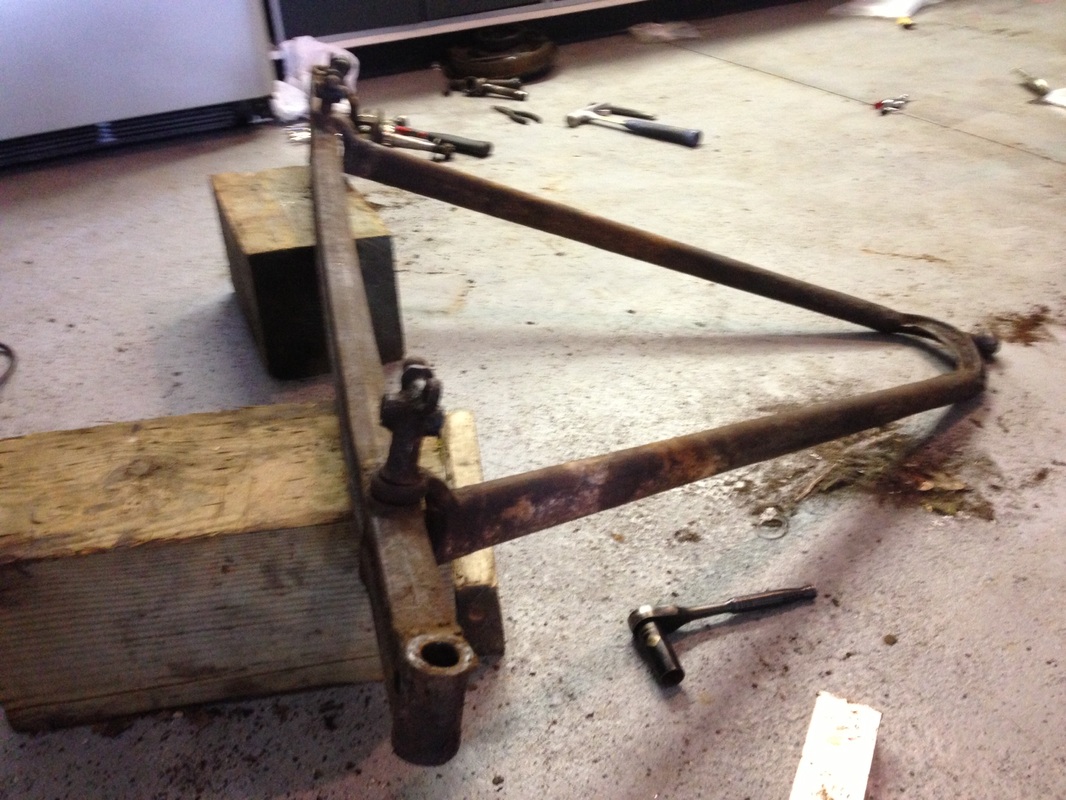
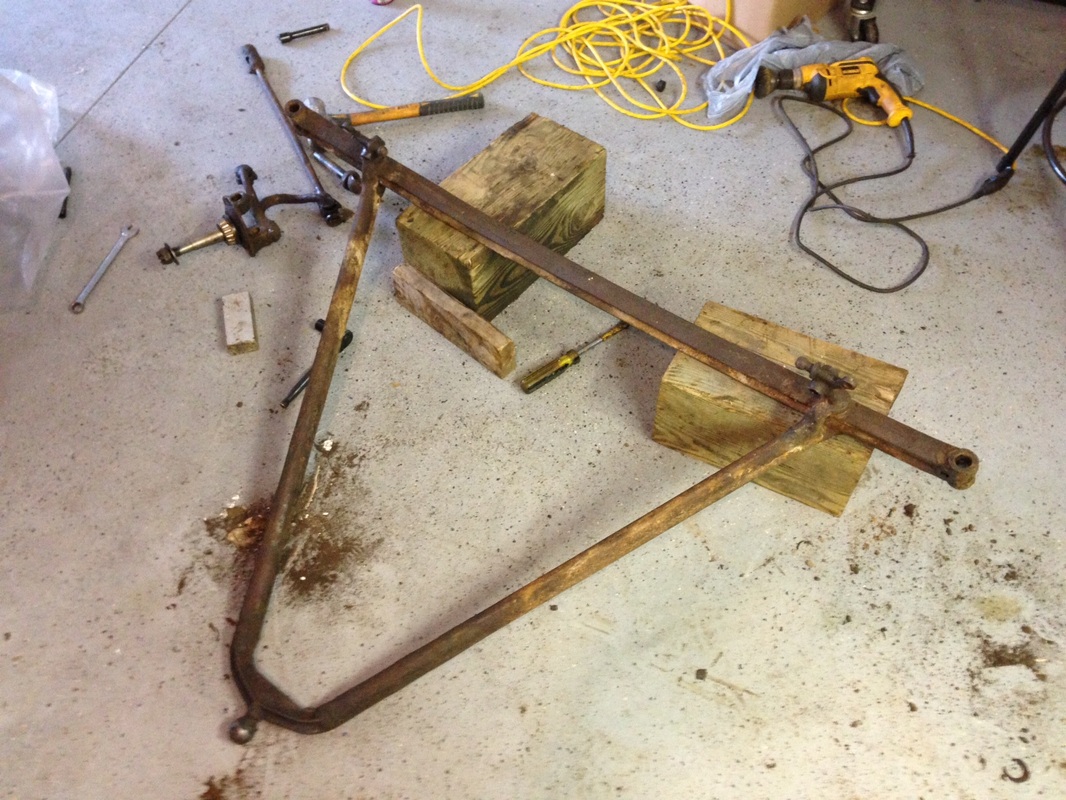
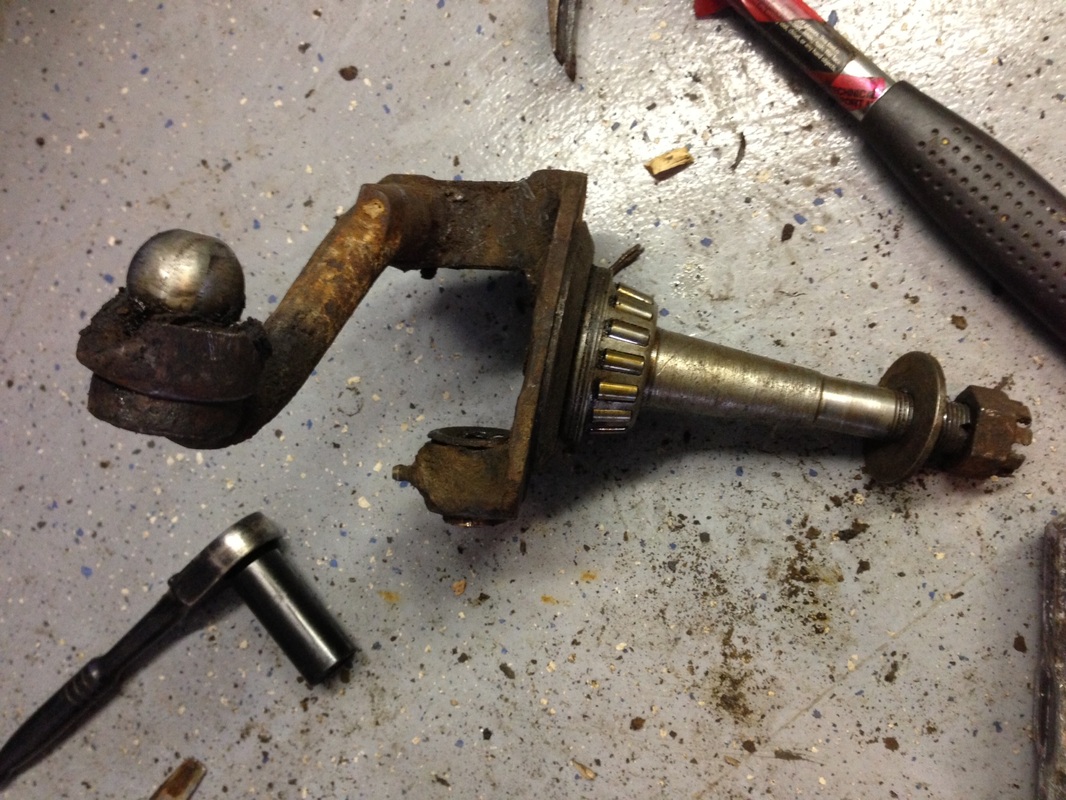
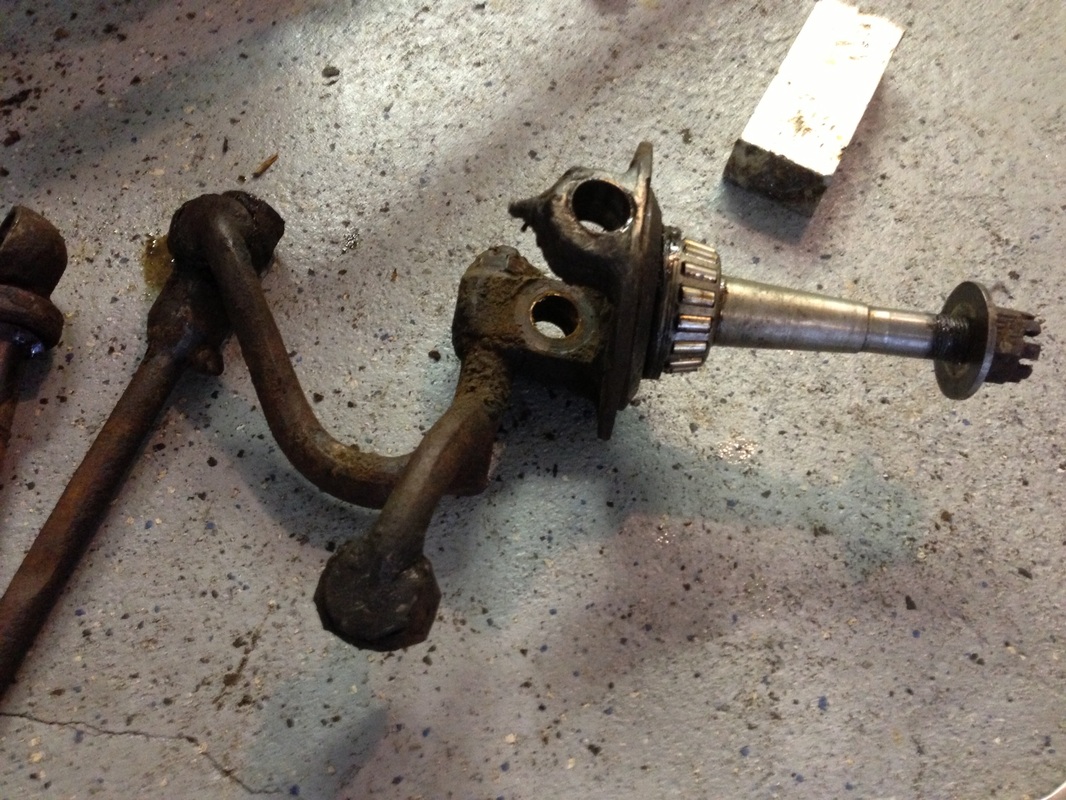
After the Tie Rod came off it was time to take apart the spindles from the front axel. Again everything was tight and rusted and a lot of hammering and patients were involved. First step was to take off the nut that holds the cross shaft for the brake arm to frame perch. Next was to knock out the pin that holds the king pin in place. I backed off the nut a bit to protect the threads on the bolts and used a heavy hammer to get it out. Few solid blows and it loosened up and started to slide out. Last step was to turn the front axel upside down and use a punch to drive the king pin out of the holder. In all, this took about an hour because everything was fighting me. Now that the front end is apart I am going to wire wheel it all and inspect everything including the king pins for wear.
 RSS Feed