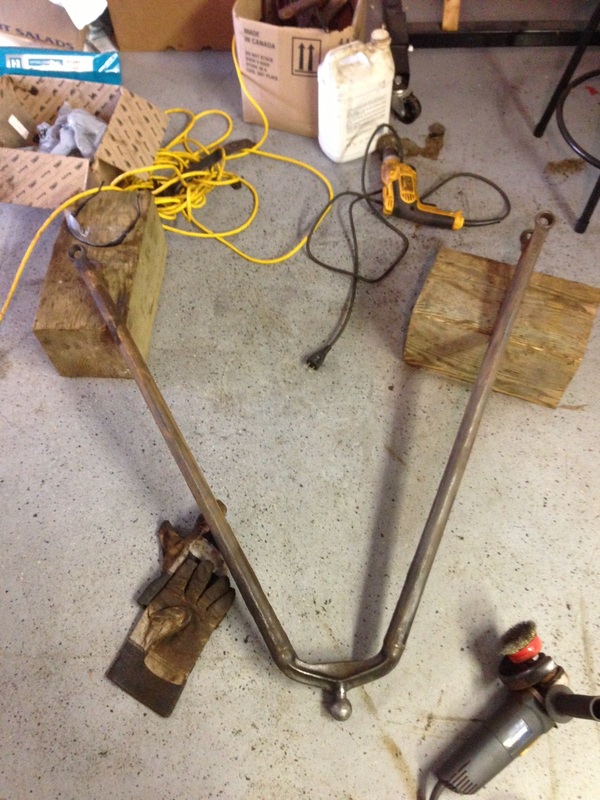
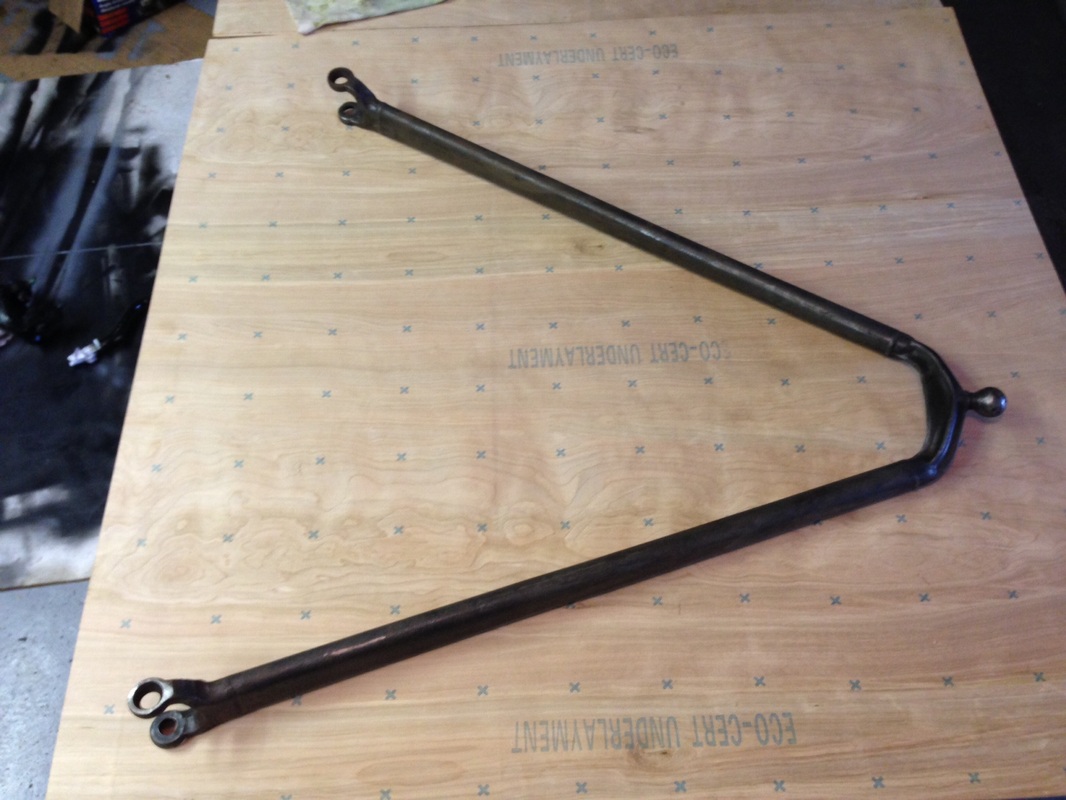
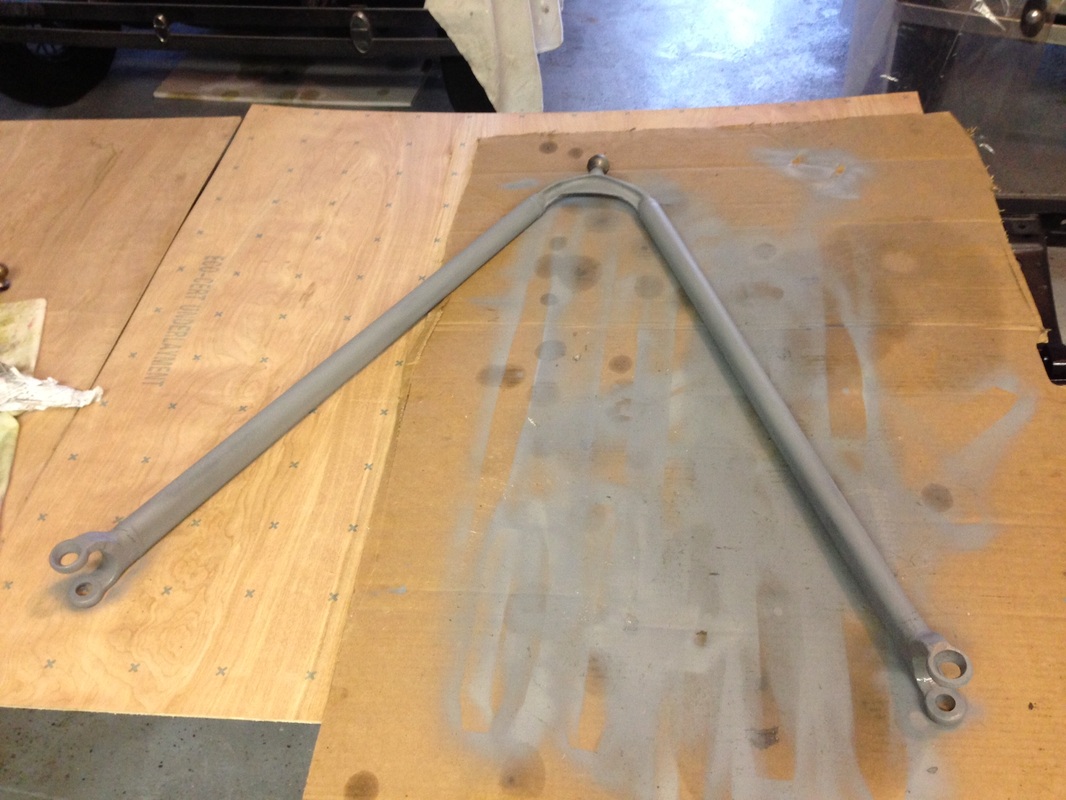
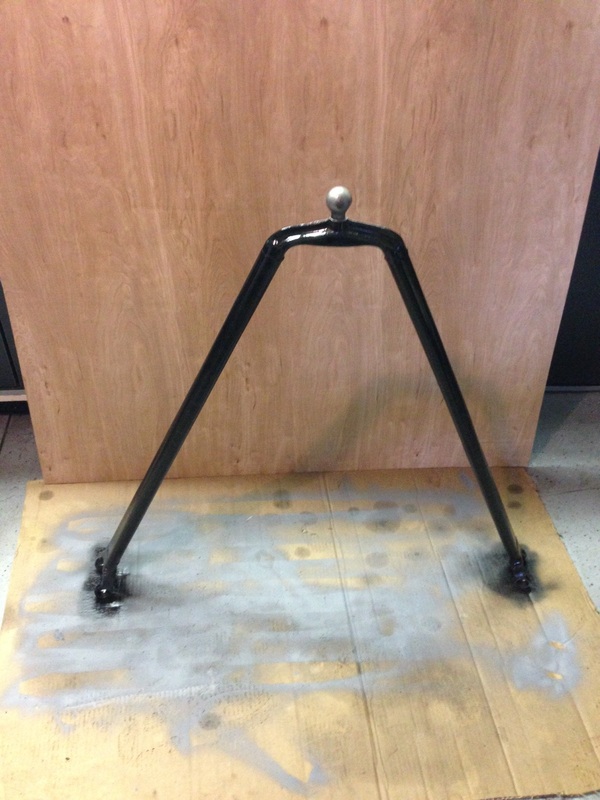
Last night I got back to work on the chassis. I have finished applying paint to the spindles and king pins and started working on the front axle bar and radius arms. Grinded every last piece of grease and paint off and applied the etching primers. Once that was dry I applied 2 coats of gloss paint. Assemble of the front axel will start soon once the paint drys.
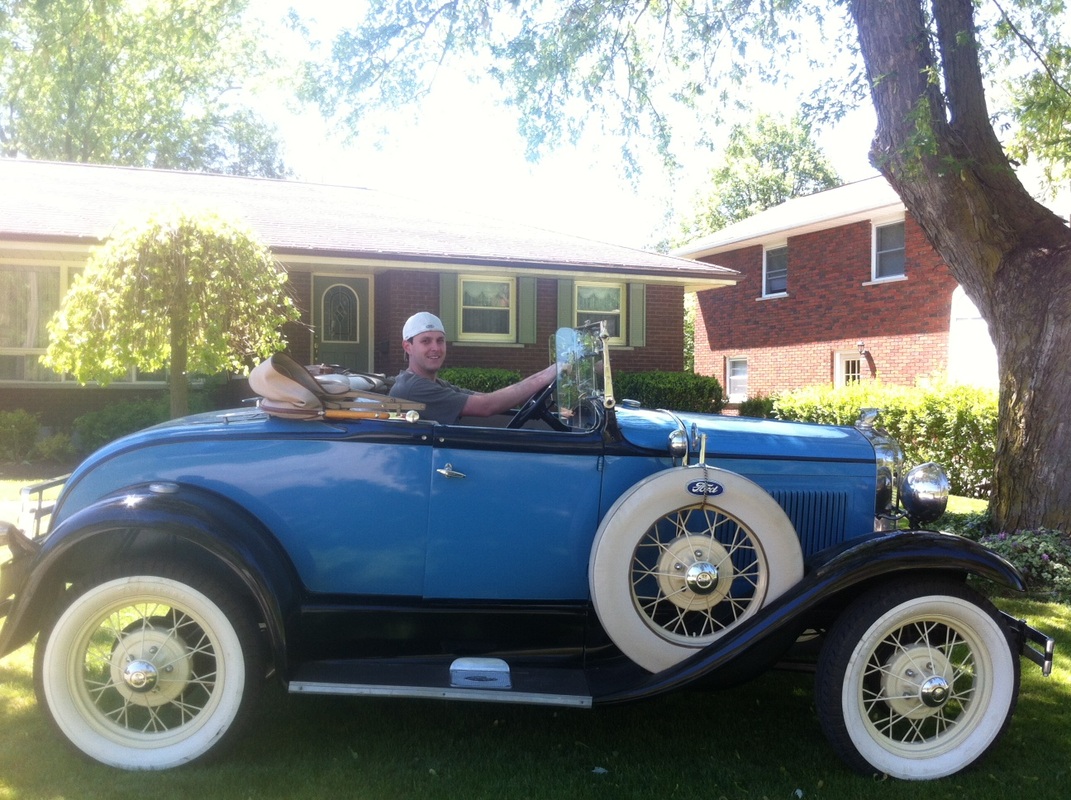
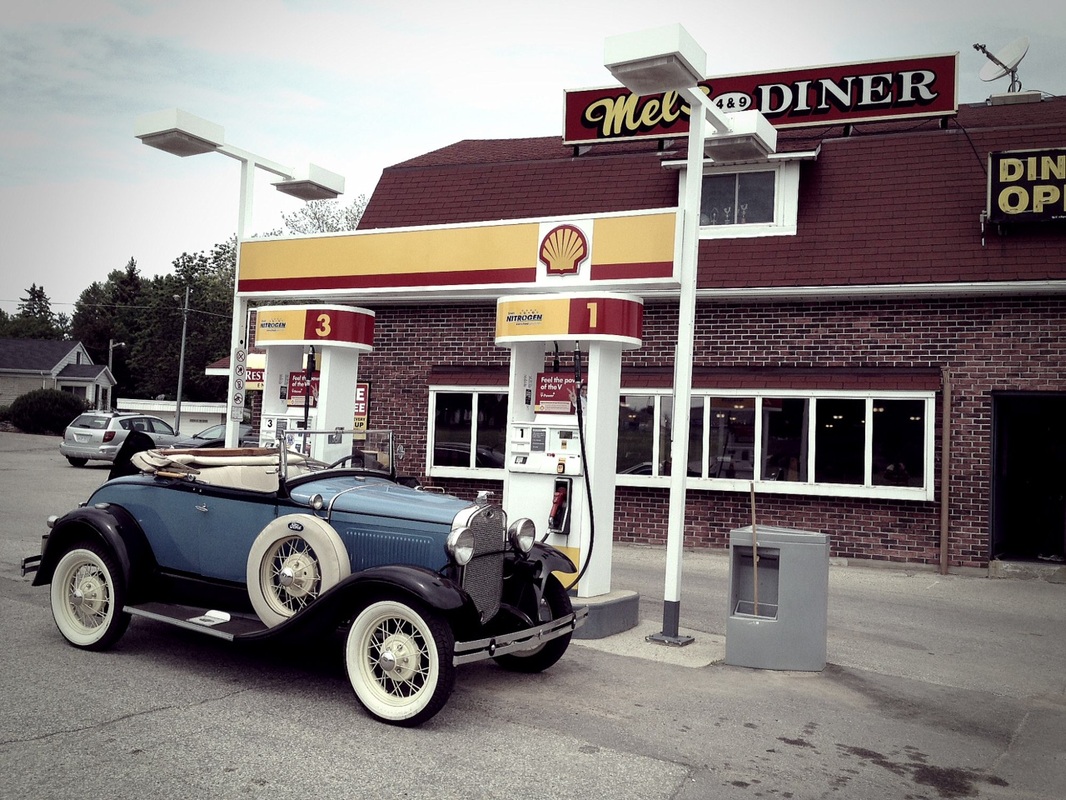
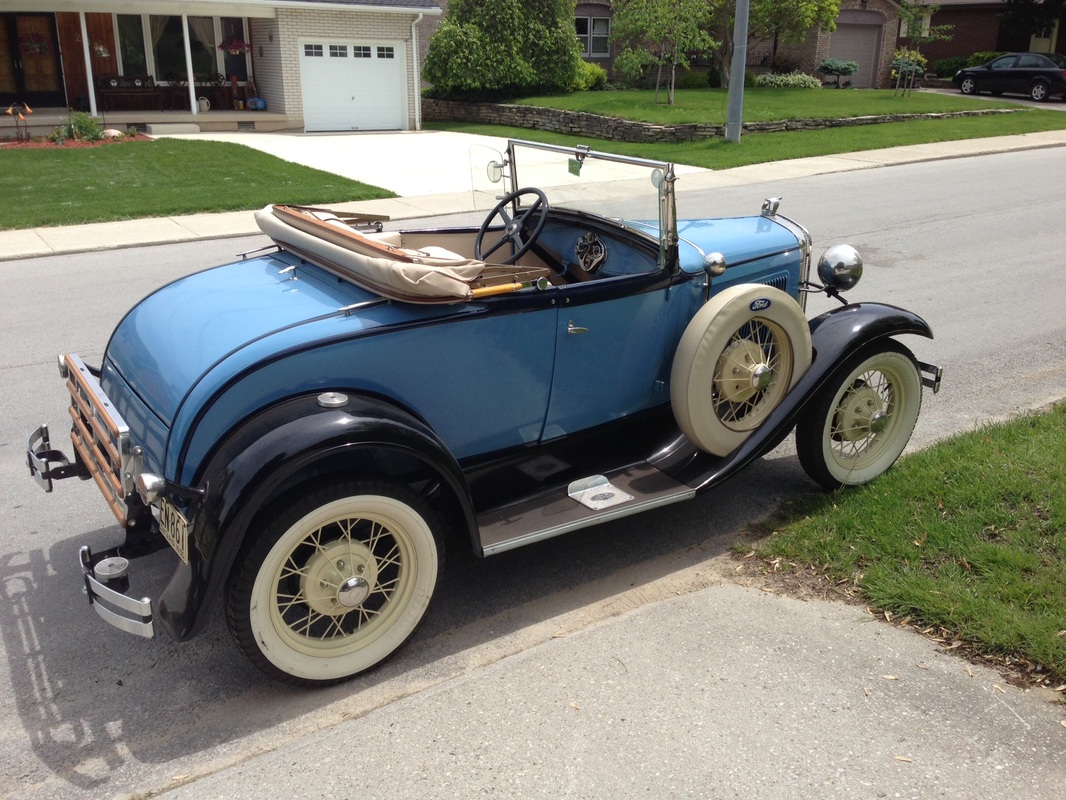
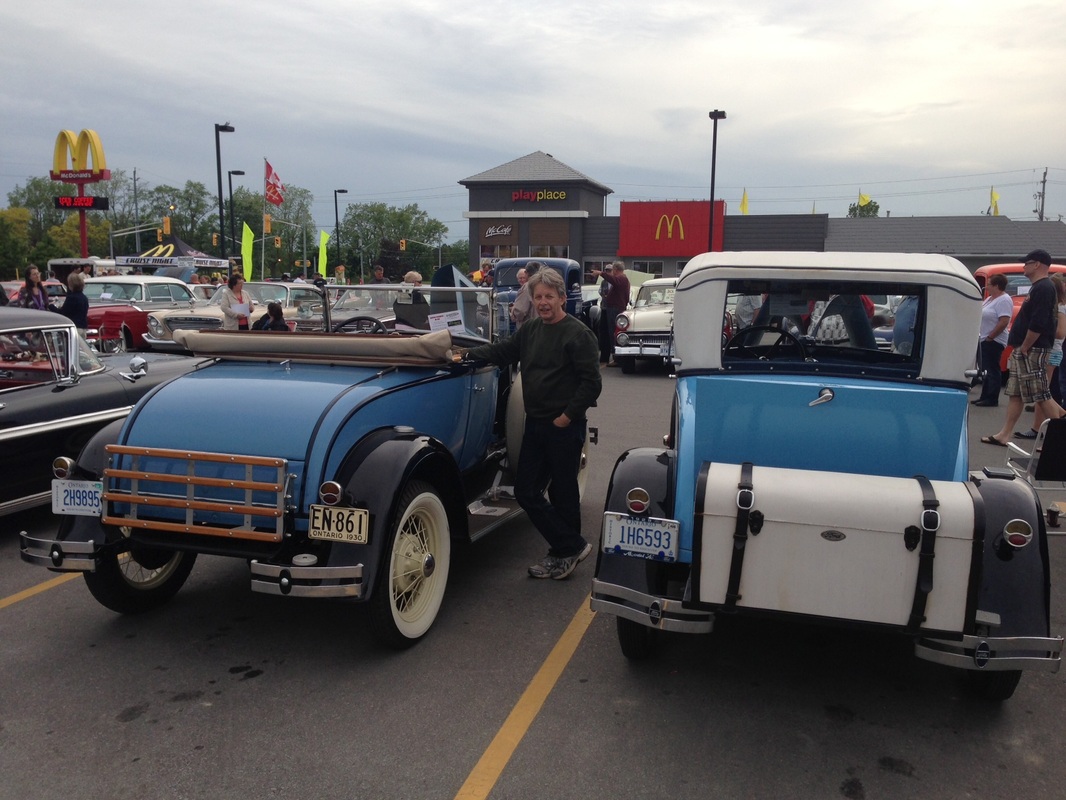
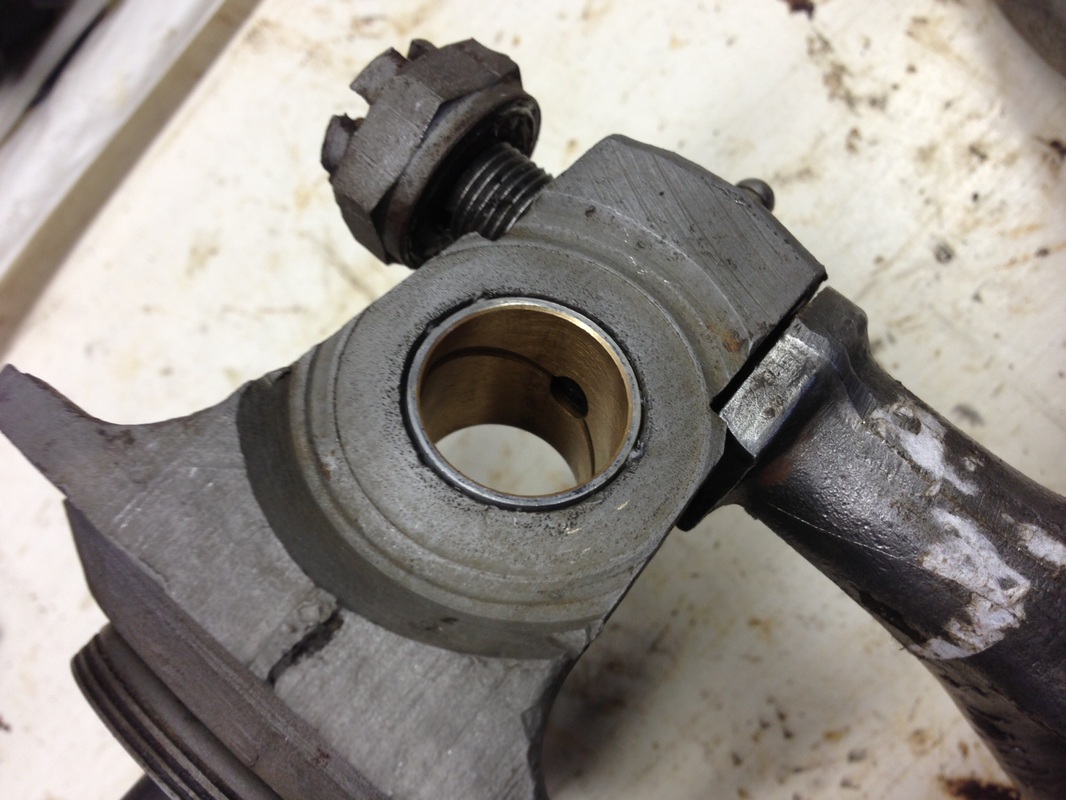
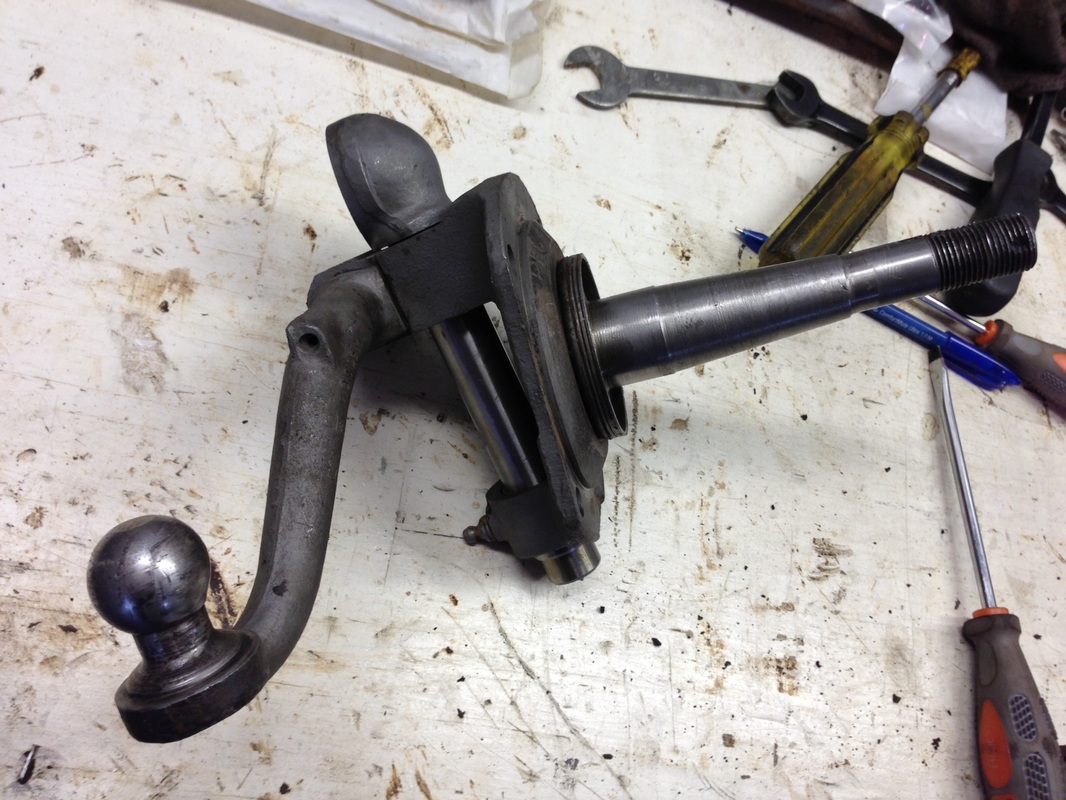
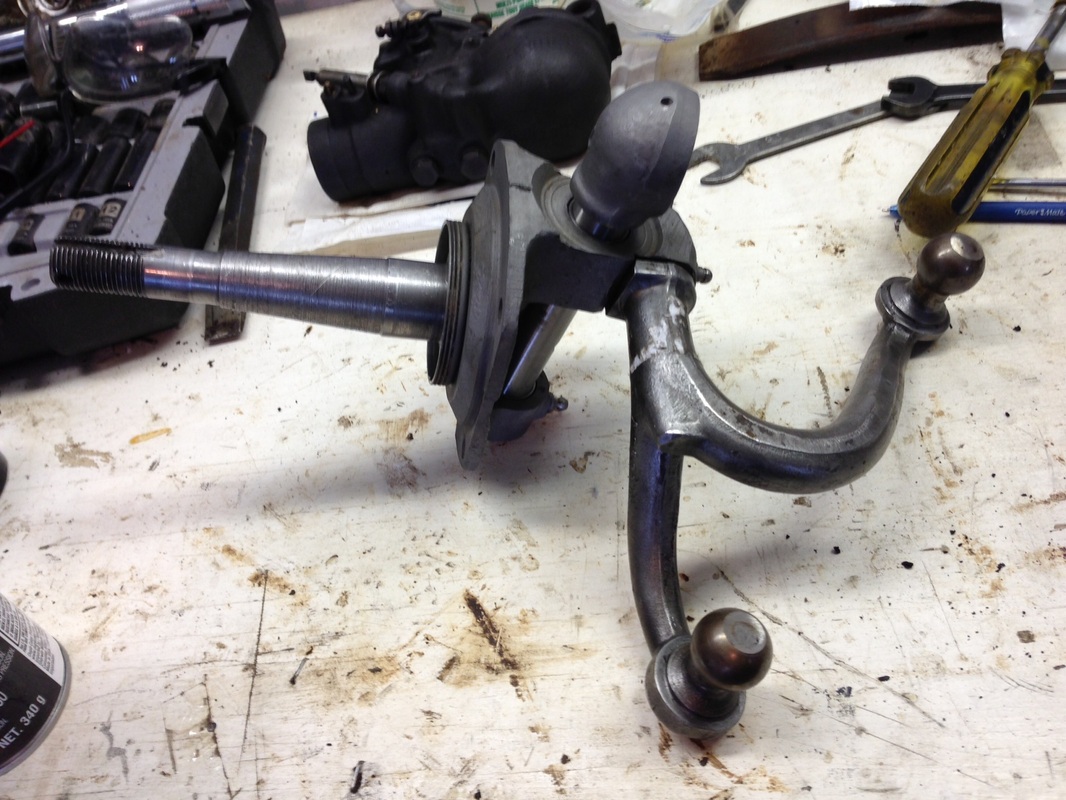
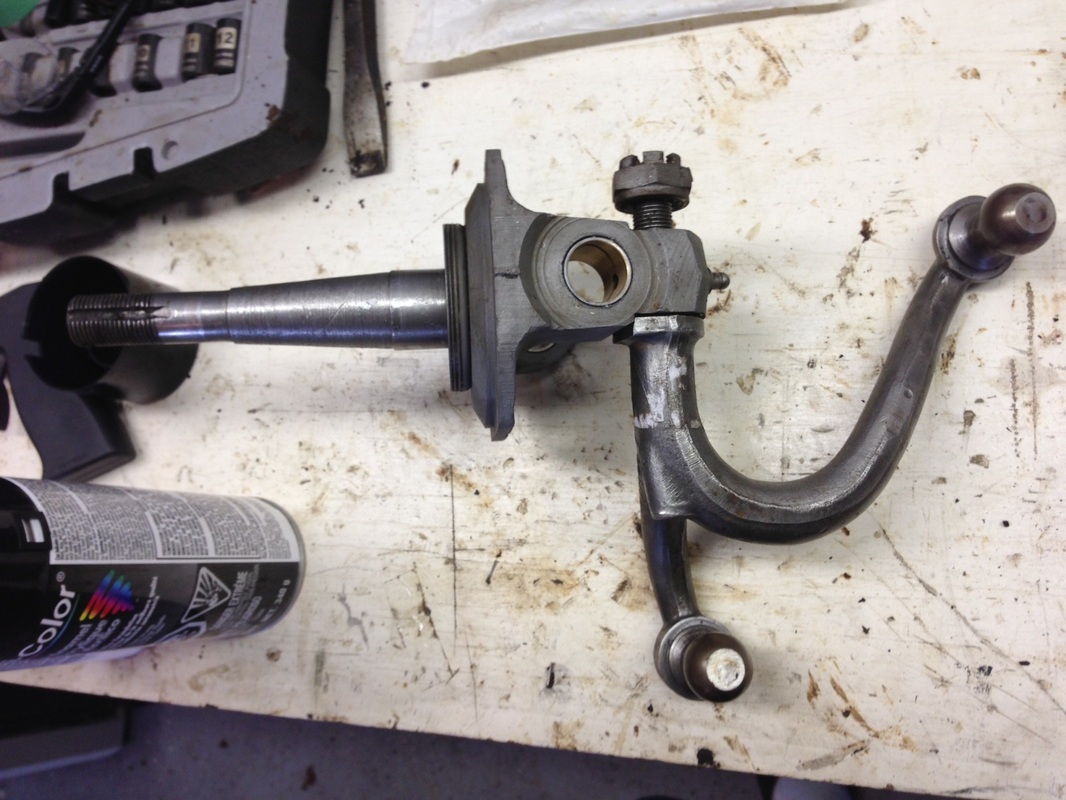
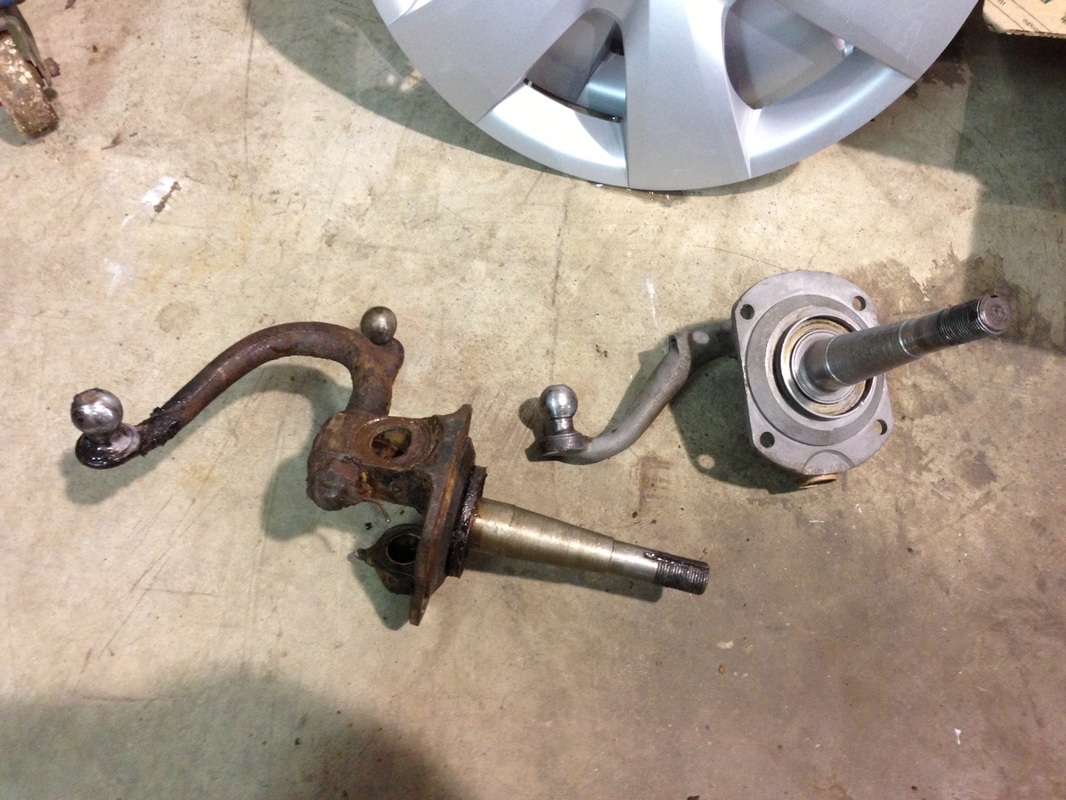
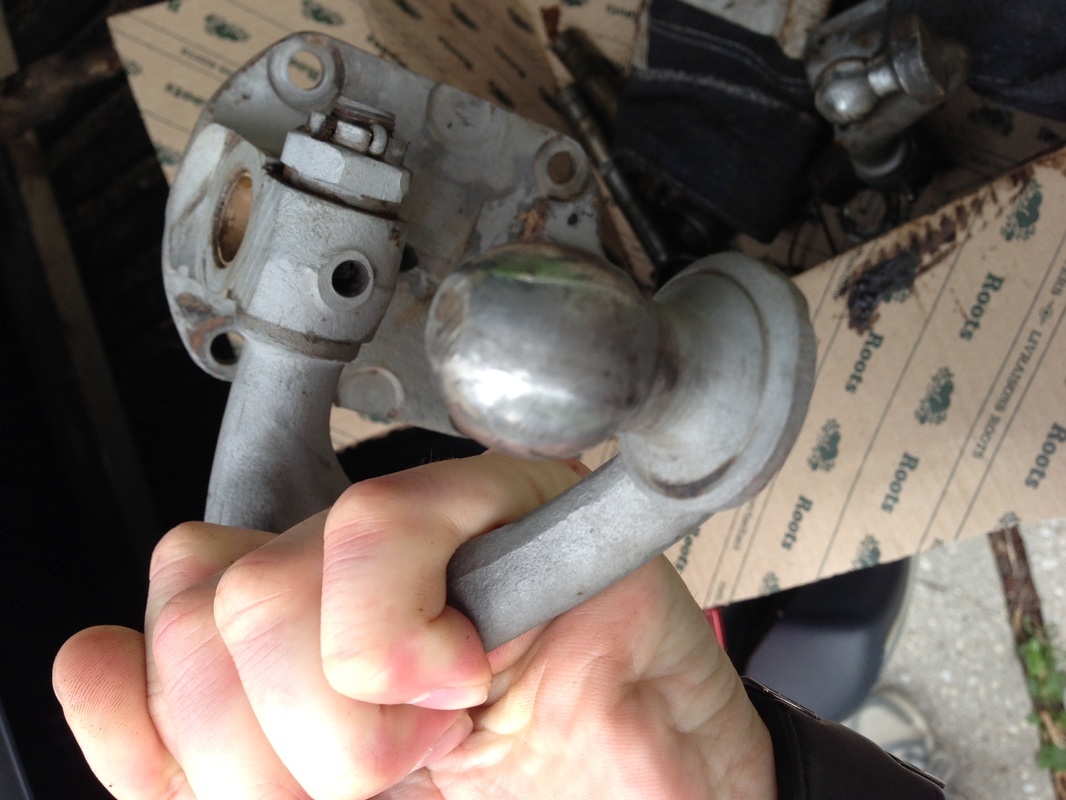
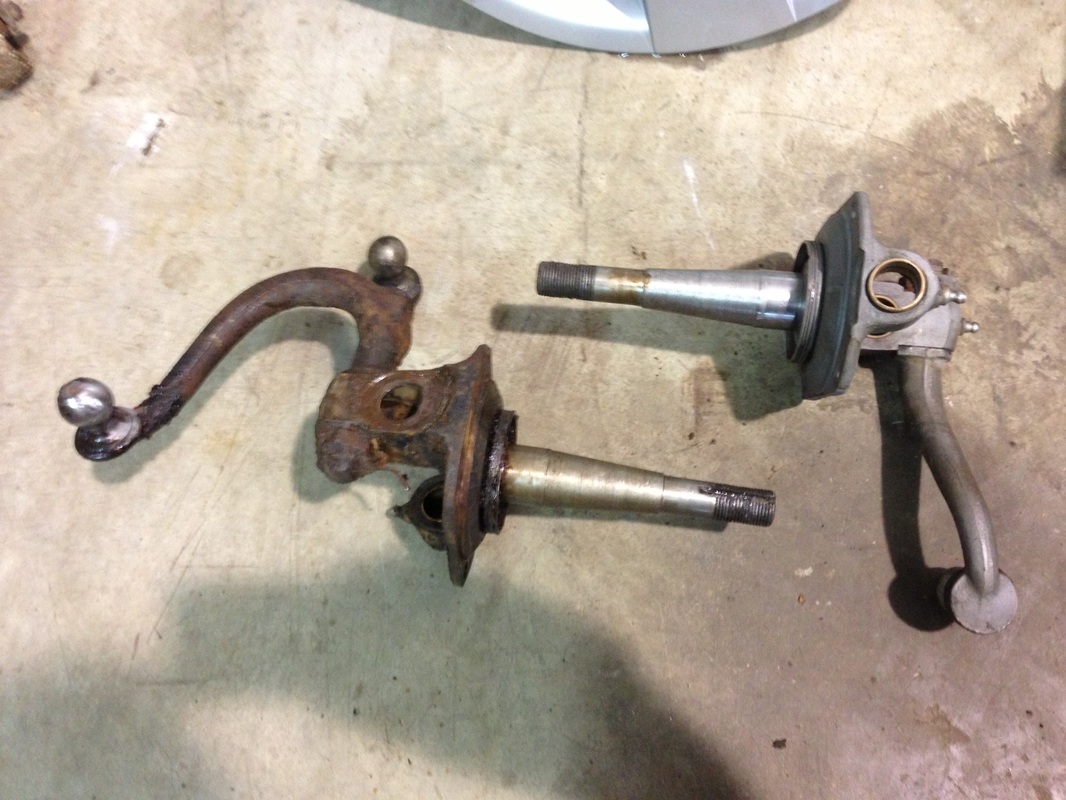
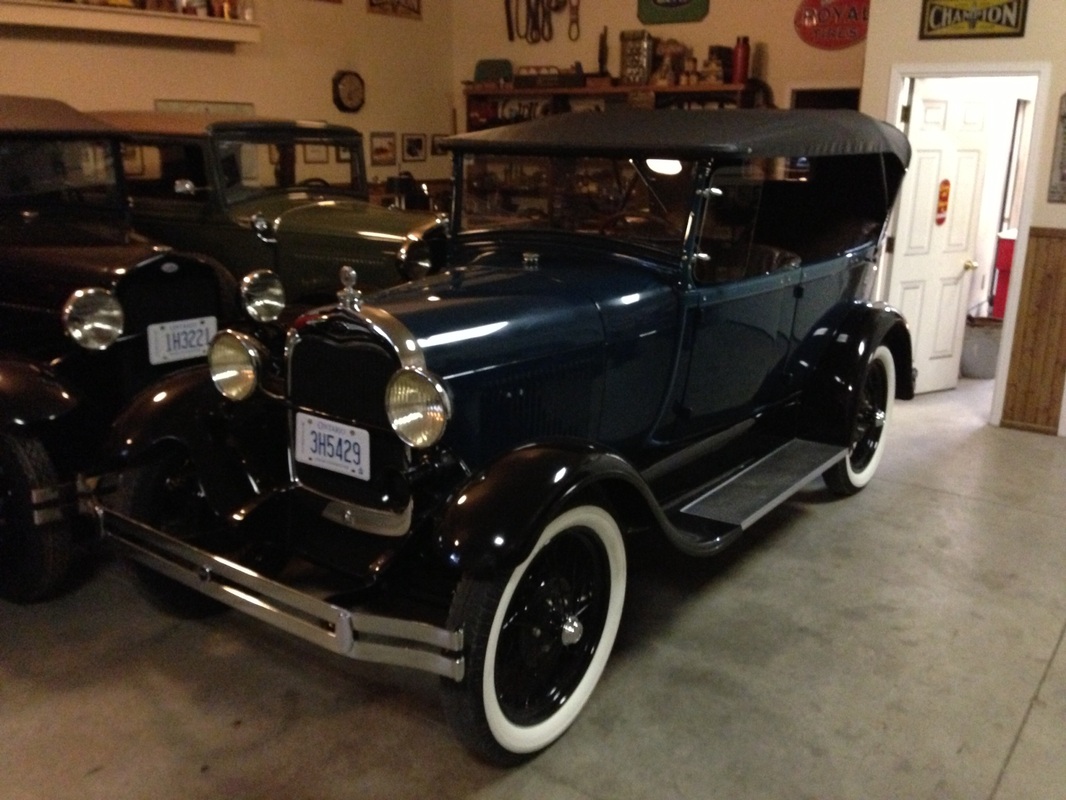
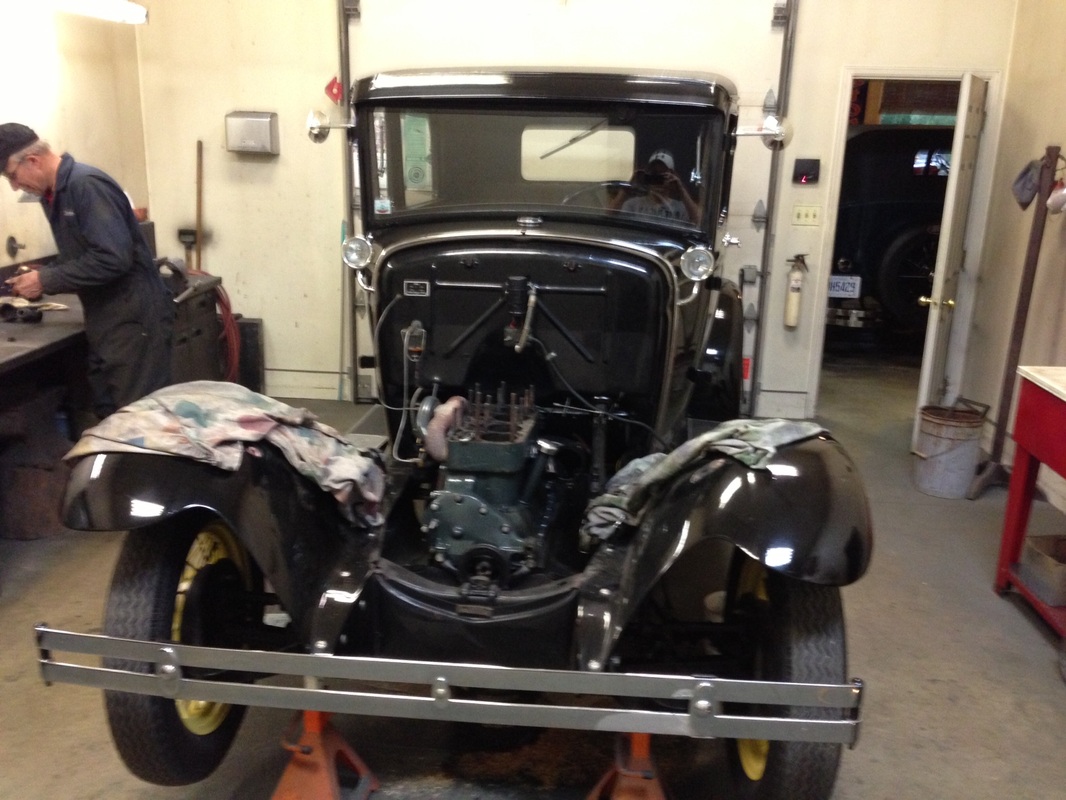
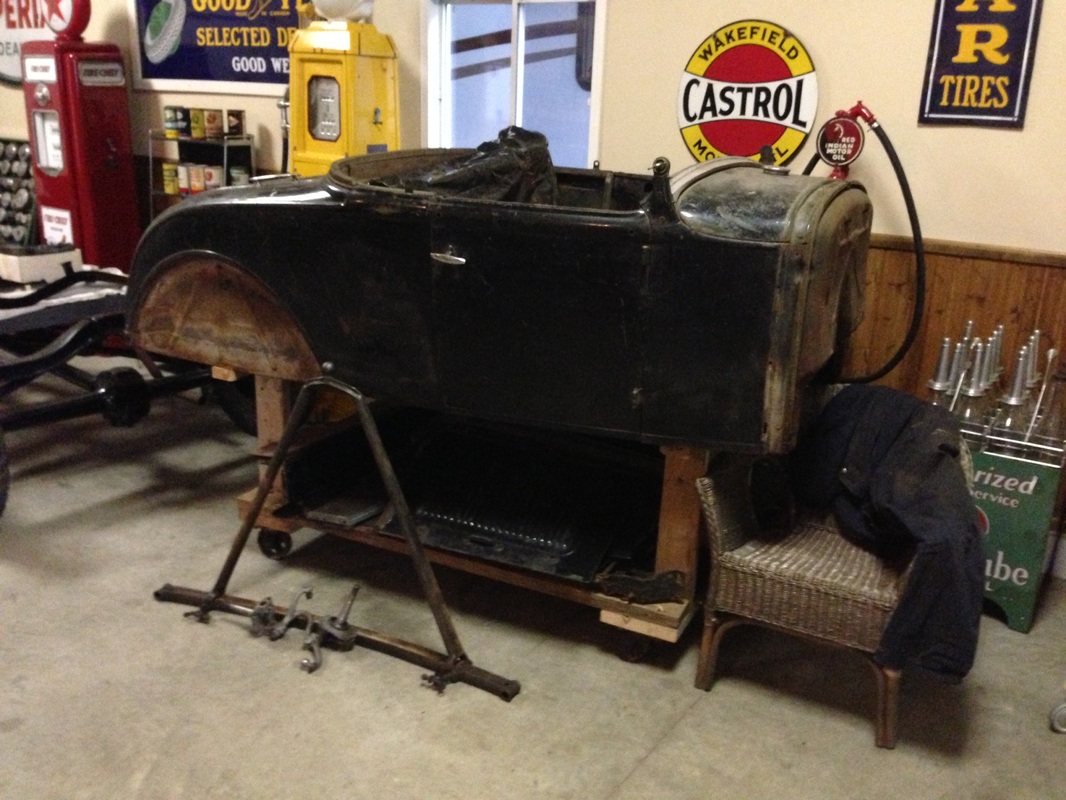
Restoration of the chassis has taken most of my time of late so I decided to get the 1930 Deluxe Roadster out and give her a good run. As you can see, we took some photo's along from the gas station here in Walkerton before we headed out to the Car Show! We have had the Roadster for 2 years now and although we didn't restore it we had to do a lot of work to it to wake it up from it's sleep. The previous owner passed away and it sat in his garage for almost 20 years. It was an electrical nightmare and many short cuts were taken. We completely ripped the wiring out and wired it how Henry Ford himself did it from factory. The clutch has worn and frozen in place and that had to be taken out and replaced. The cam pulley had a crack in it and had to be repaired and front brakes had to be replaced. Overhauled the Zenith Carb, Distributor, water pump and hoses! The engine is completely original and hasn't been touched. To our surprised it runs well and we enjoy driving the Roadster around town and to car shows! Also got the front spindles completed. I had to buy the complete set of king pins and pressed the bushing in. Hooned them out and they now fit like a glove! Also had to repair the steering ball because it was worn so bad. Everything is taped off and ready for paint! Completed the front Spring! 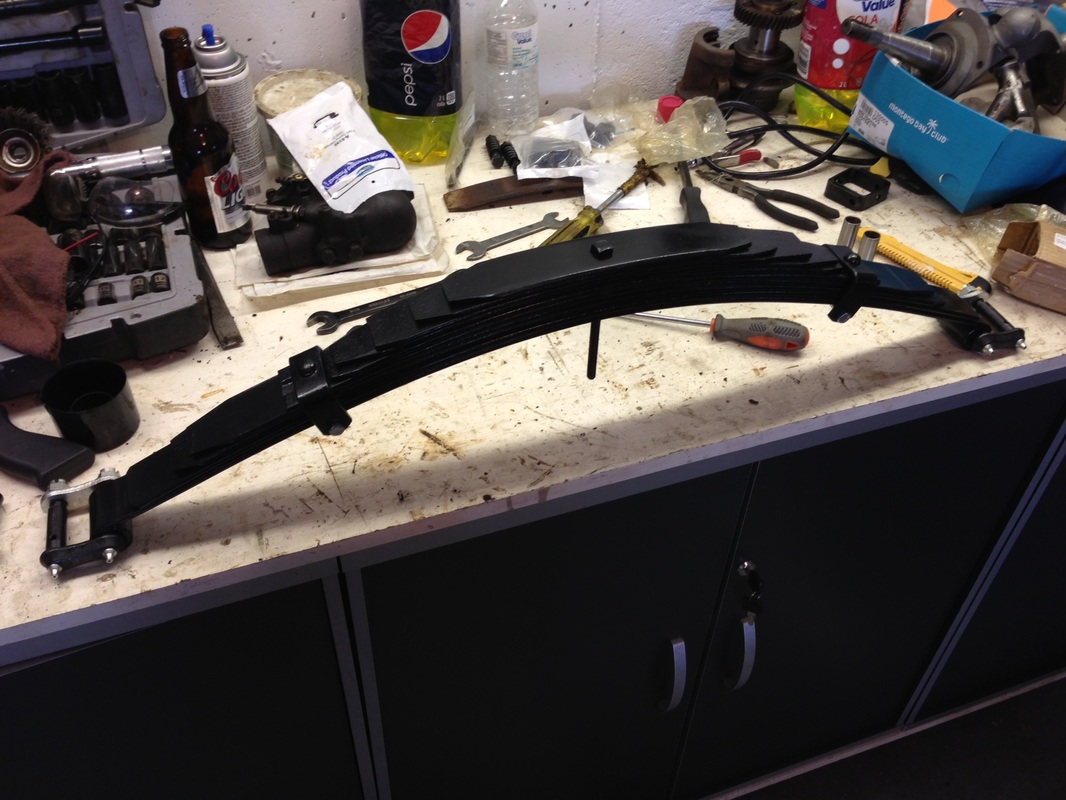
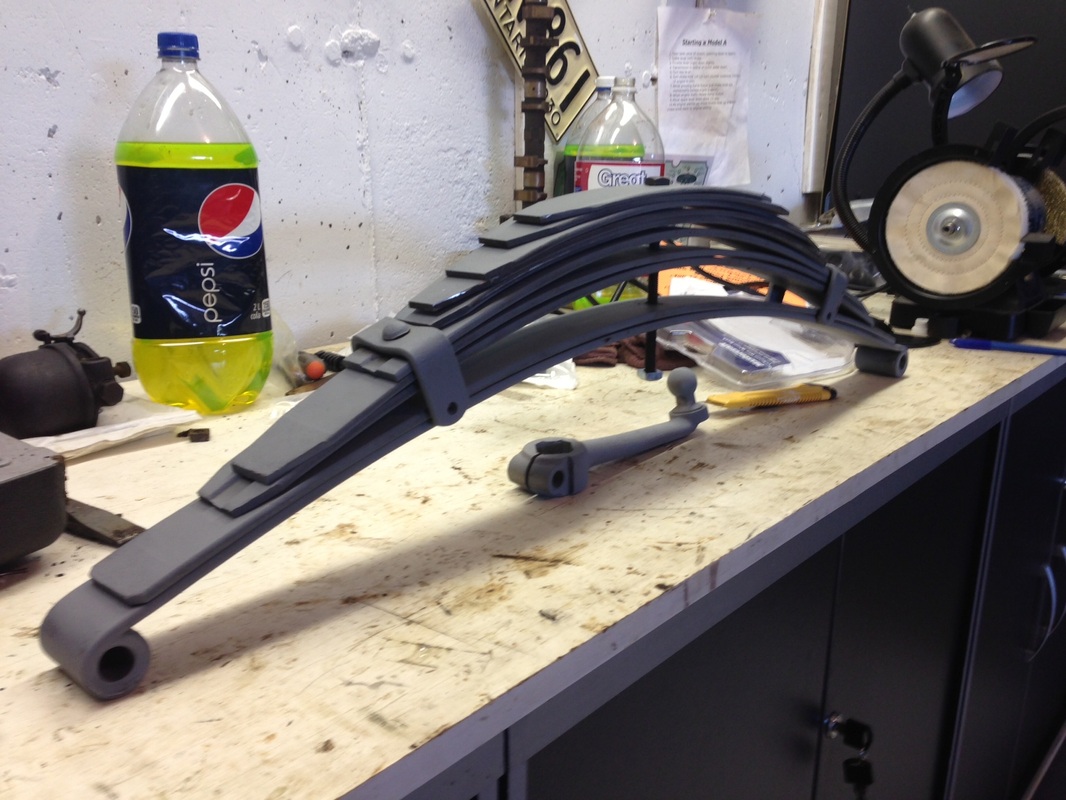
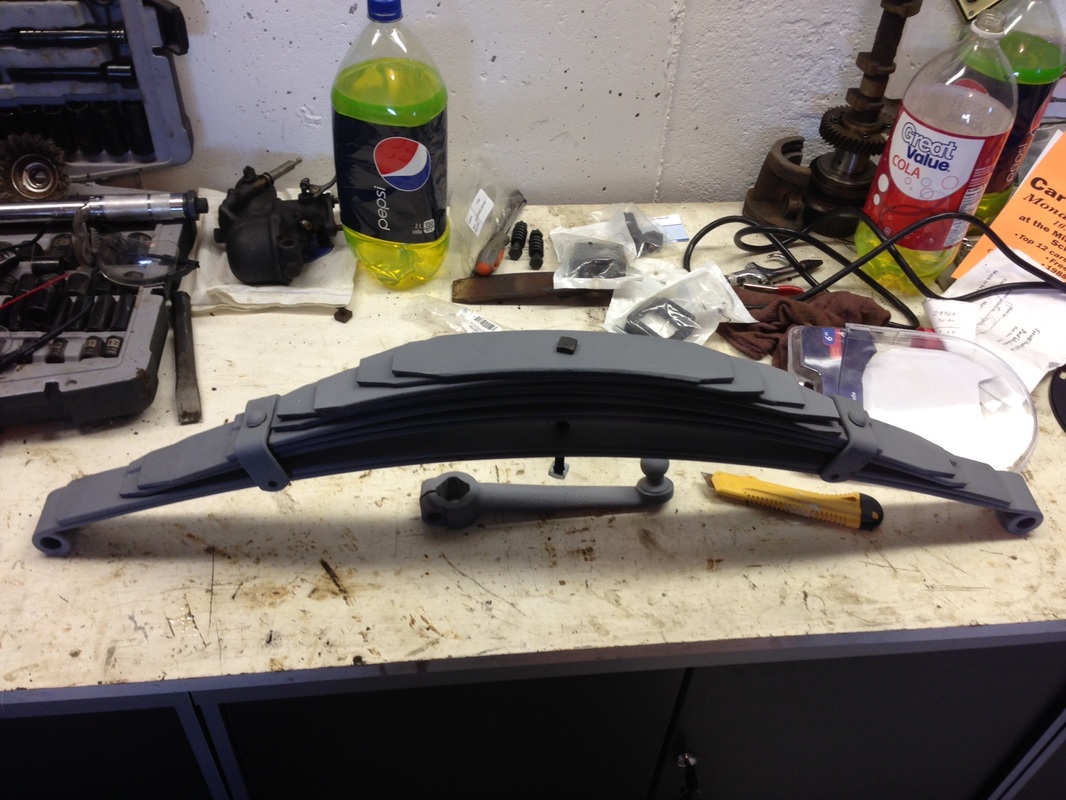
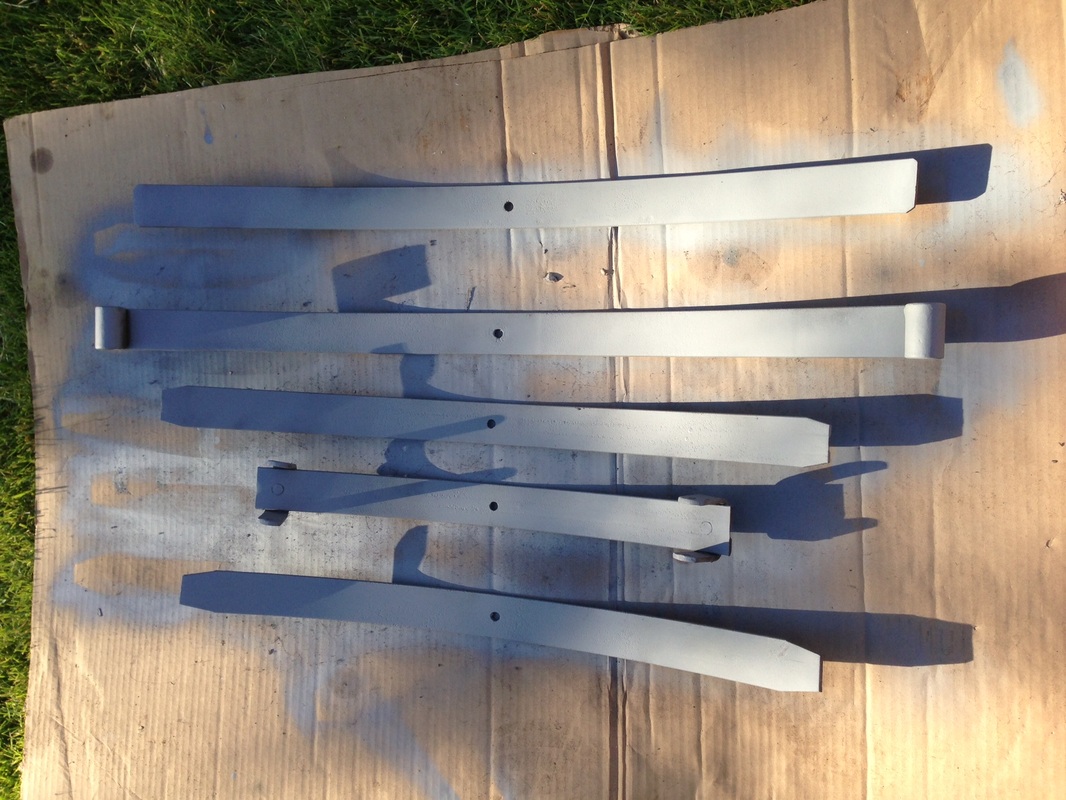
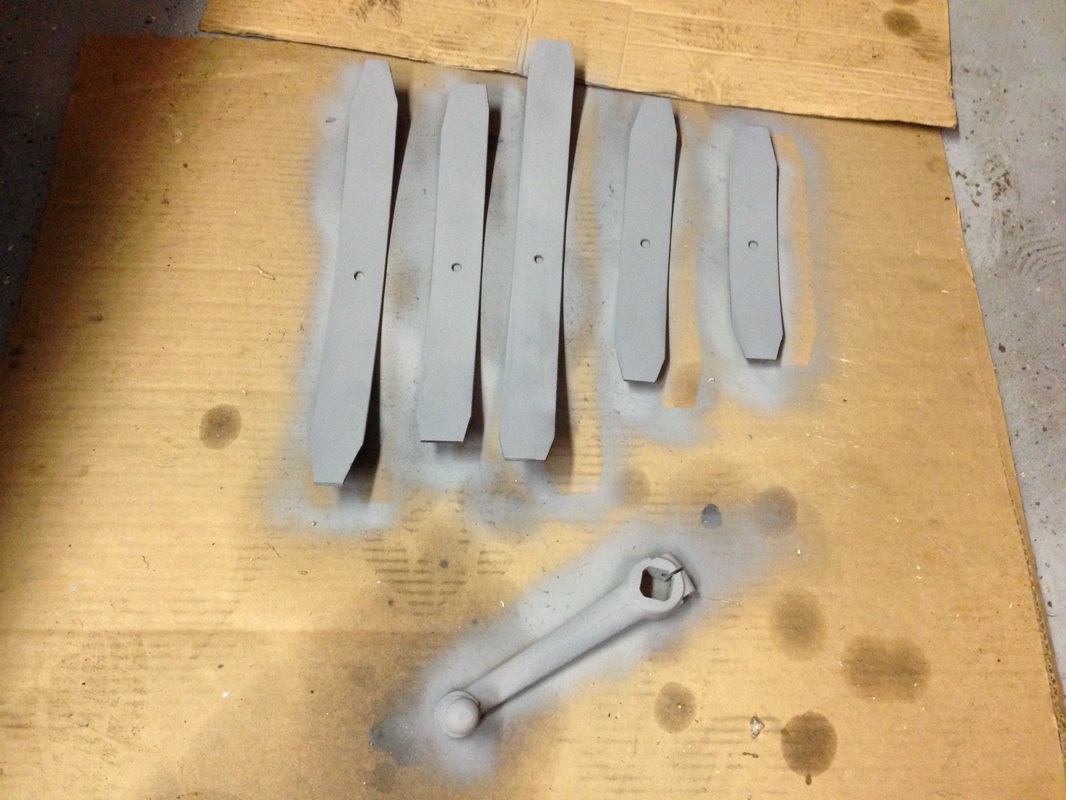
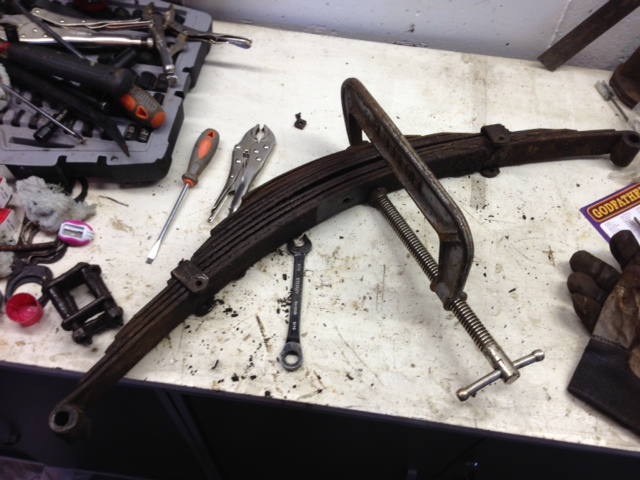
After the primer was 100% dry I test fit the leafs and inspected the bushing in the eyes. All looked good. Tomorrow I will apply the first stage of gloss black paint but before I do that it's important to apply come graphite paste between the leafs of the spring to
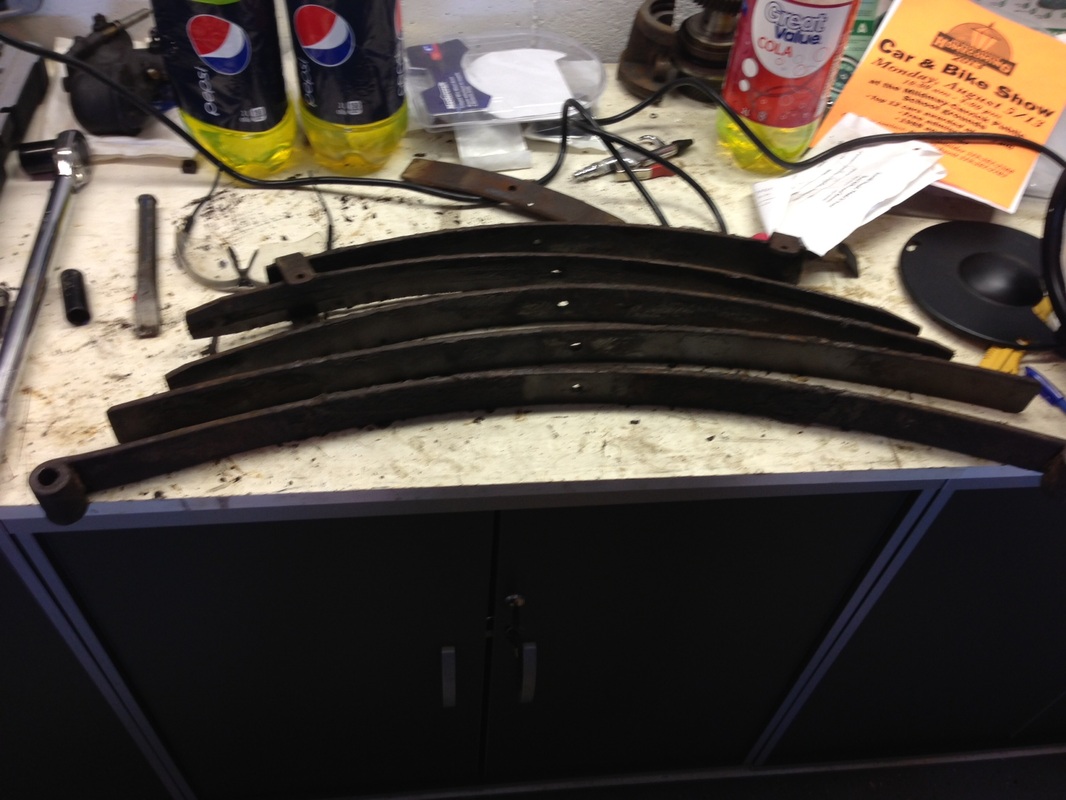
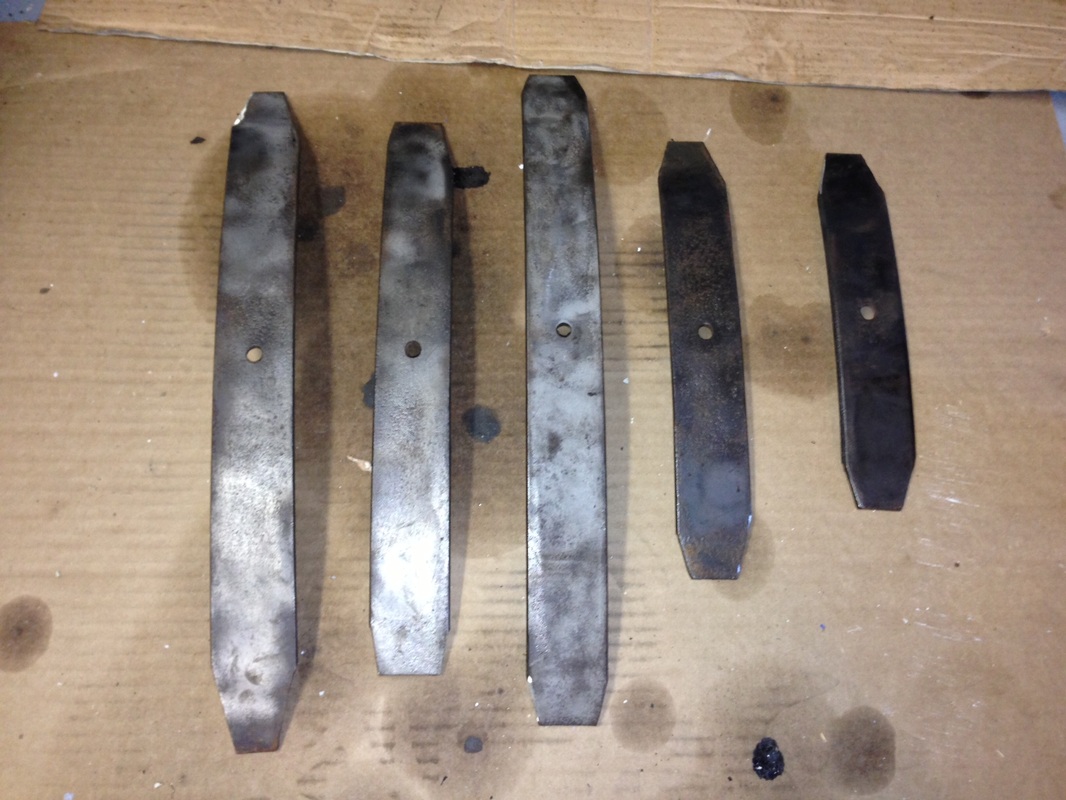
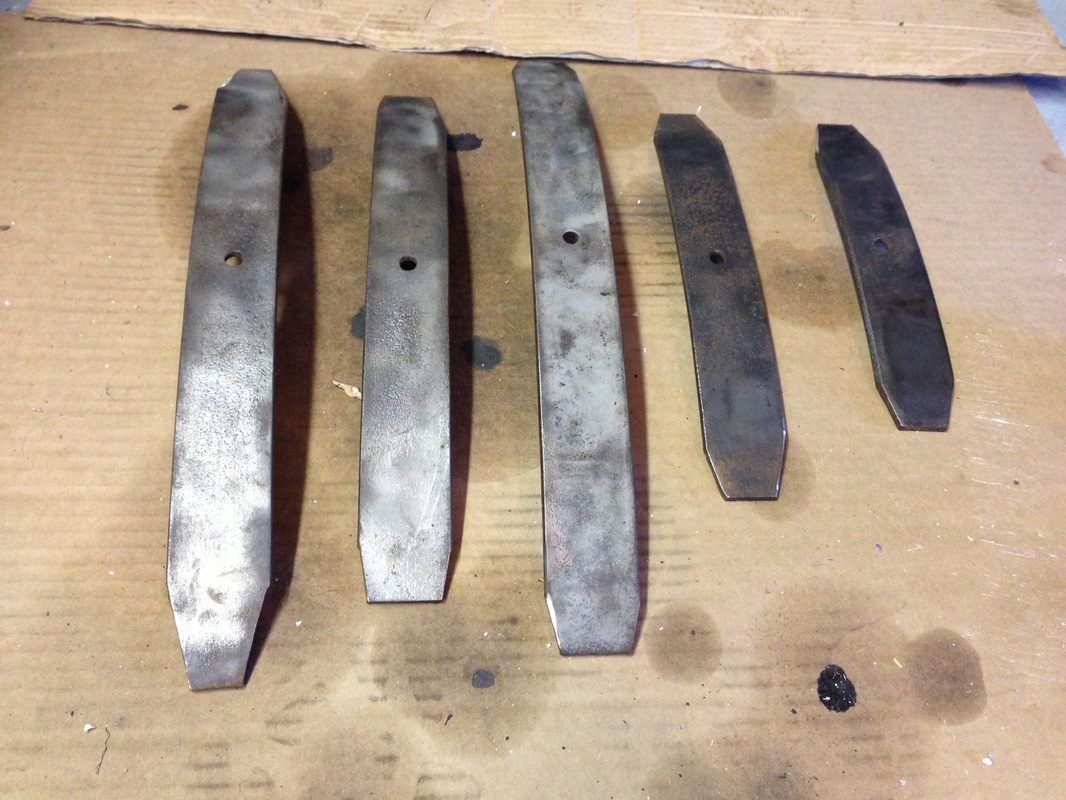
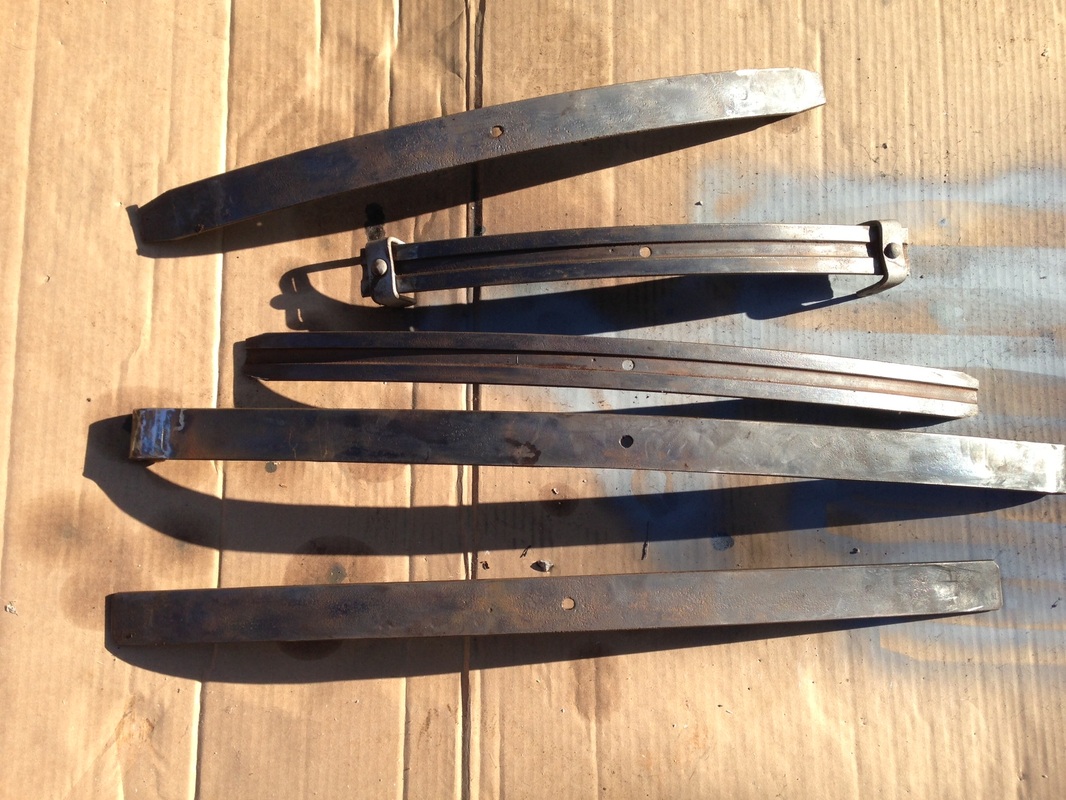
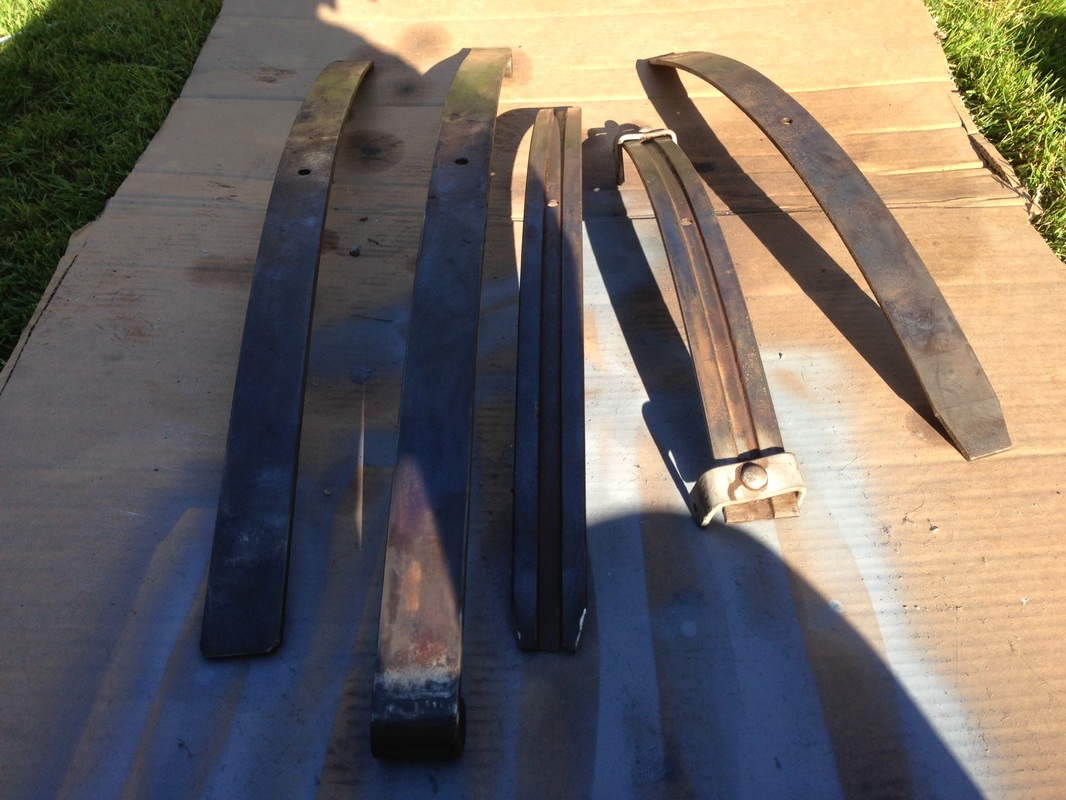
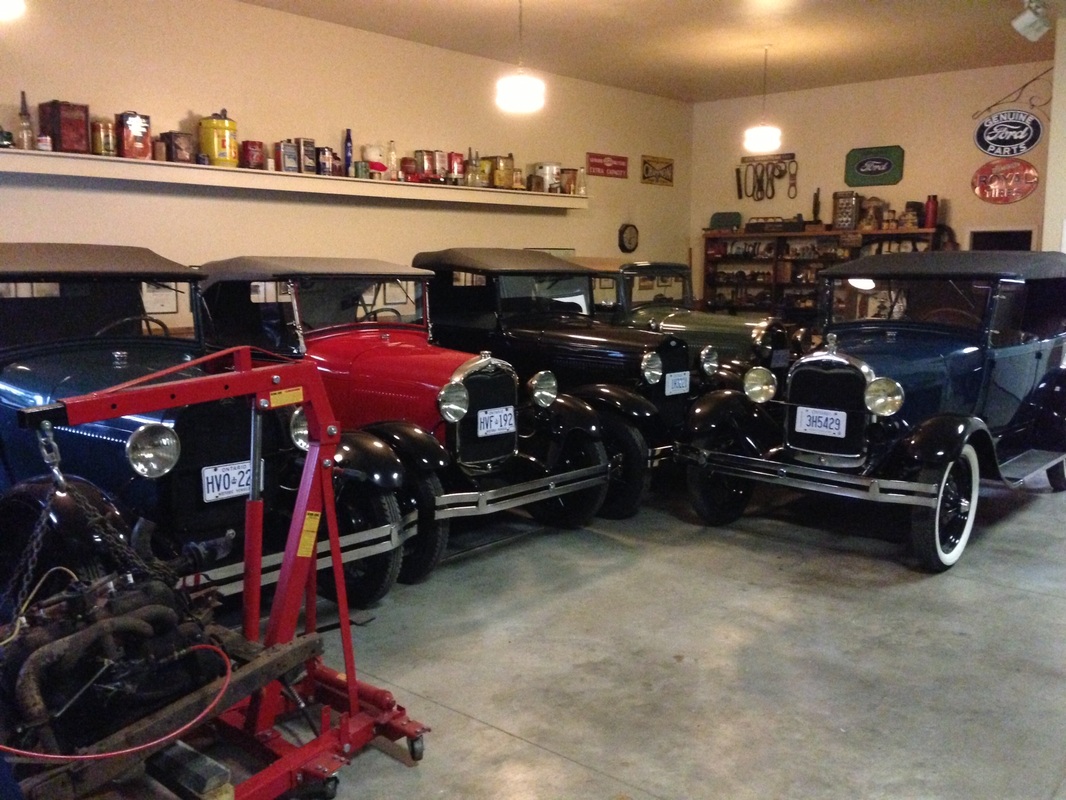
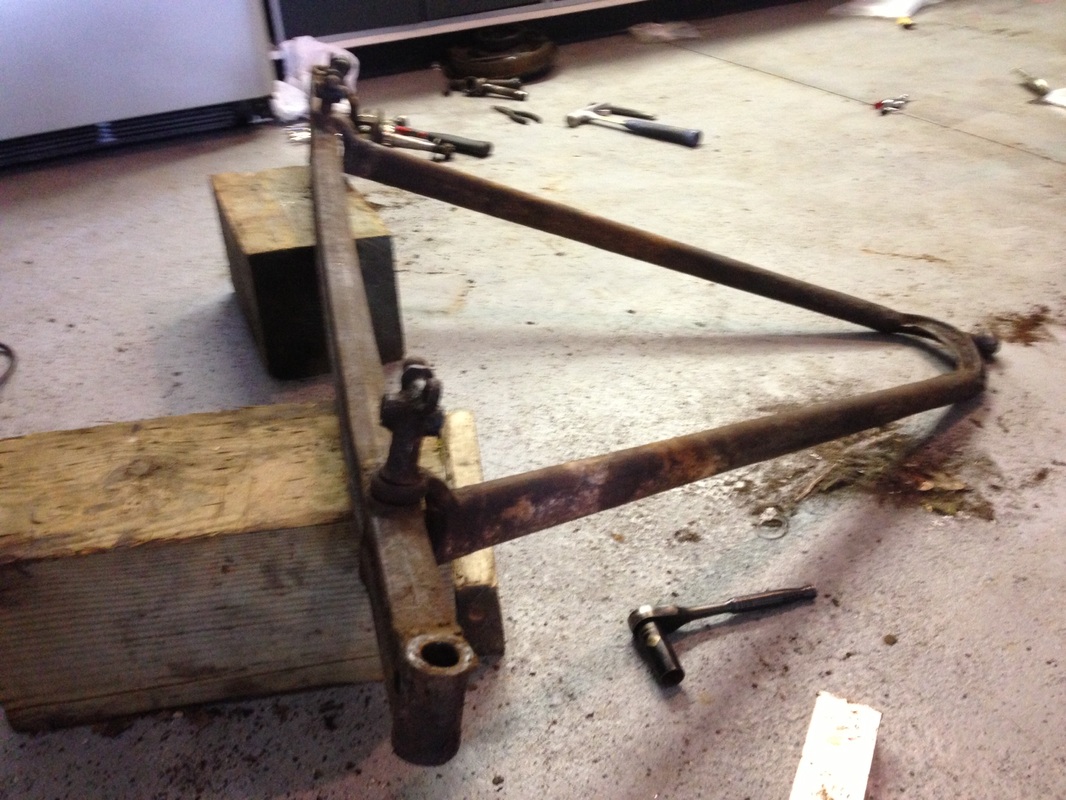
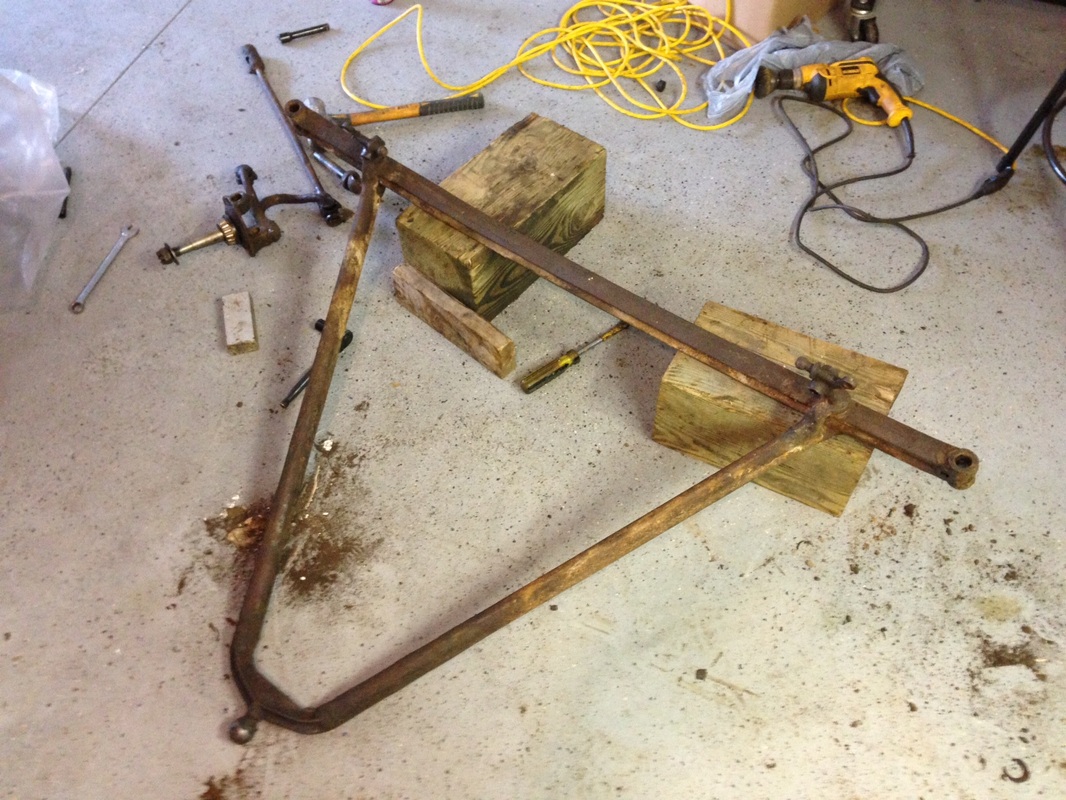
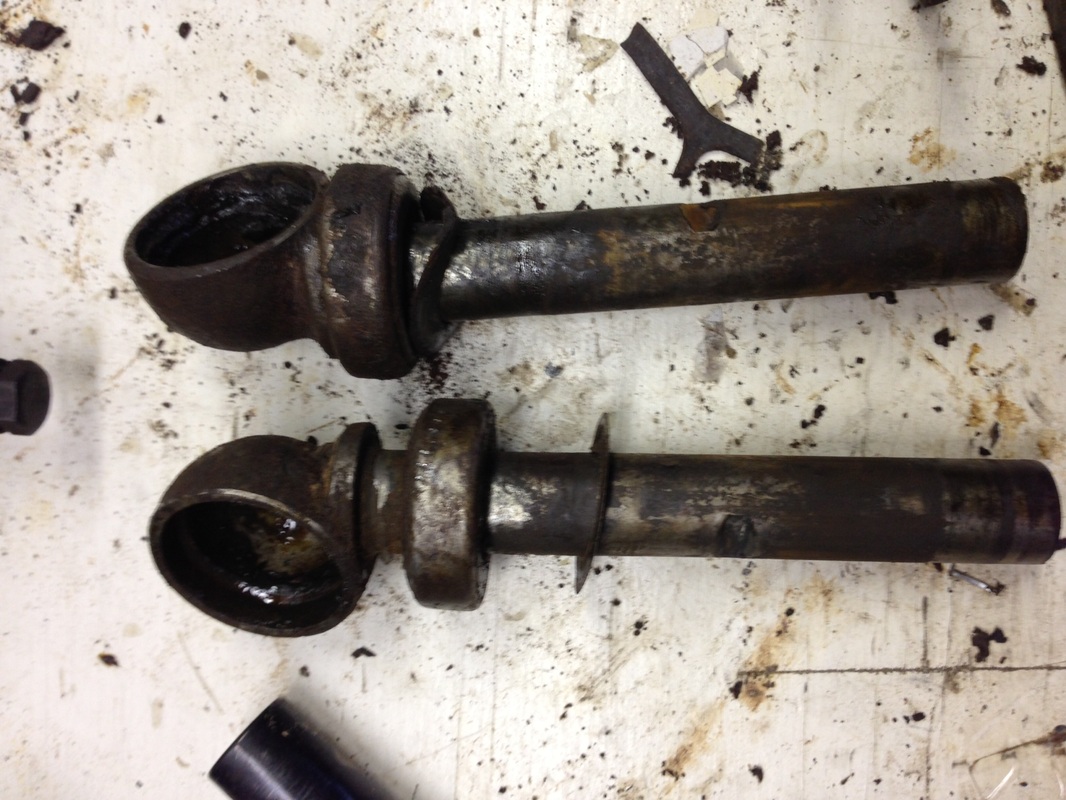
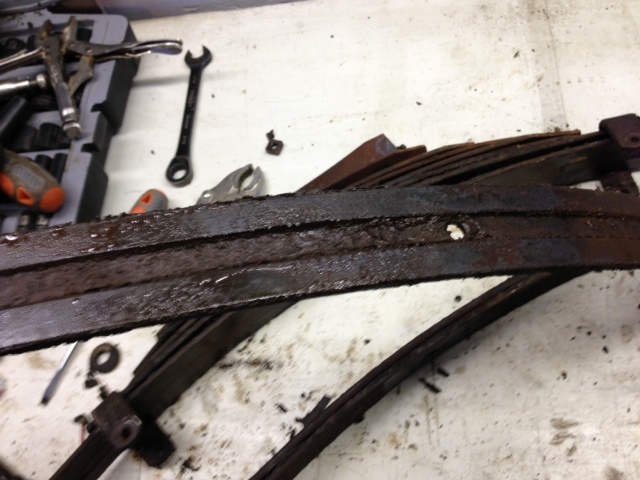
Earlier I talked about taking apart the leafs on the front spring and noticed that 2 of the leafs had groove markings in it. I talked to a Model A expert and he said it was an original spring but odds are from an aftermarket company. I decided to clean these up and use them for the Speedster. First thing I did was degrease all the leafs to remove them from years of dirt. Next step was to use a bench grinder (wire wheel) and clean them to remove all rust. Each leaf was inspected to make sure no metal burrs were found and if so were removed by the grinder. After they were wiped down with WD40 each leaf was sprayed with etching primer and left to dry! Years and years of old grease, mud and rust is no match for a sandblaster. Yesterday I took the spindles and sandblasted all the crud off of them to inspect them to see what kind of wear was on them over the years. Some of the brass bushing seemed good but I will knock them all out and replace them all with the kit that is provided. The King Pins looked good but after measuring them with a micrometer it showed too much of a variants between the top and bottom of the pin. Also the one steering ball had some outside wear on it and will need to be replaced. All grease fittings are there and not broken off. Front axel is straight but the 1 spring perch has a bend in it. This will have to be replaced for proper alignment of the car in the future. On a side note, Today my father Jim and I headed to our friends shop to get his opinion on the parts I took off. He is a master in the Ford Model A Community and spends his time working on them. He has done around 10 cars by himself and has built a points car (Canadian Sports Roadster) that scored over 400 points! He has an impressive shop and tones of knowledge. It's nice to have him in our back yard if we ever need a part or advise. Here is some pictures of the shop! Work has started on the front end and I knew this was going to be hard to disassemble because of all the rust generated by the years of sitting outside. The tie rod end was were I started and trying to remove the end caps with the slotted screw driver was difficult and would not budge. After almost destroying a screw driver I got creative with a cold chisel, 16mm wrench and a pipe for leverage! Doing this worked like a charm and both the end caps started to turn. Each turn I sprayed some PB blaster to help it come along. Note: I kept an eye on how many times the end cap made a complete turn so when I assemble it back together I would know how many turns to set the toe in. 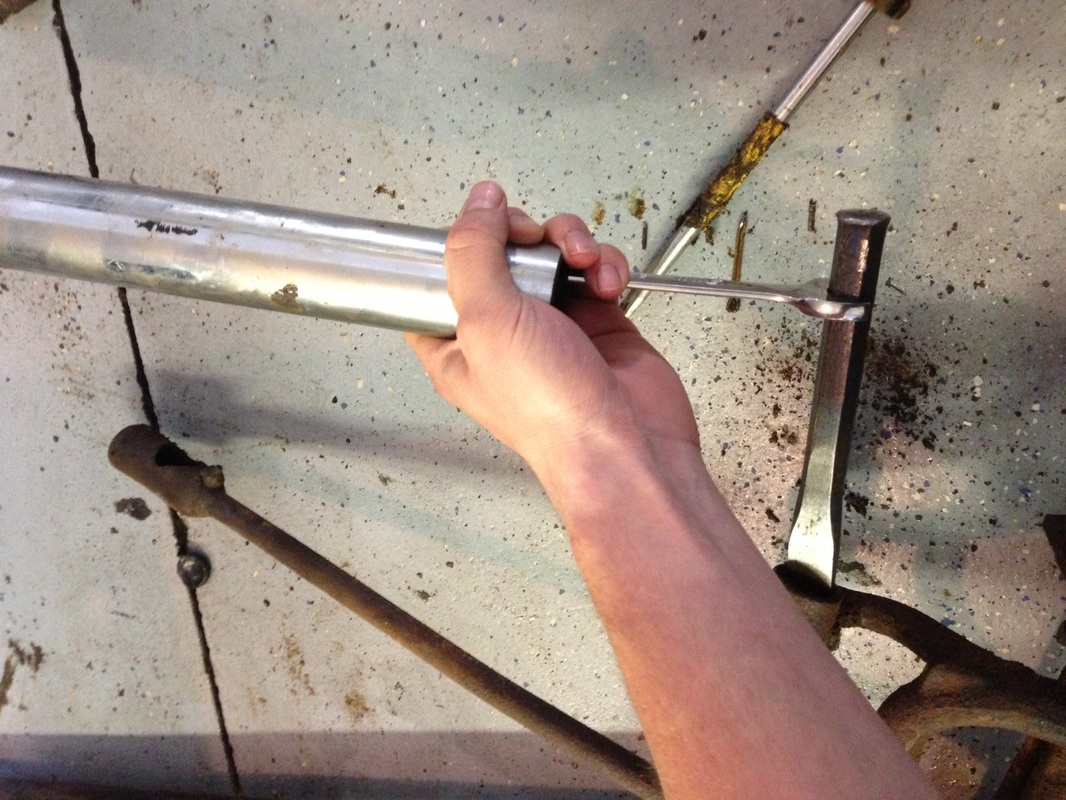
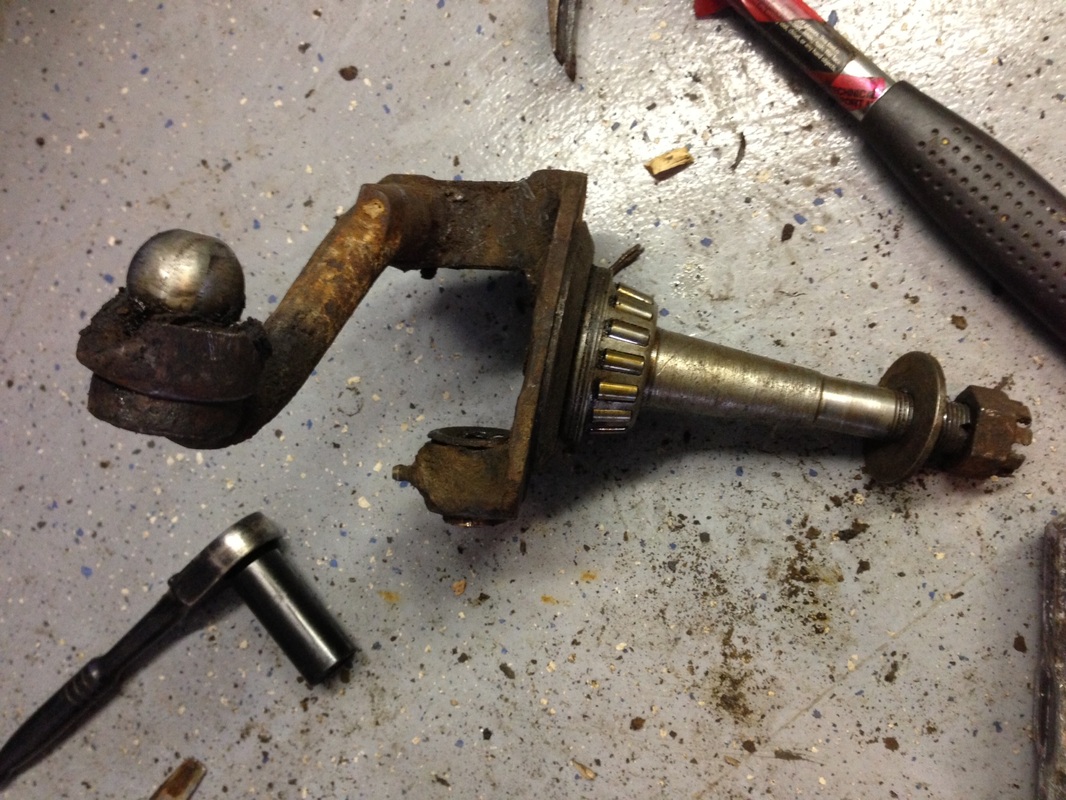
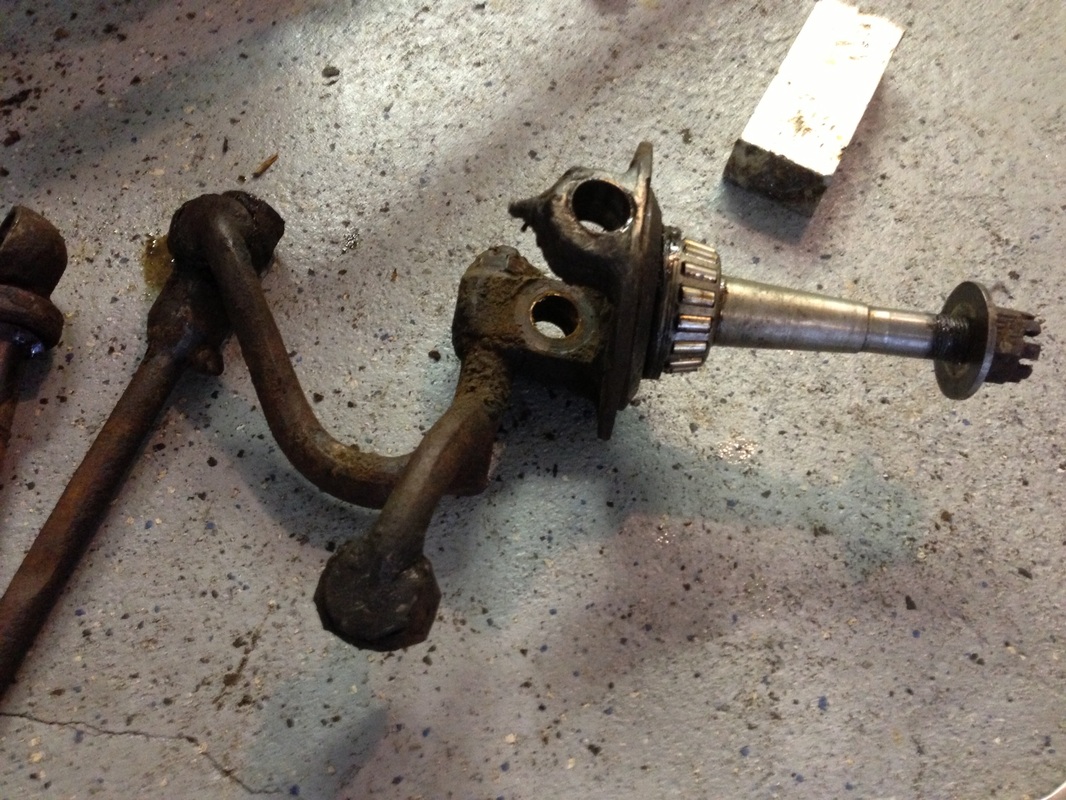
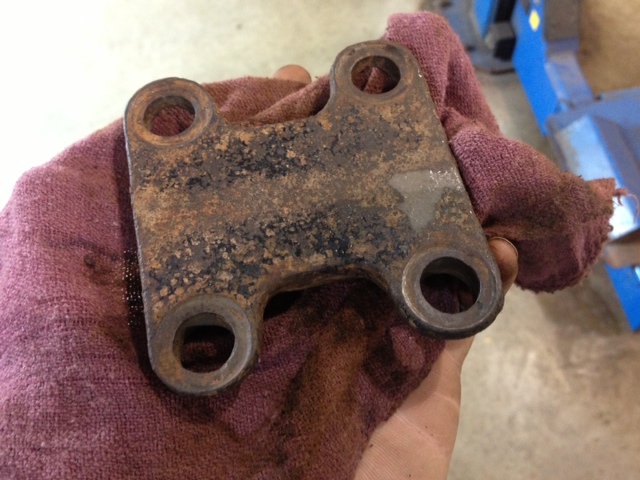
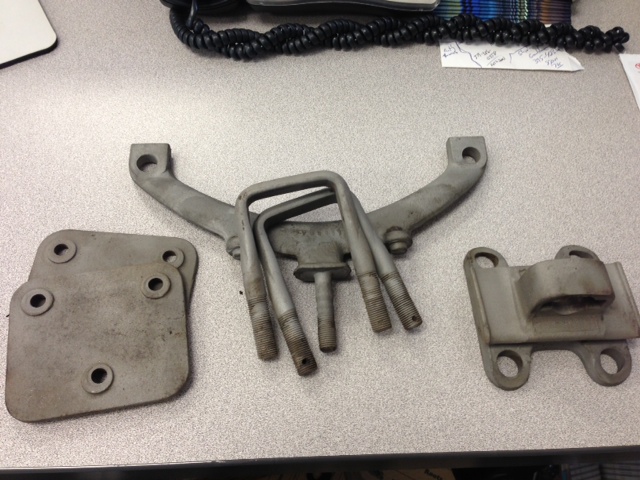
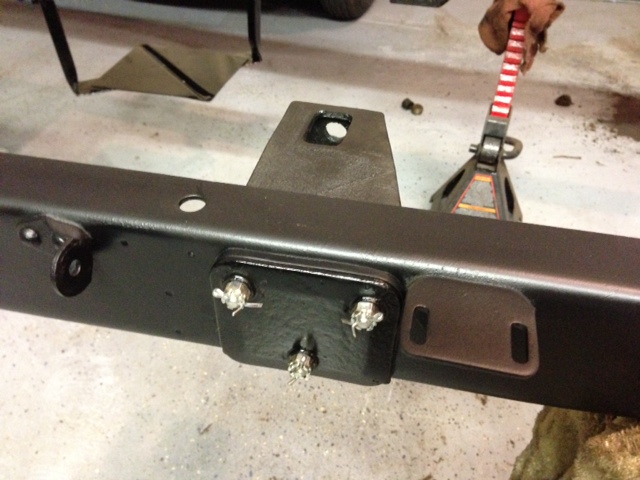
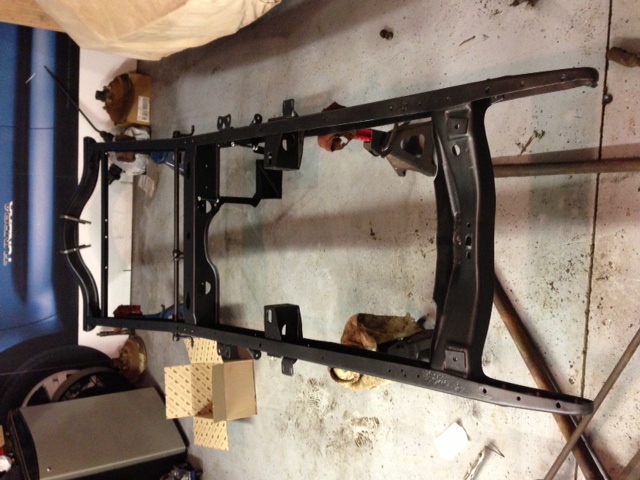
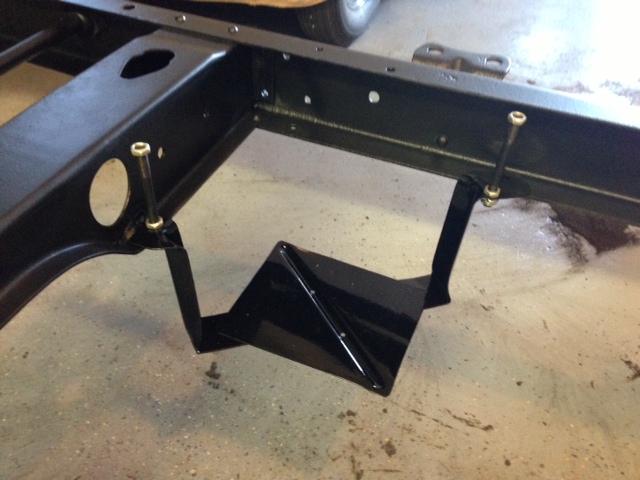
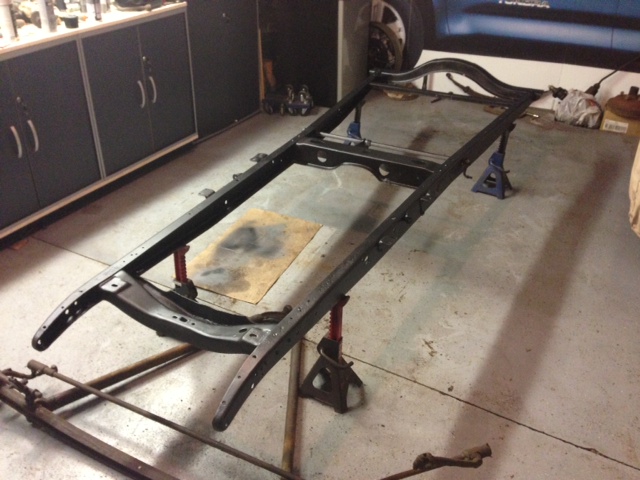
After the Tie Rod came off it was time to take apart the spindles from the front axel. Again everything was tight and rusted and a lot of hammering and patients were involved. First step was to take off the nut that holds the cross shaft for the brake arm to frame perch. Next was to knock out the pin that holds the king pin in place. I backed off the nut a bit to protect the threads on the bolts and used a heavy hammer to get it out. Few solid blows and it loosened up and started to slide out. Last step was to turn the front axel upside down and use a punch to drive the king pin out of the holder. In all, this took about an hour because everything was fighting me. Now that the front end is apart I am going to wire wheel it all and inspect everything including the king pins for wear. Today I took some of the small parts and spent some time sandblasting them. This included the front motor mount Y, U bolt front cross member bracket and clamp and also the motor mounts. Before I began I had to clean it up a bit because there was years of grease and mud built up on it. In the one picture you can still see the original Ford black paint. After they were all sandblasted I applied paint and let them dry over night. I did install the motor mounts to the frame and this was done pretty quickly. Today was a productive day with the chassis. I started on the front spring and took it all apart to discover a few things that were different with this one. First of all the front spring had 11 leafs in it...1 extra and 2 of the leafs had groove marks going down the center. I was told this was from a later V8 Ford. Also the spring clamps were riveted on which made it hard to get off. I'm going to weight my options out and see what I should do with the spring. New vs finding original leafs and replace the grooved one. I also installed the battery box and mounted the early 28 Rad to make sure we are good to go! | AuthorBorn and raised in Walkerton, Ontario and started working on Model A's at a very early age. My father Jim, Grandfather and uncle all restored their Model A's 25-30 years ago. Knowledge was learned from these fine gentleman throughout the years. My father and I now have 2 restored cars. Our 1931 Tudor Sedan and 1930 Roadster Deluxe ArchivesAugust 2013 Categories |


 RSS Feed