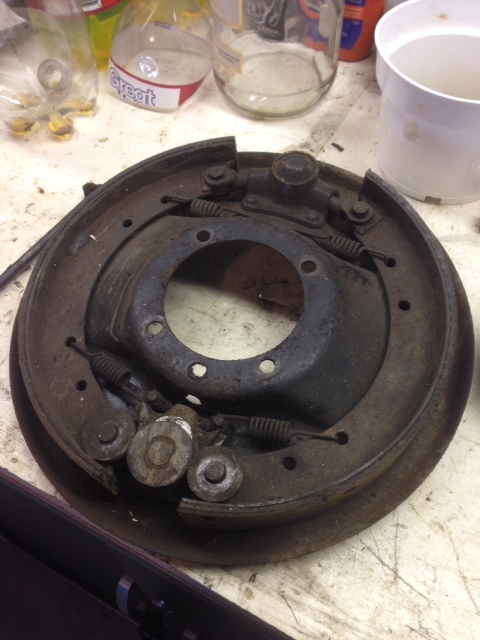
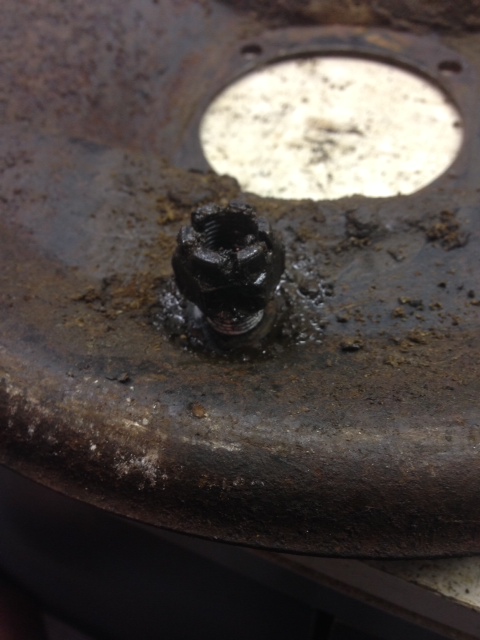
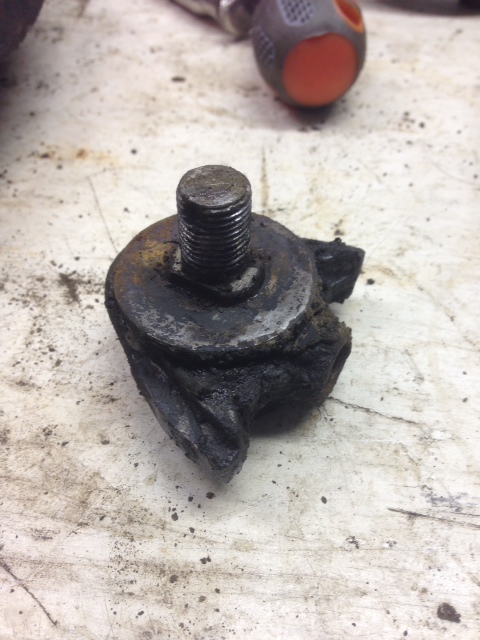
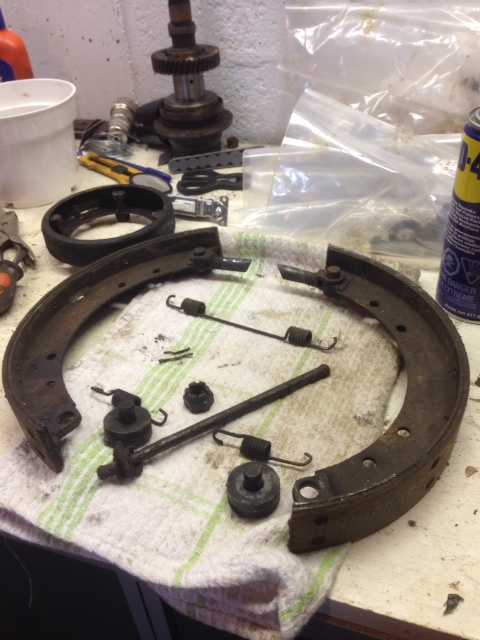
FInally I got some time to start on the front brakes of the chassis. I first pulled the 4 bolts holding the whole assembly to the front axel. I then very carefully took pliers and removed the 3 springs holding the brake pad liners. It's easier to get at them if you have the adjusters all the way out. If they are stuck, I would suggest breaking them and replacing them with brand new ones. Next I took the brake liners and knocked the roller pins out of the brake shoe roller. Make sure you inspect all of these for any type of cracks or wearing of the metal. Next was to knock out the brake shoe wedge by undoing the nut on the back of the front brake plate. Once everything is cleaned I will sandblast and inspect everything. In the coming posts I will explain how to take the old rivets out and install new liners on them
 RSS Feed